


This recipe is sponsored by:


There’s nothing an egg can’t crack. #CrackItWithAnEgg

Yield 4
Prep time
30 MinCook time
45 MinTotal time
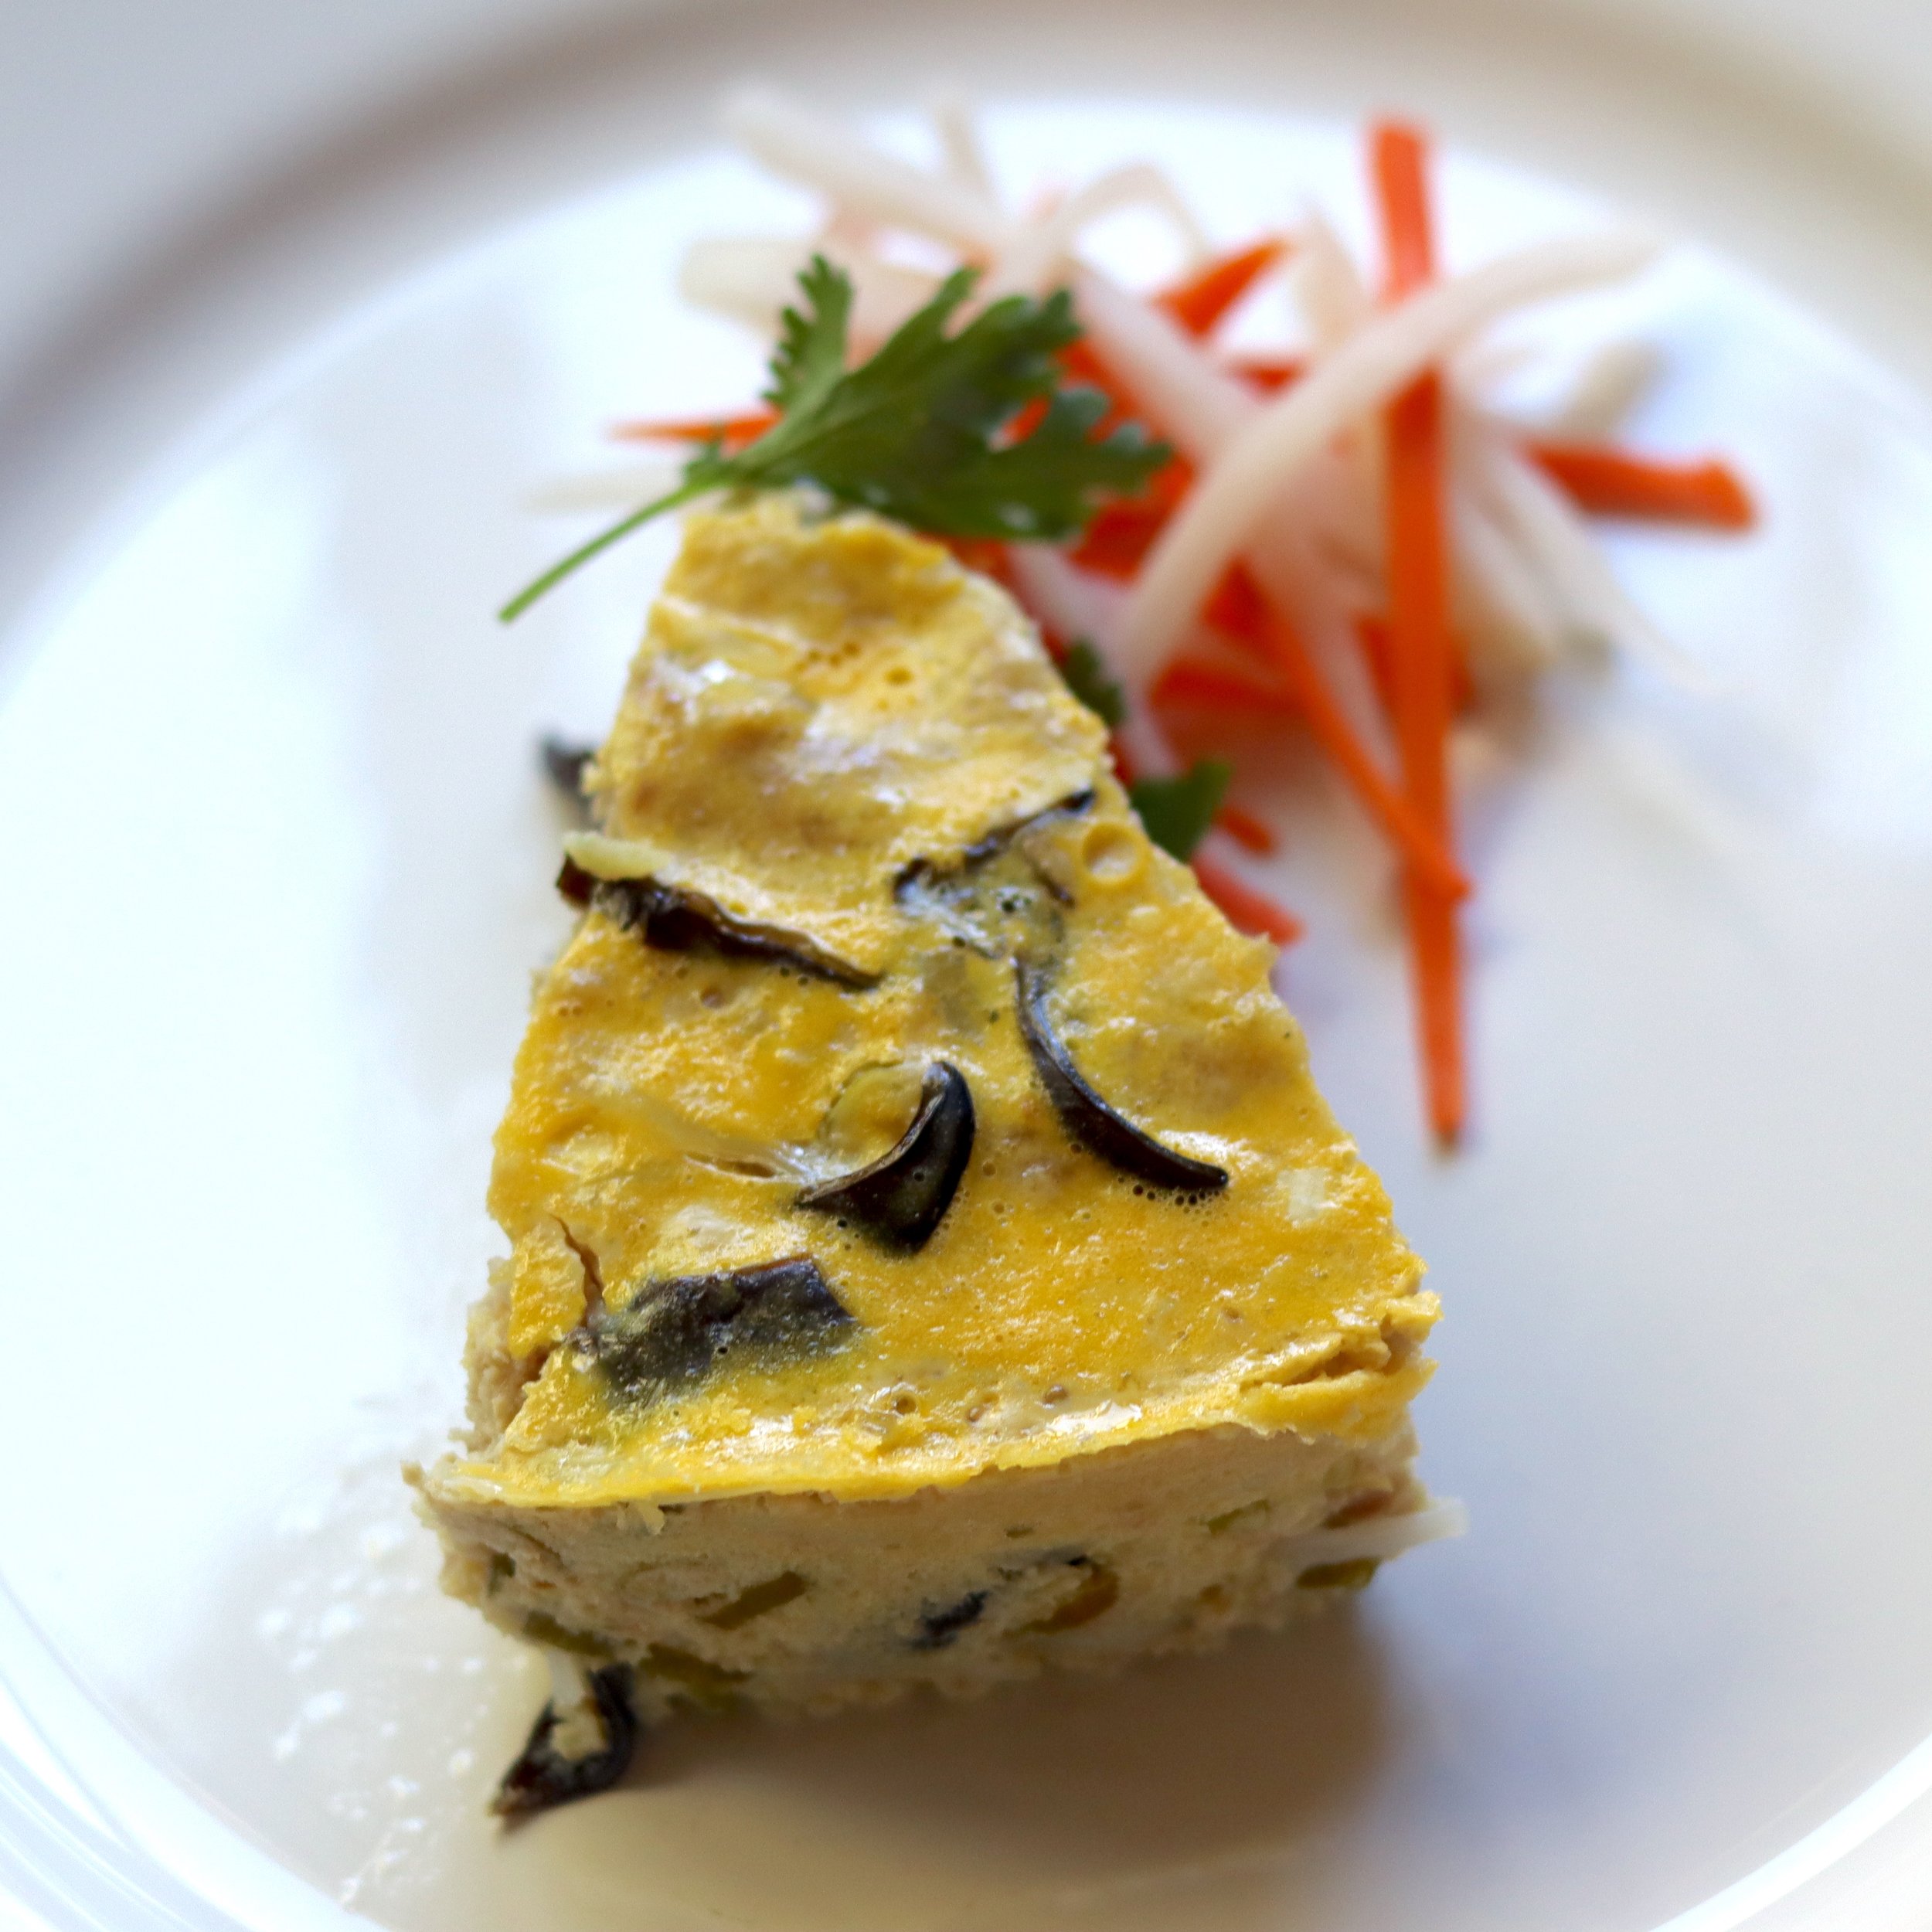
1 H & 15 MChả Trứng Hấp | Vietnamese Egg Terrine
Chả Trứng Hấp is a steamed egg terrine that is usually served with rice. It's usually cooked with ground pork, wood ear mushrooms, and mung bean noodles. The dish's iconic yellow top is made by brushing egg yolks on the top for the remaining five minutes of cooking.
Ingredients
Instructions
Make the Egg Terrine Mixture
- Coat the 8" pie tin with 1 tbsp. of cooking oil
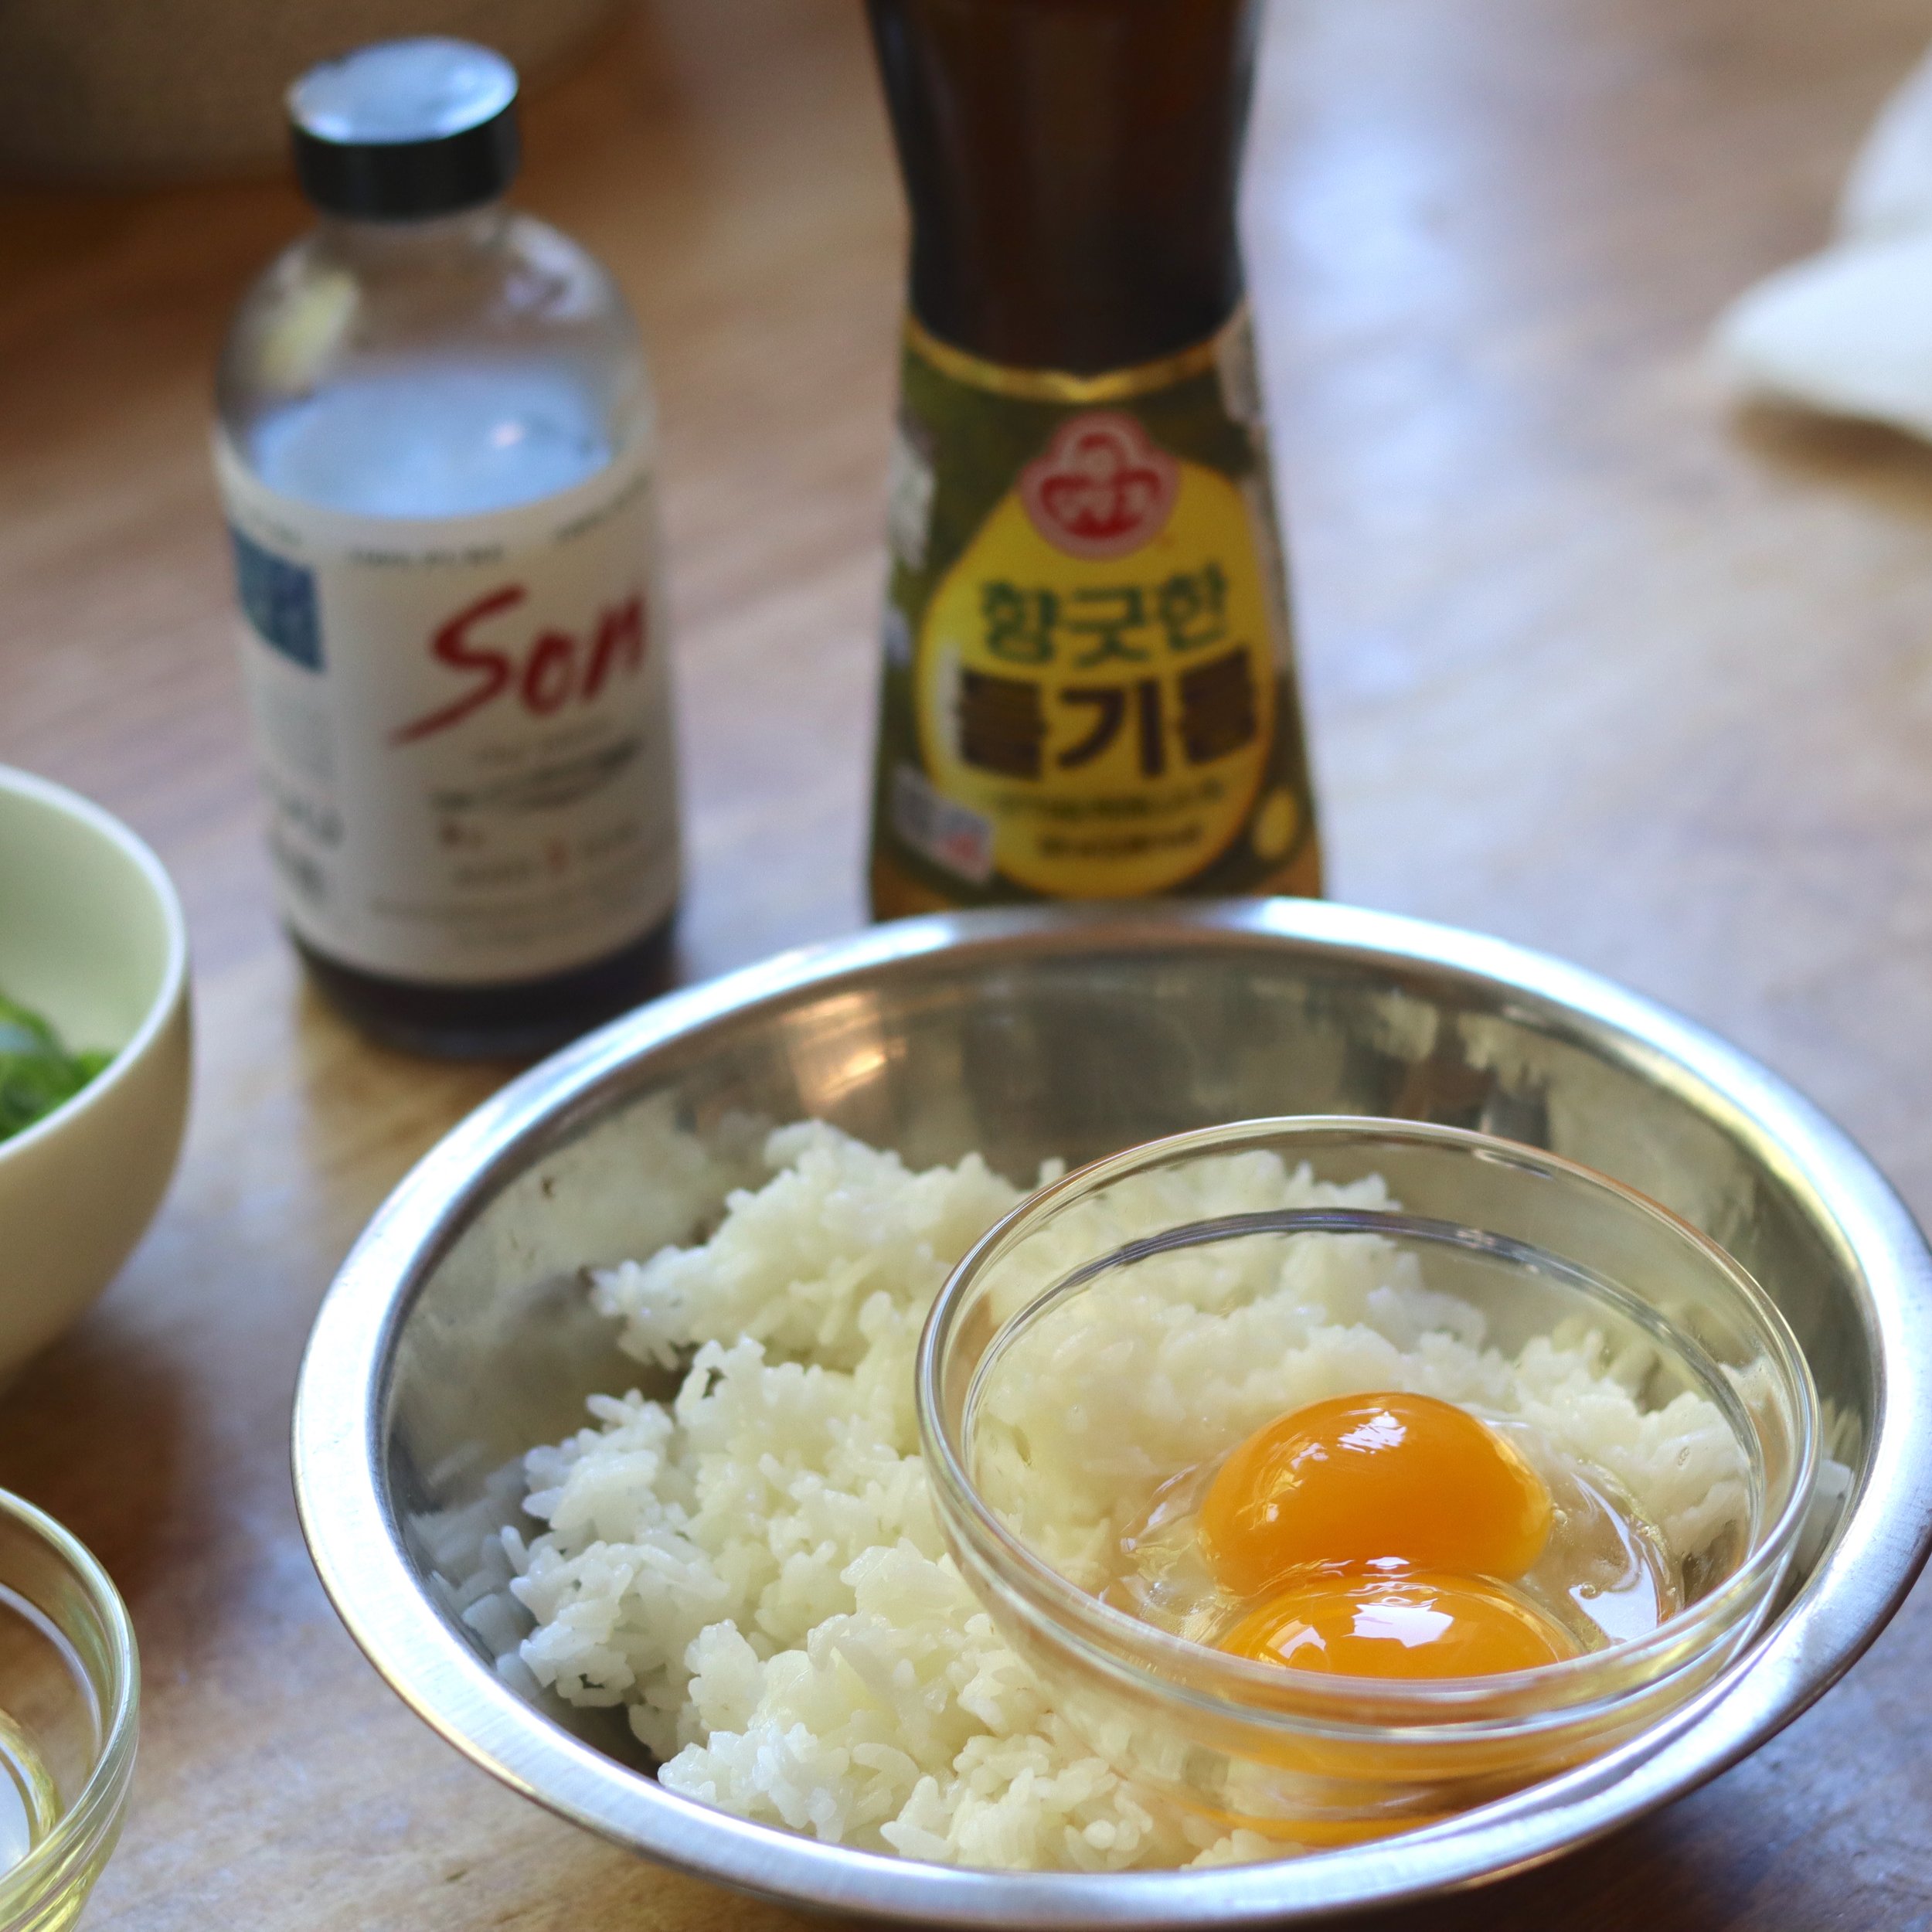
- Set aside 6 egg yolks to glaze the egg terrine towards the end of the cooking process.
- Rehydrate the mung bean noodles in ambient water for 15 minutes. Then drain the water.
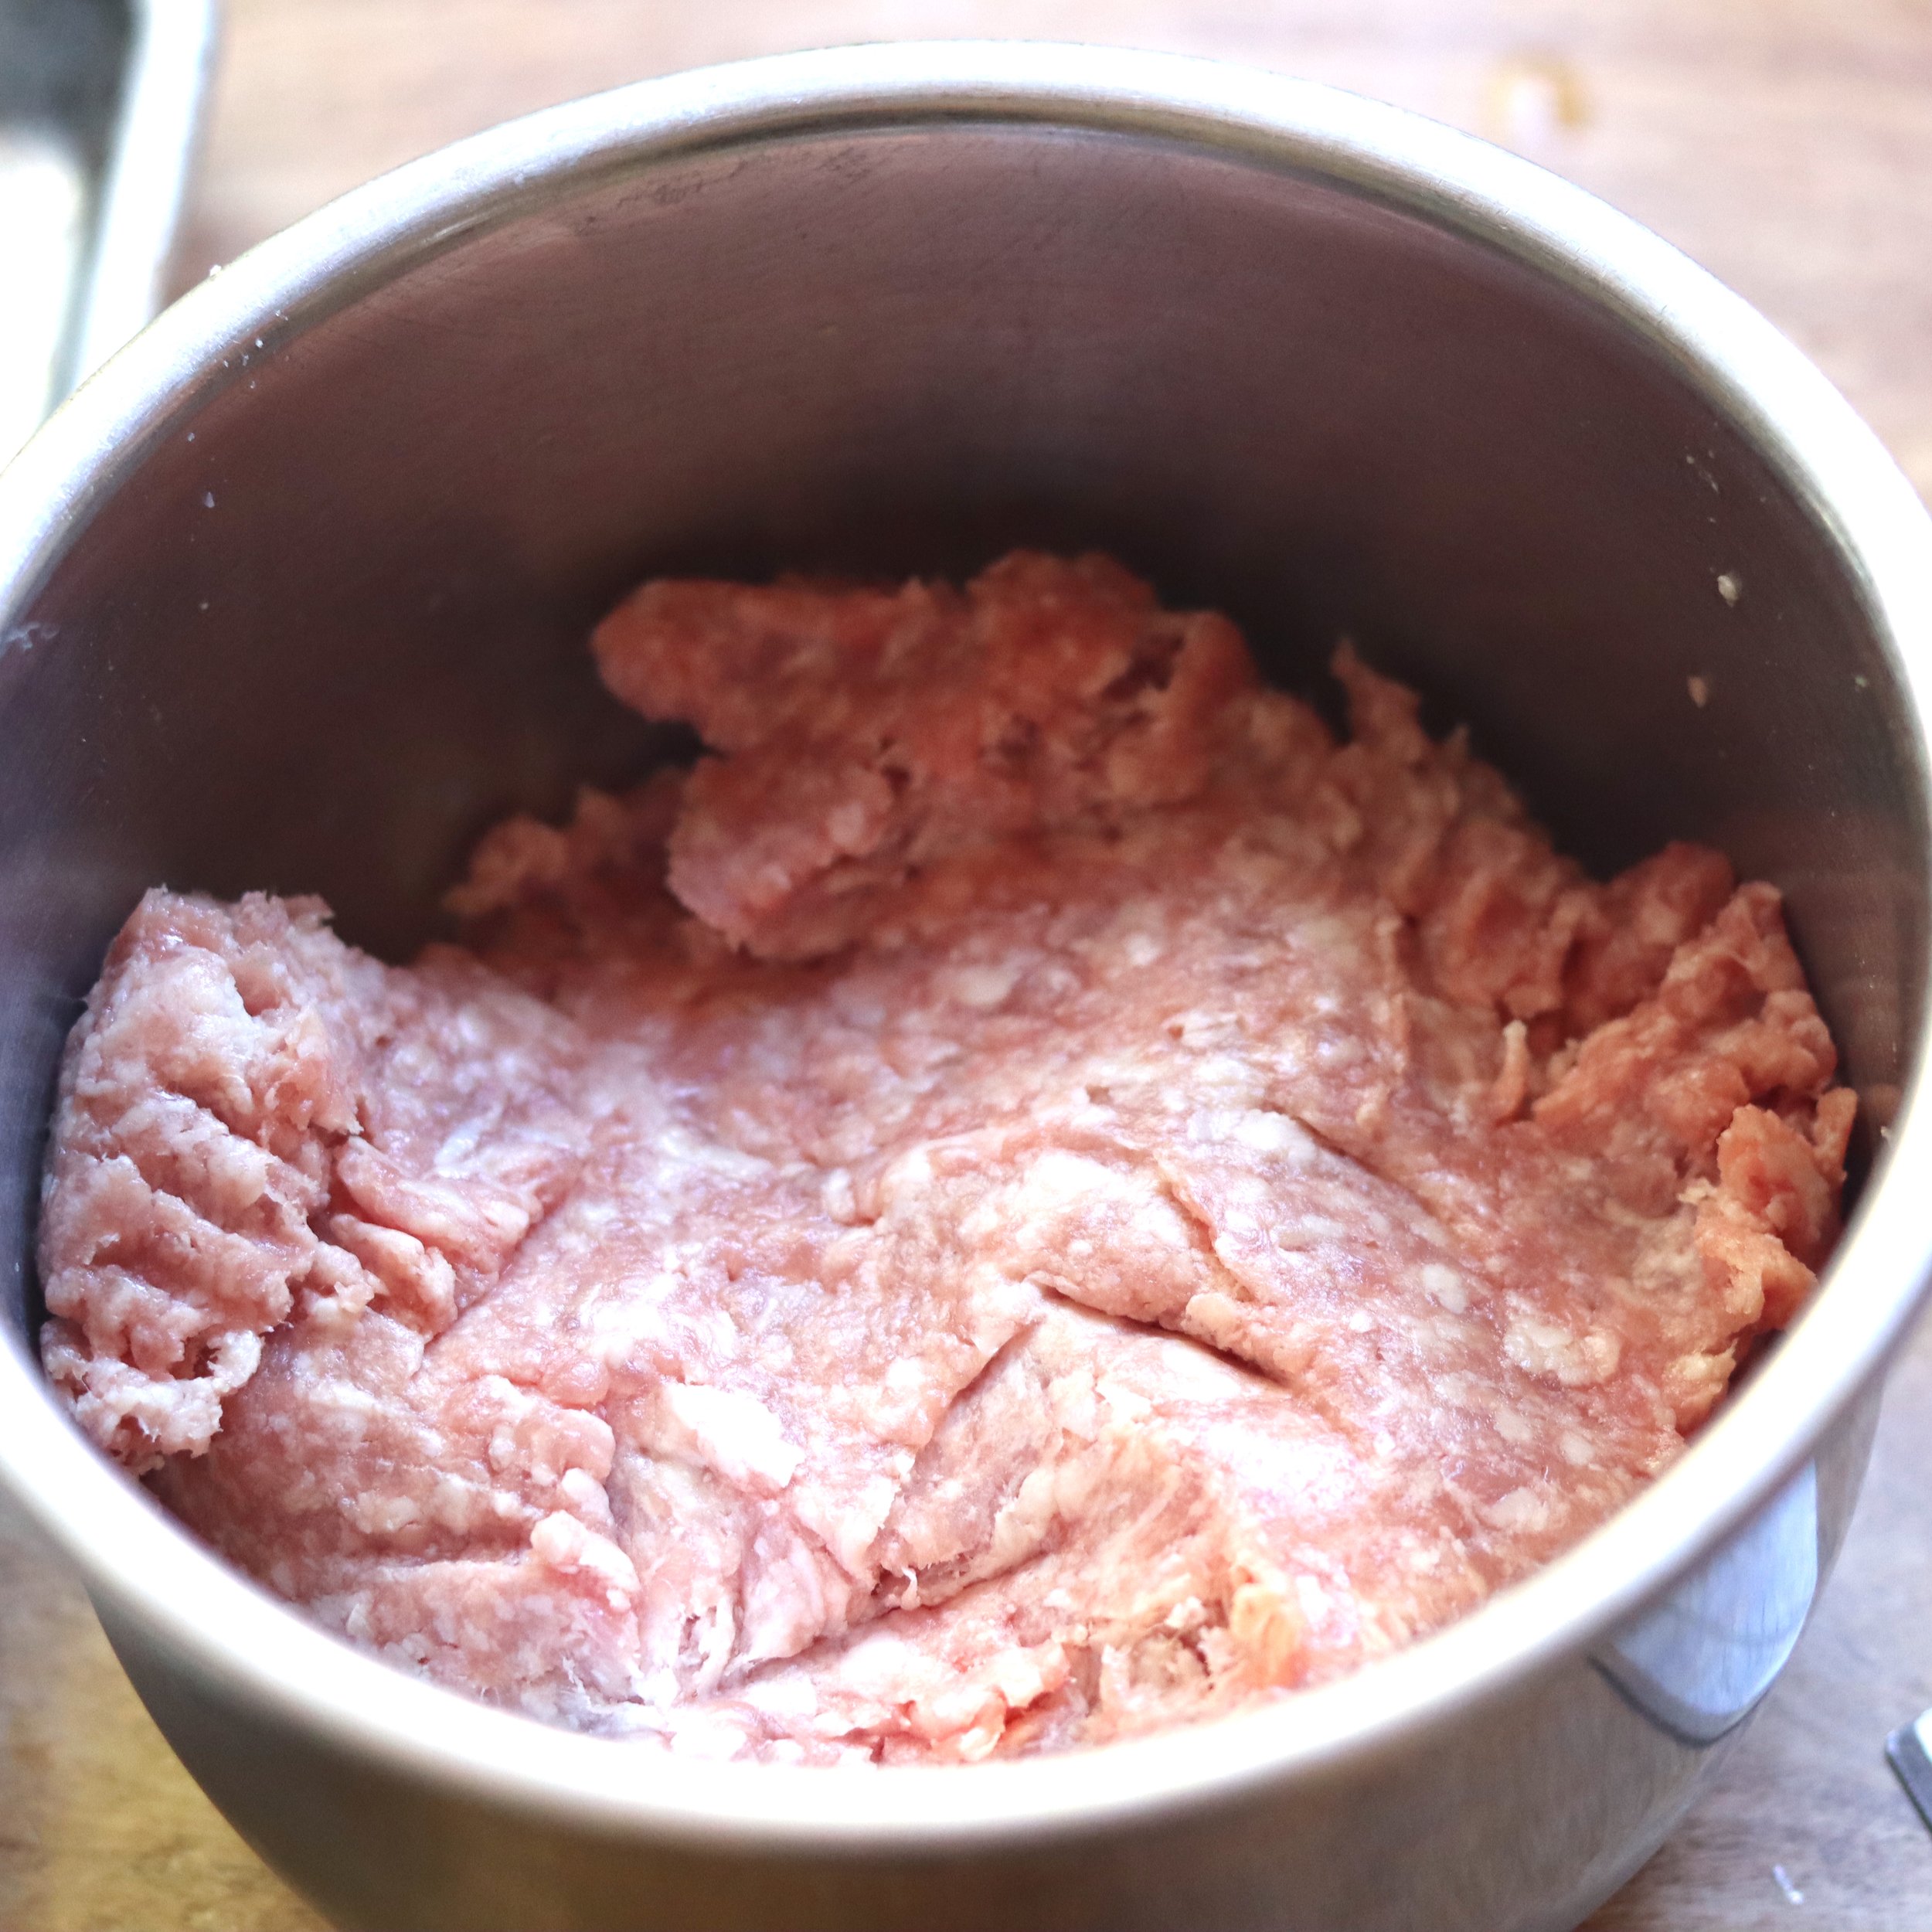
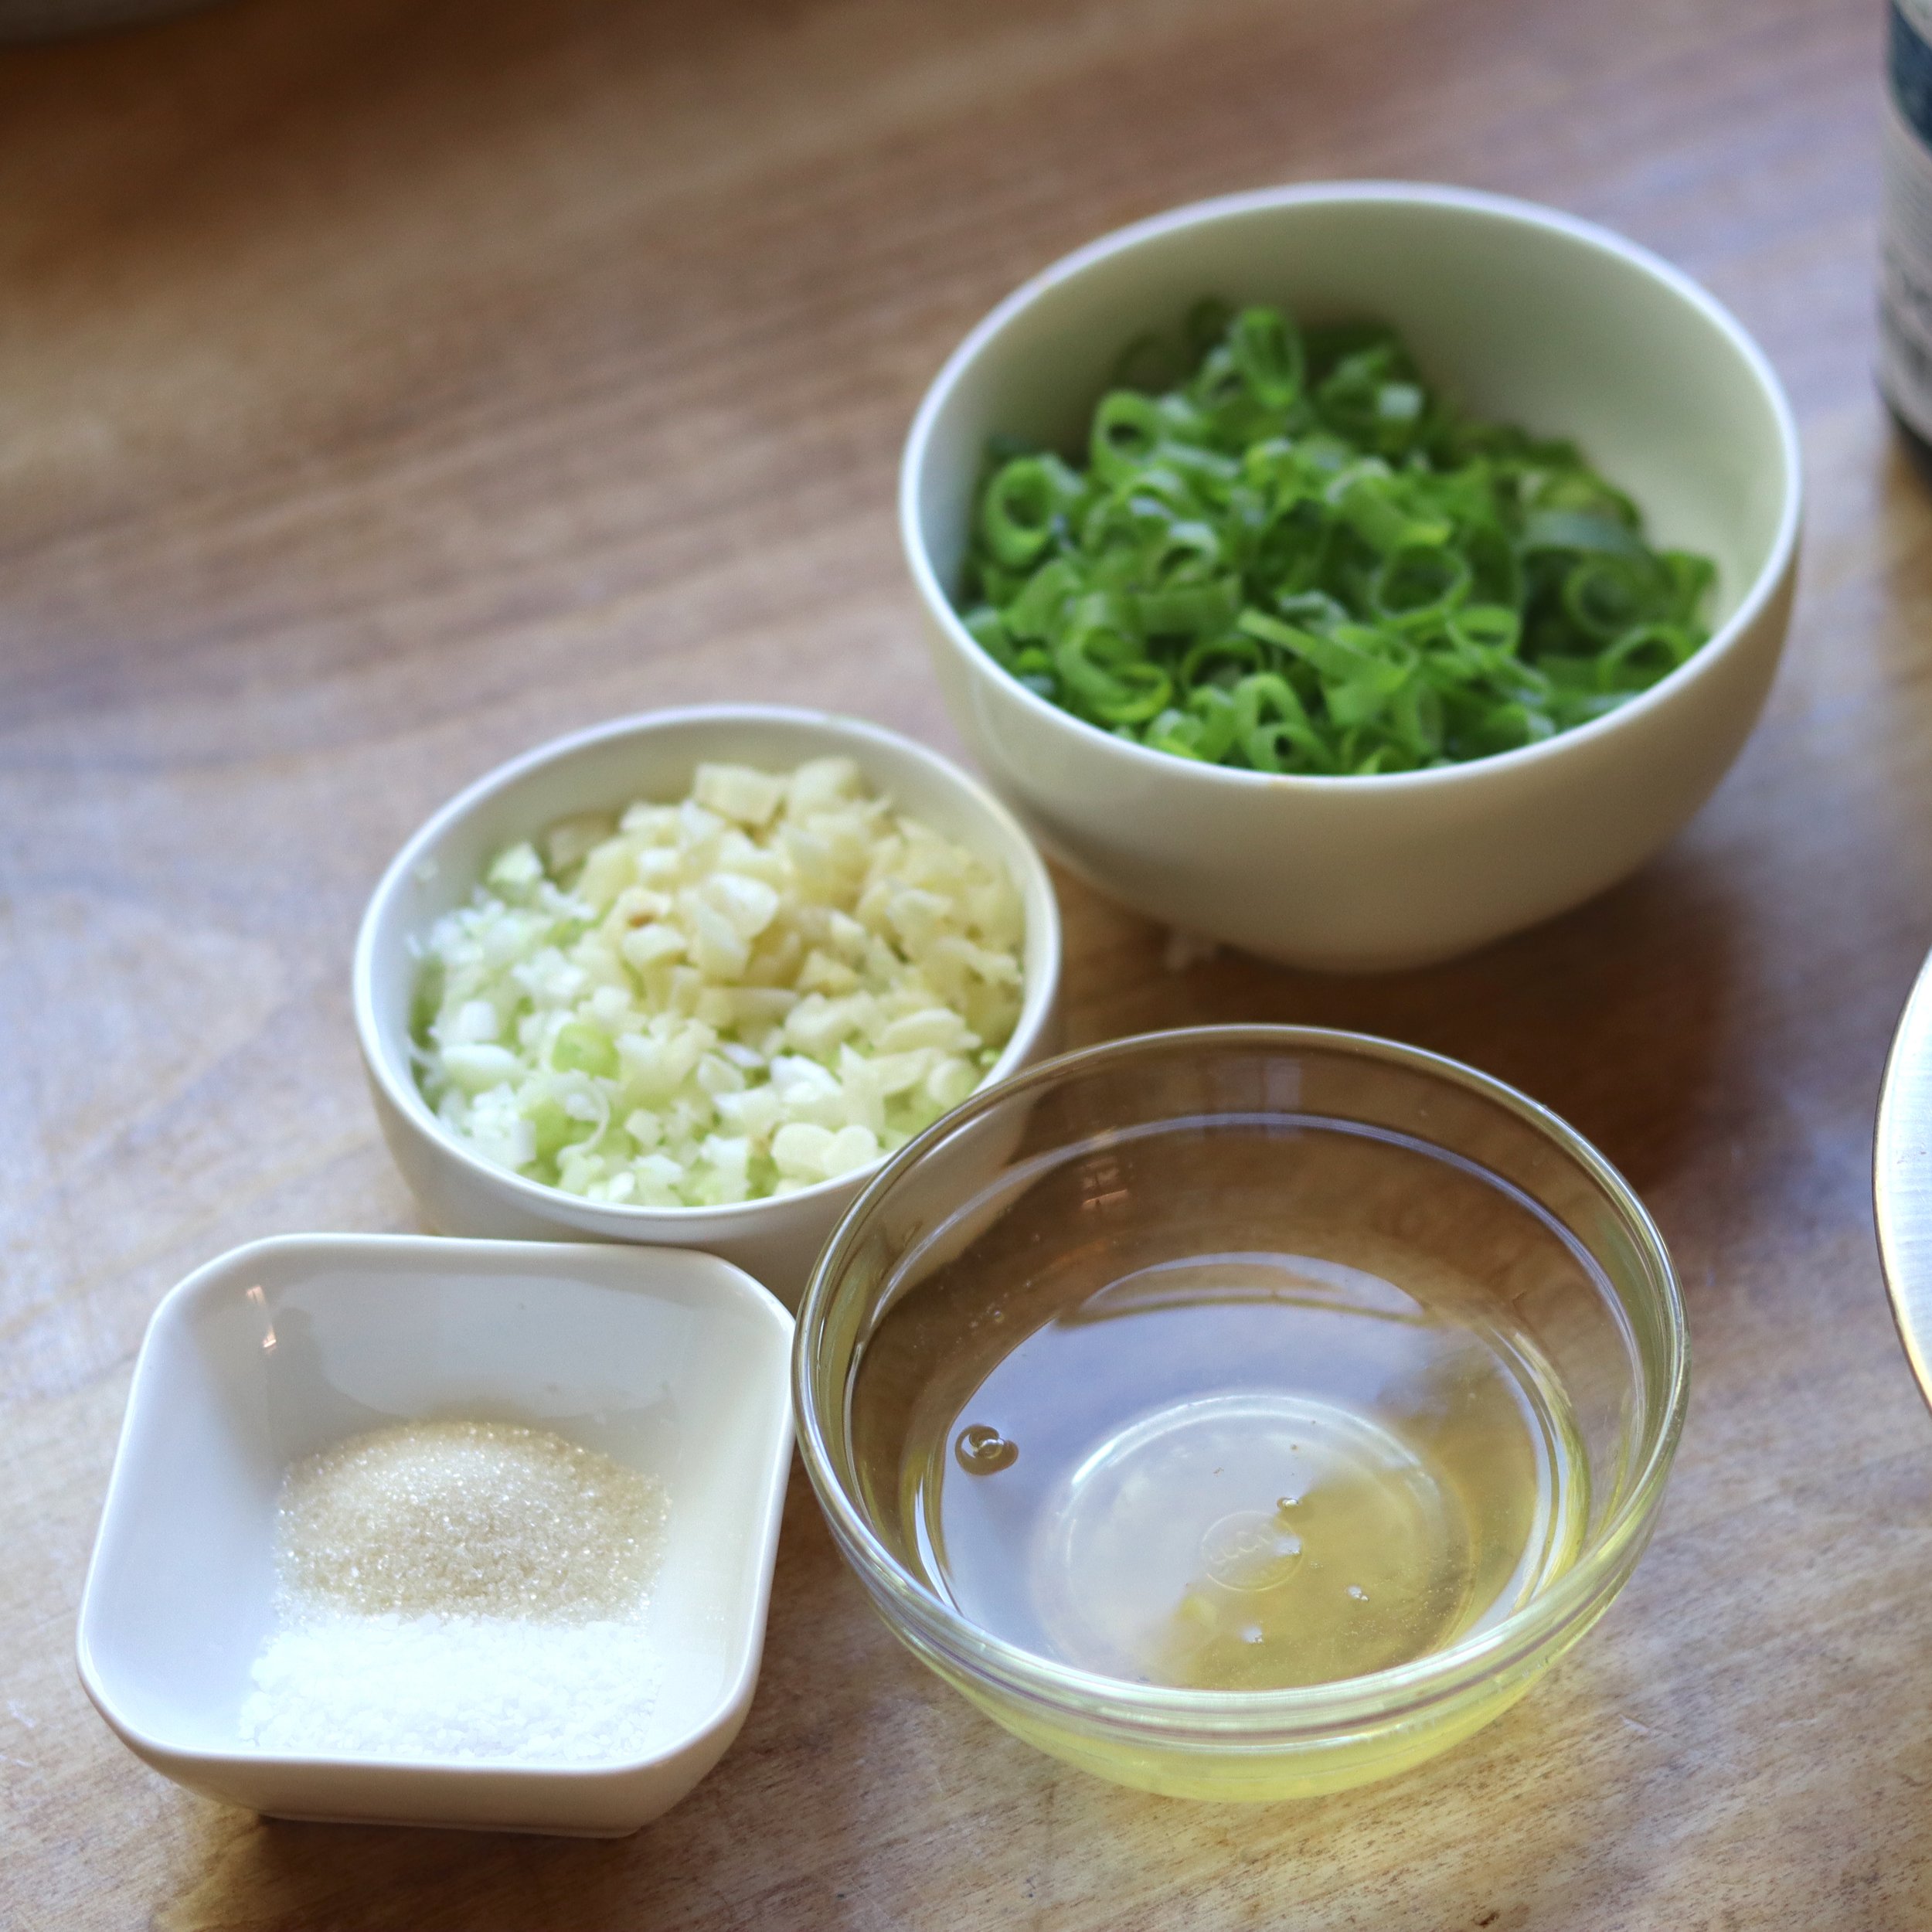
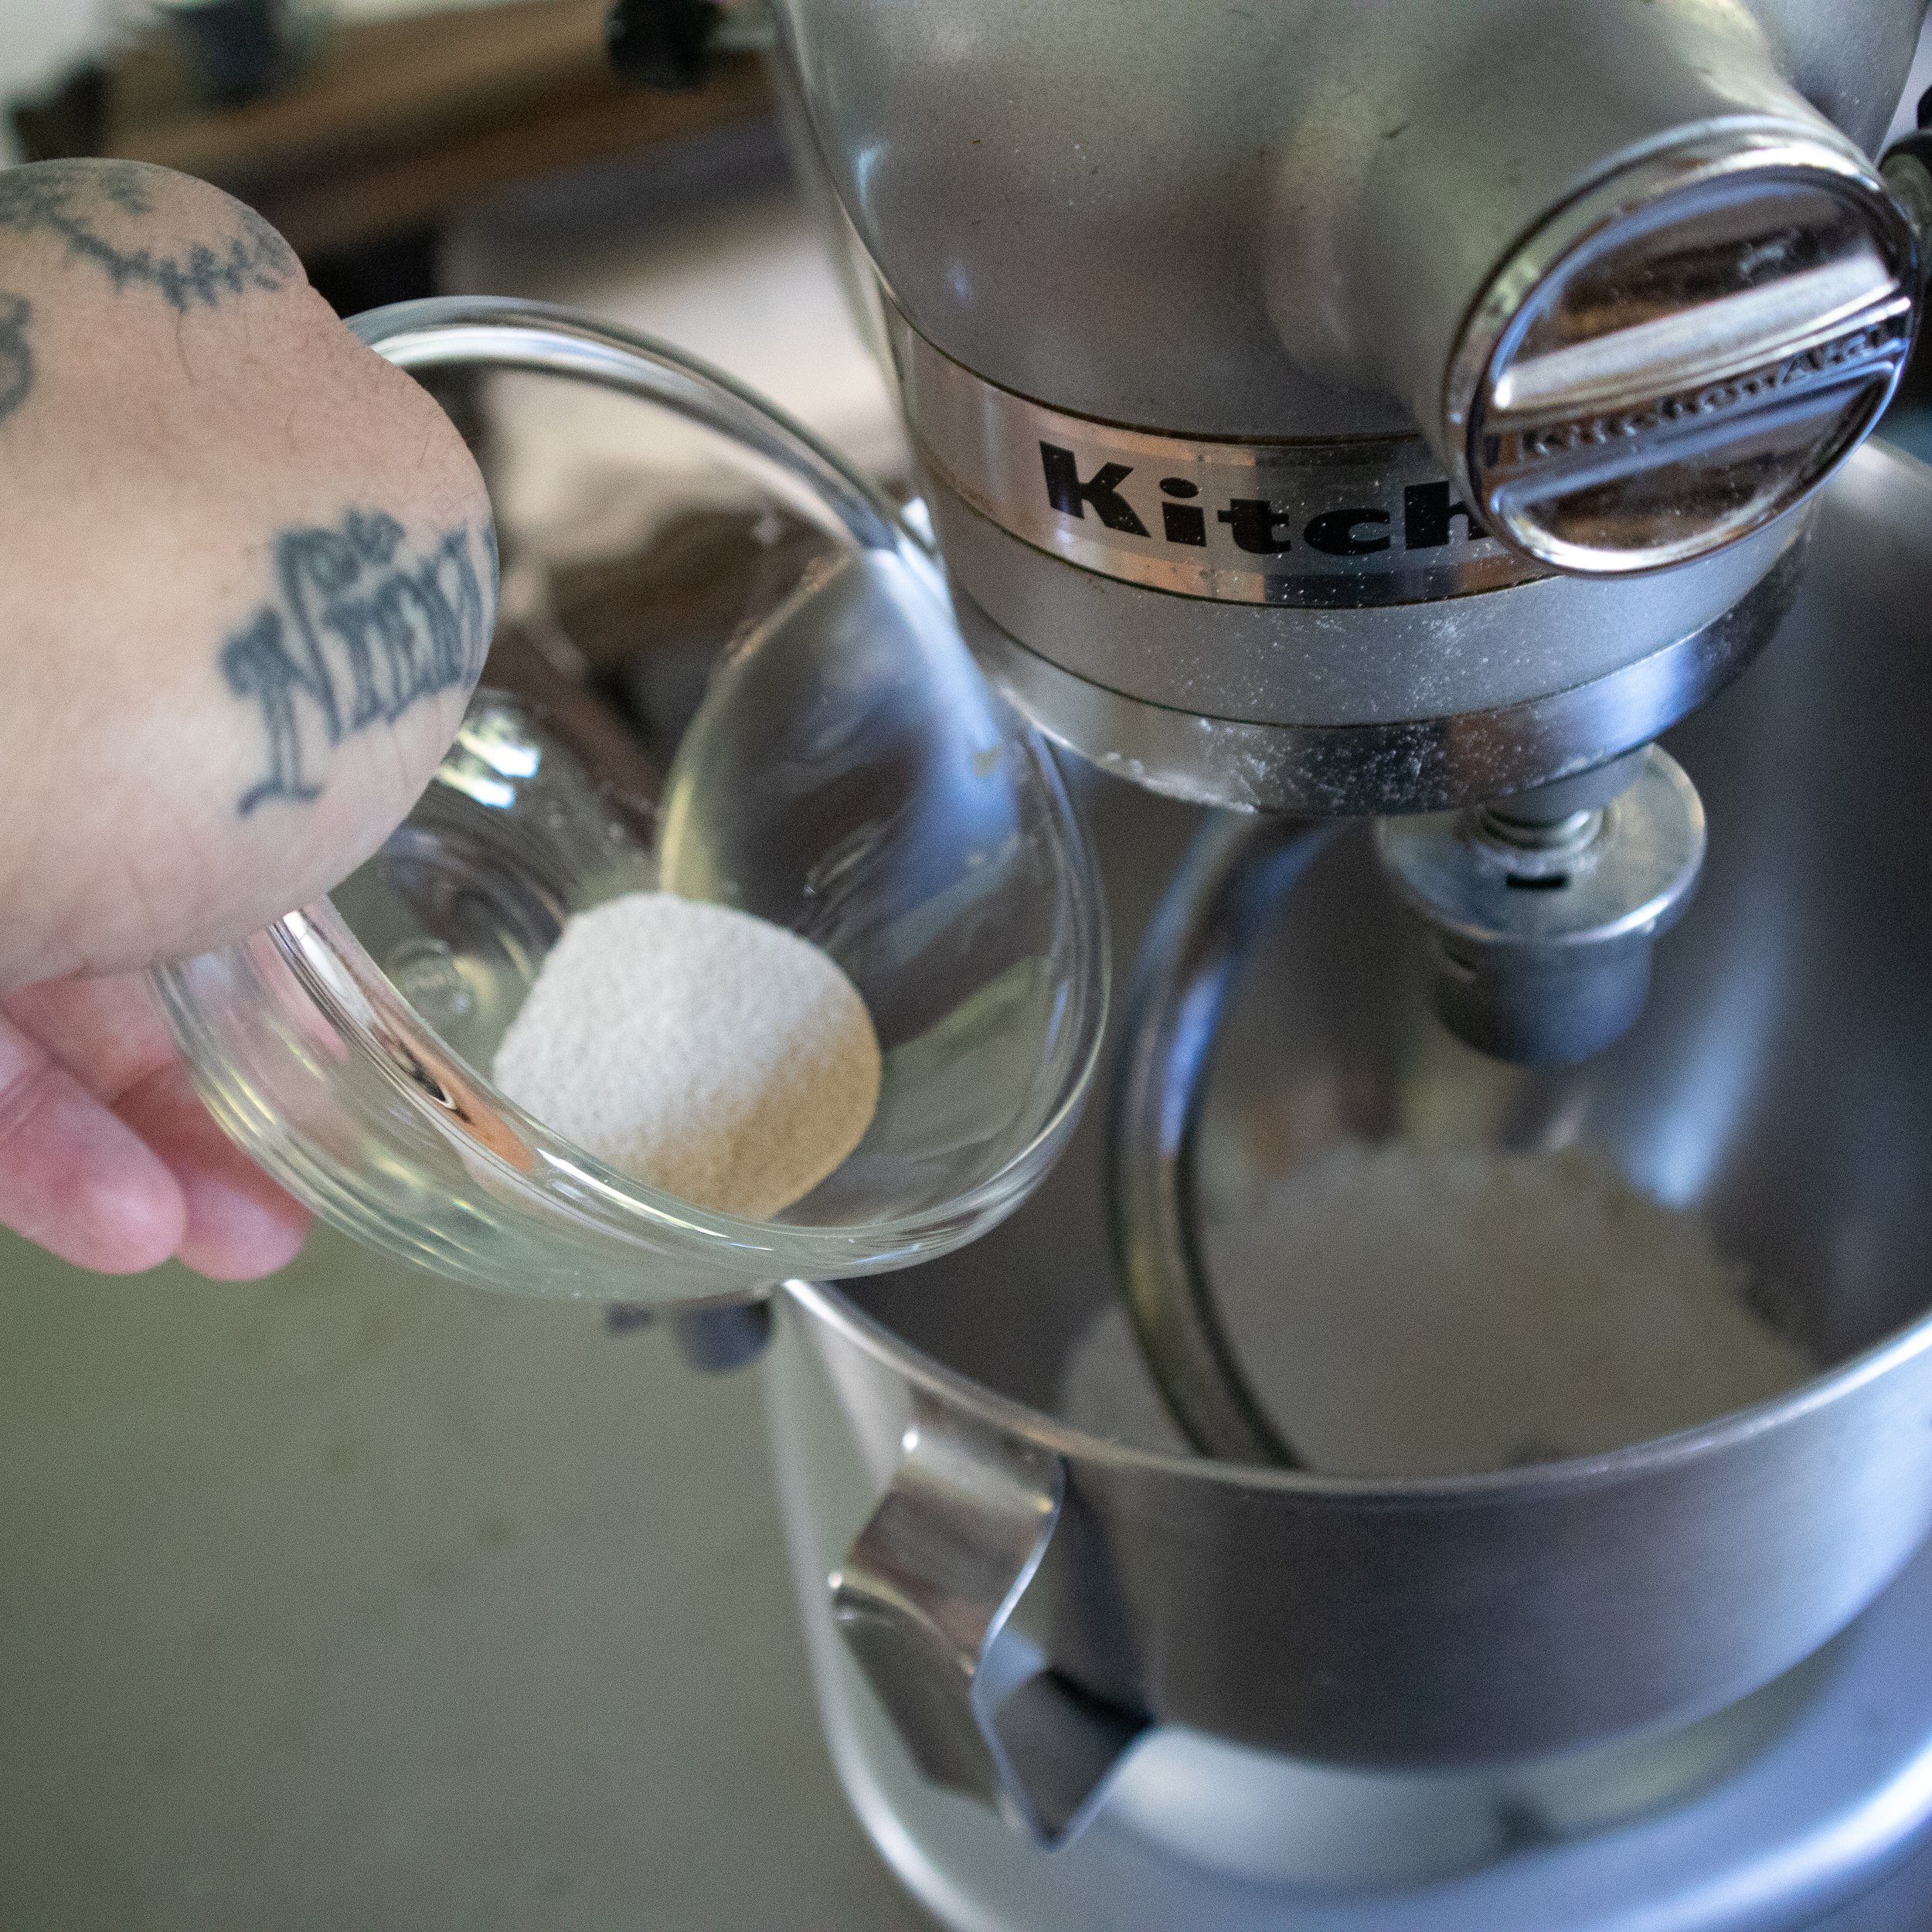
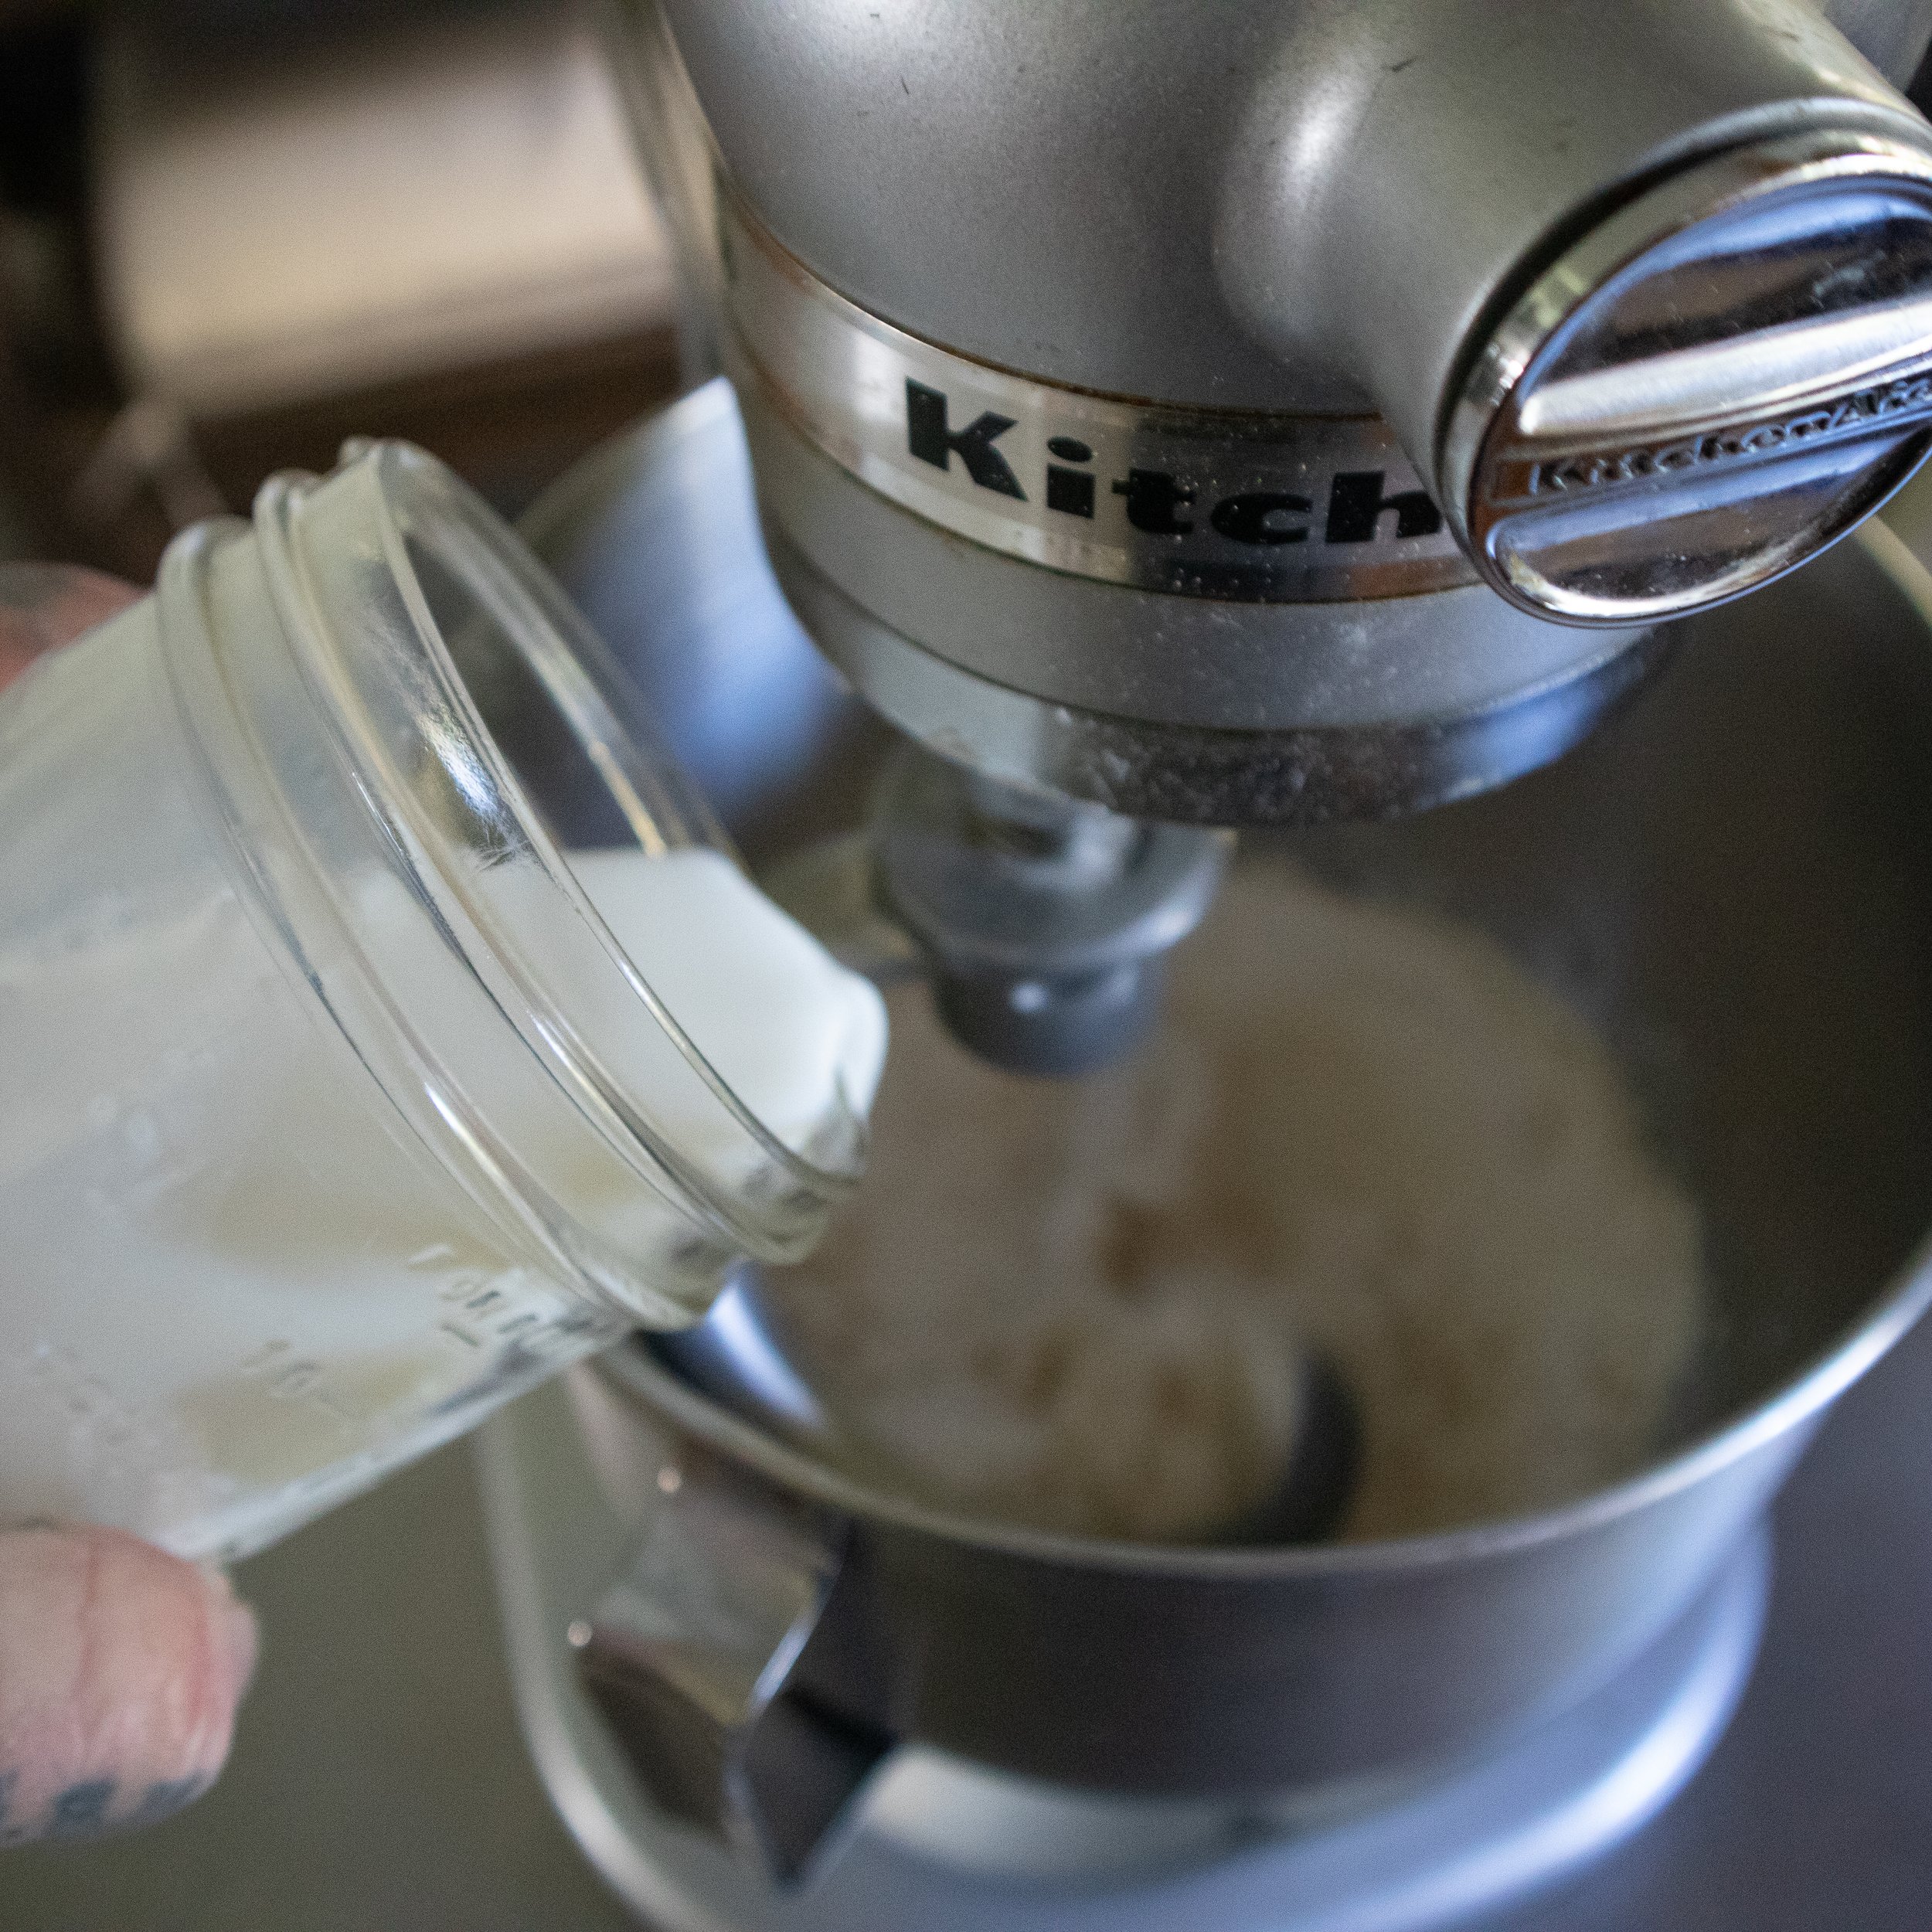
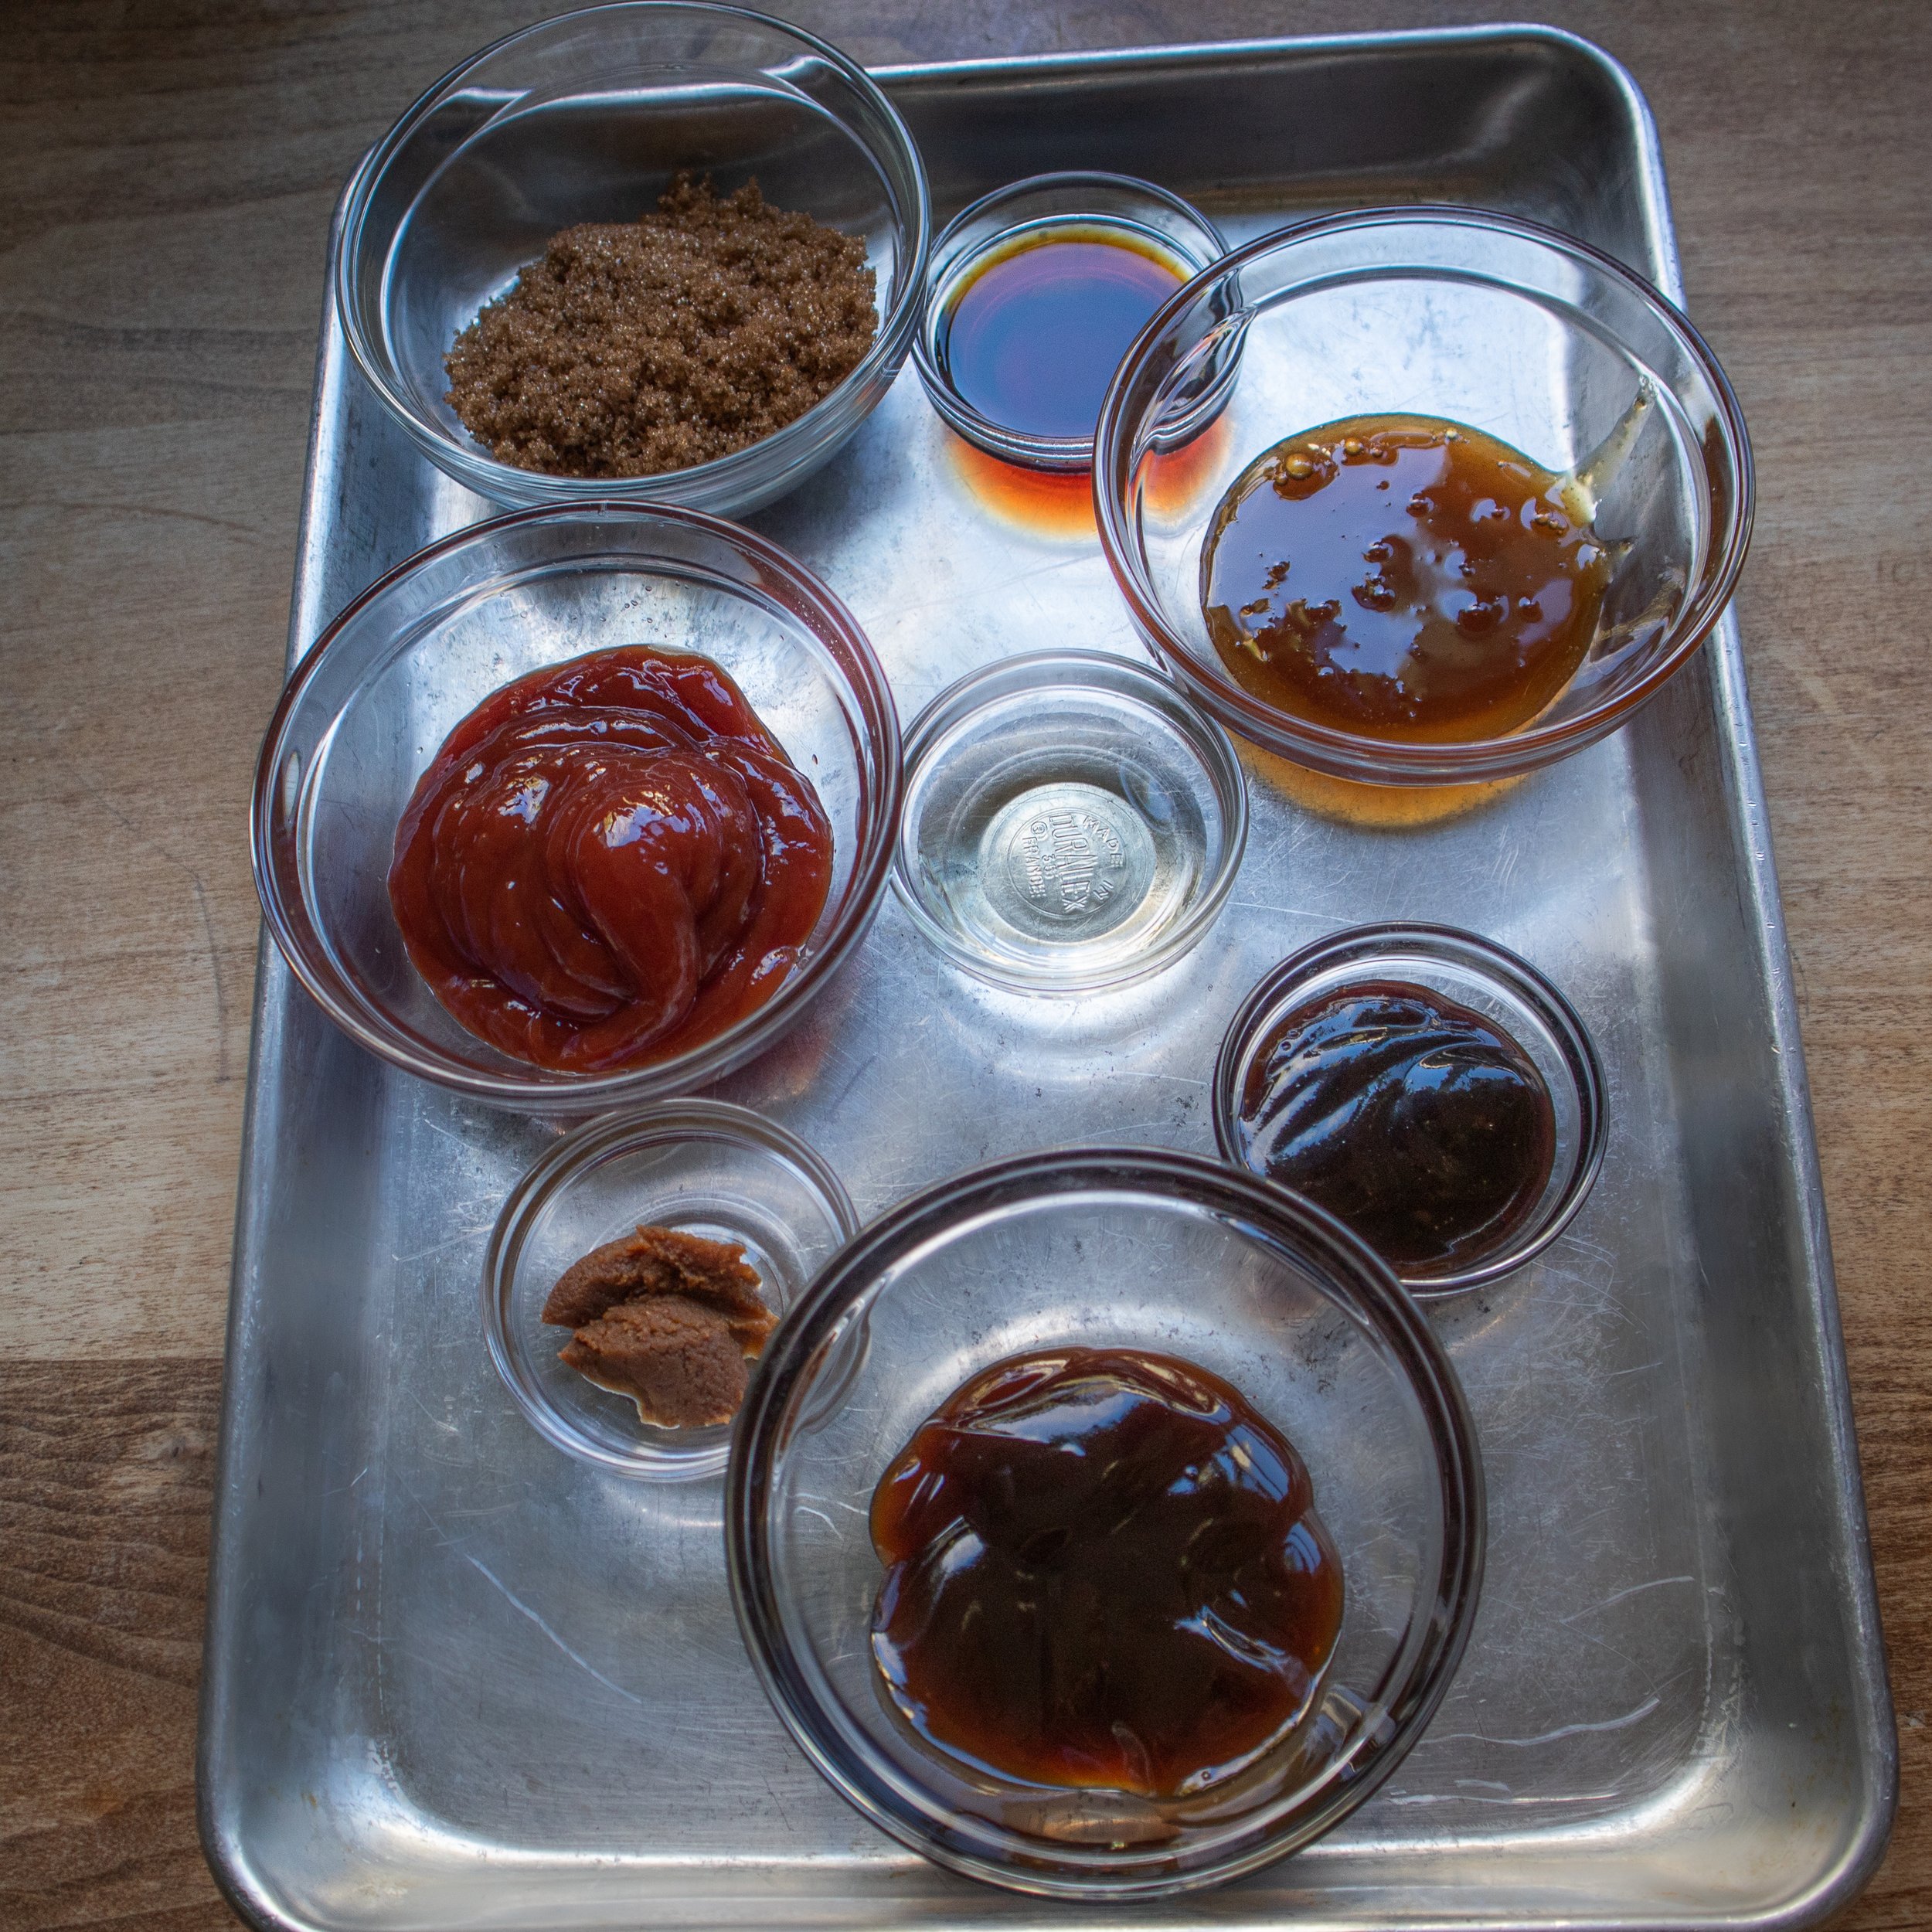
- In a large mixing bowl, combine all the remaining ingredients in a large mixing.
- Thoroughly incorporate the mixture for 5 minutes with your hands.
- Pour the egg and meat mixture into the pie tin.
Cook the Egg Terrine
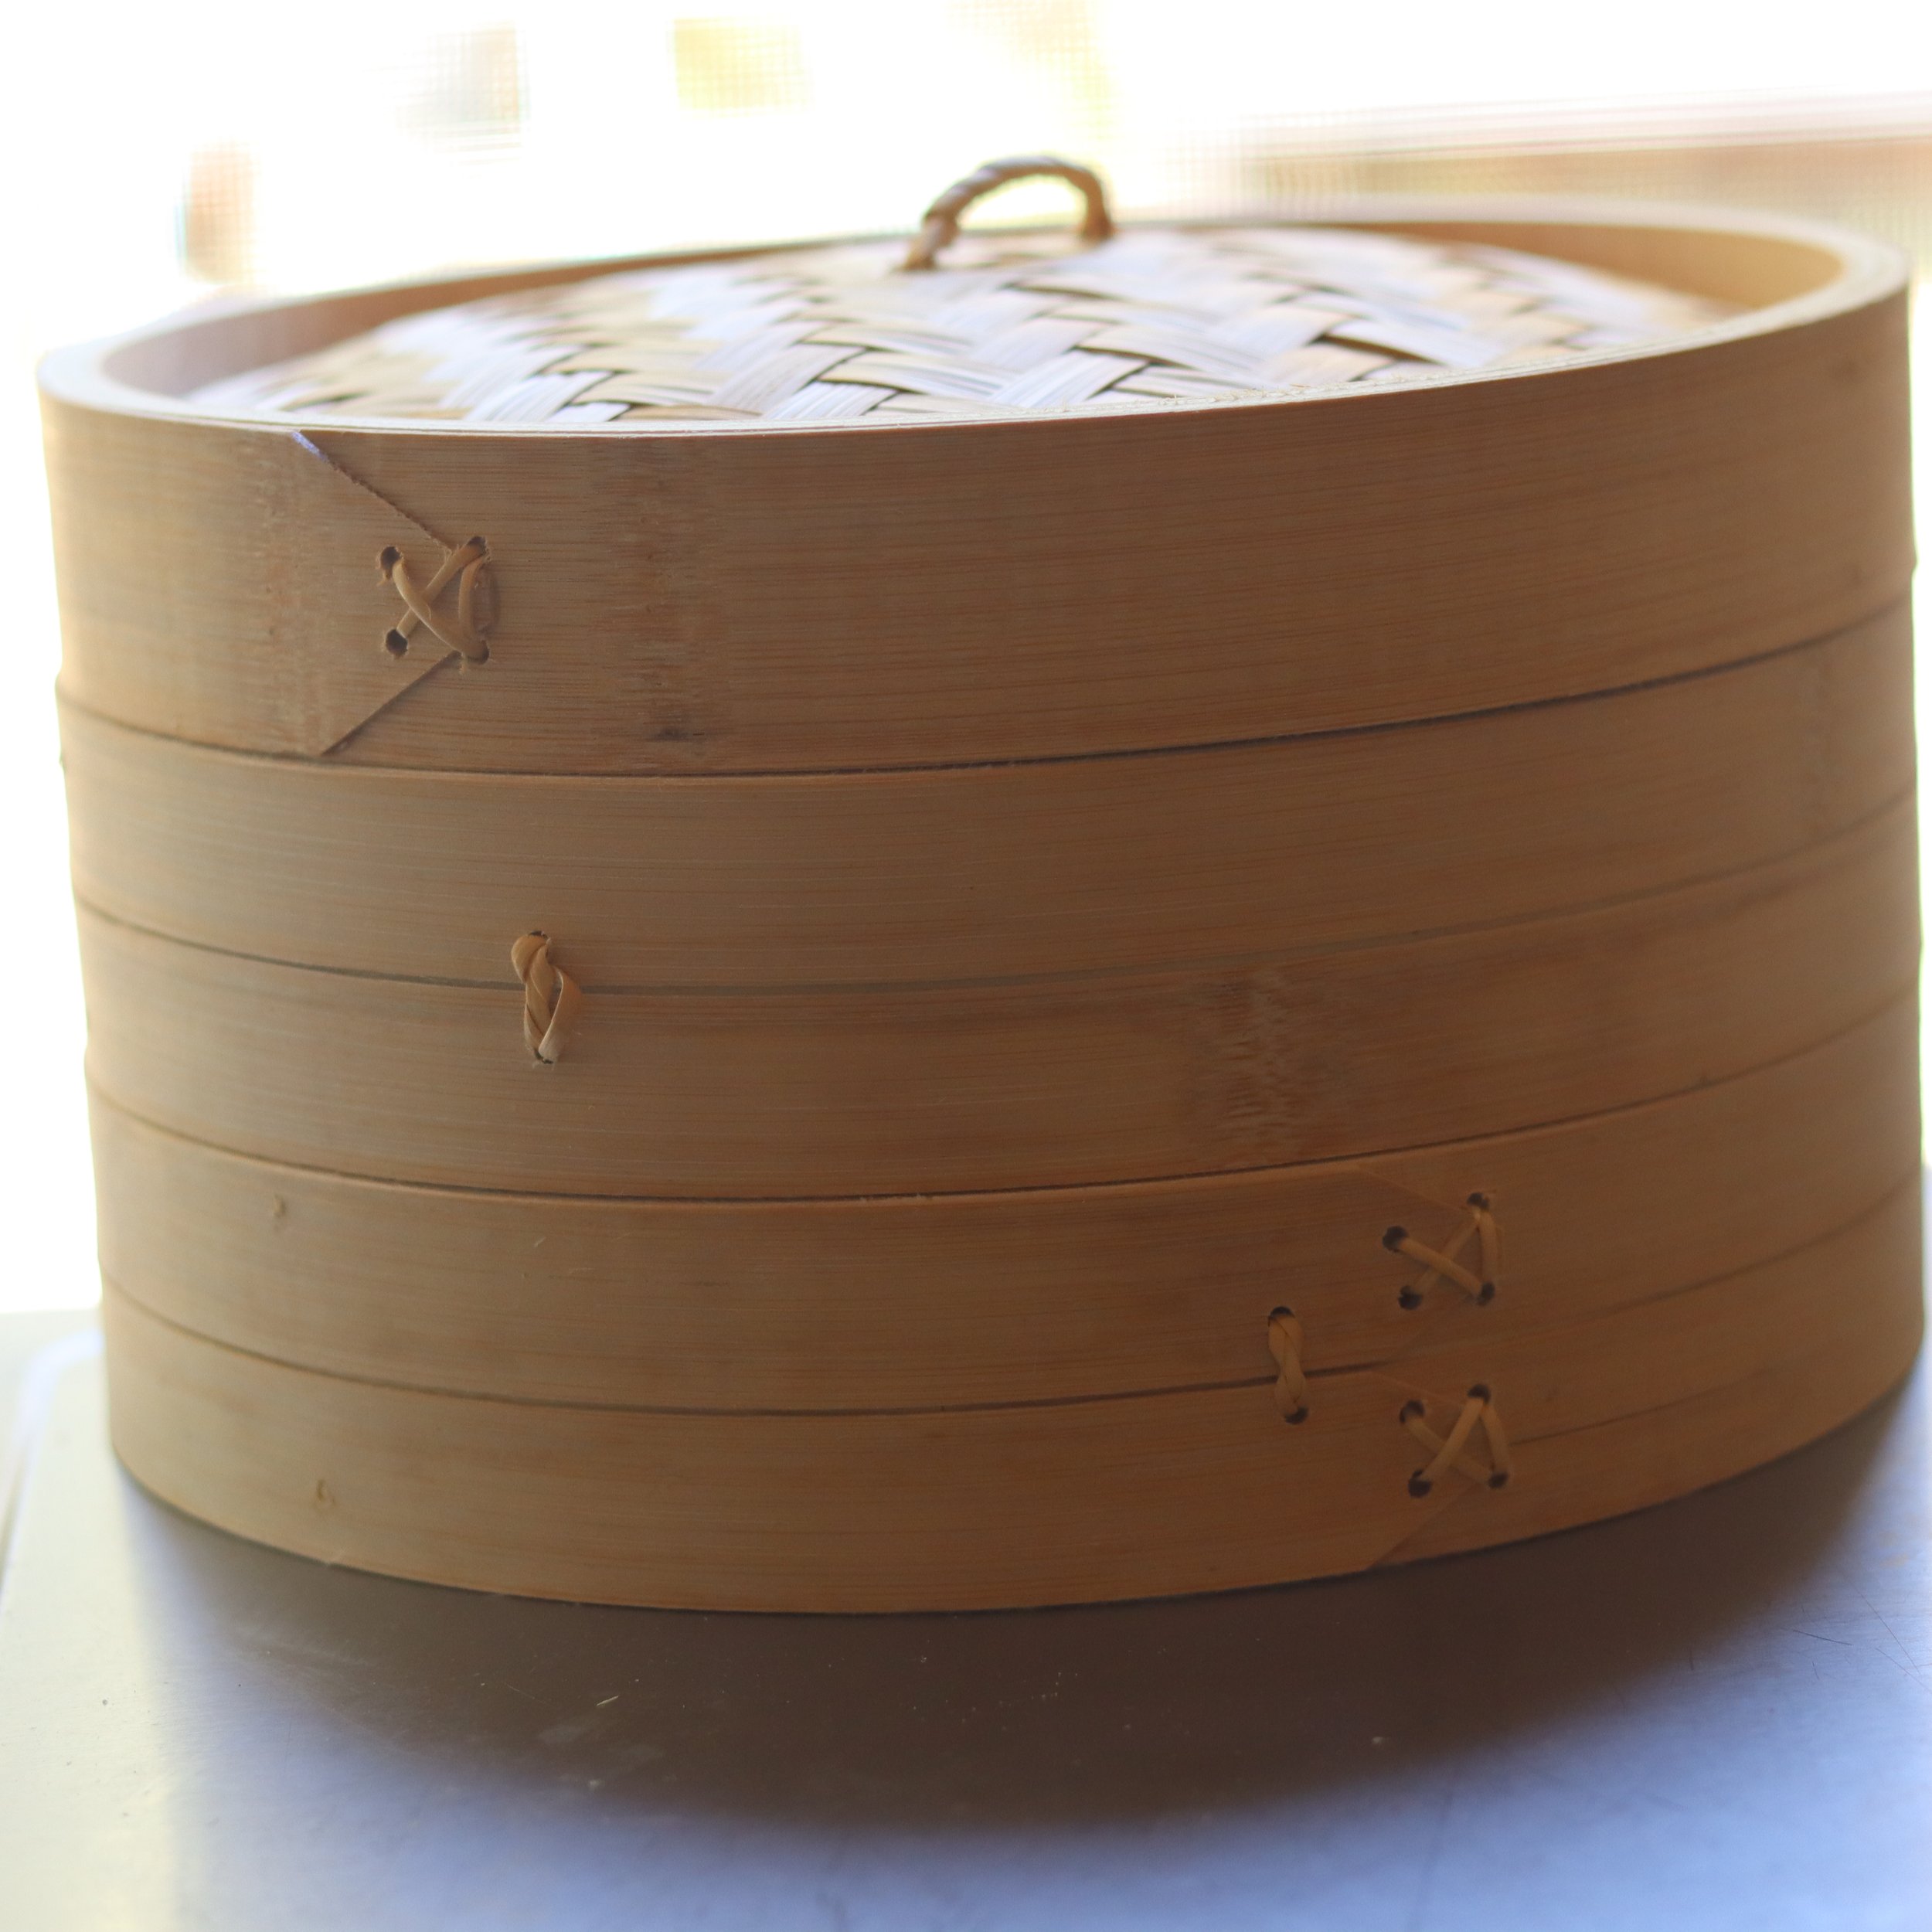
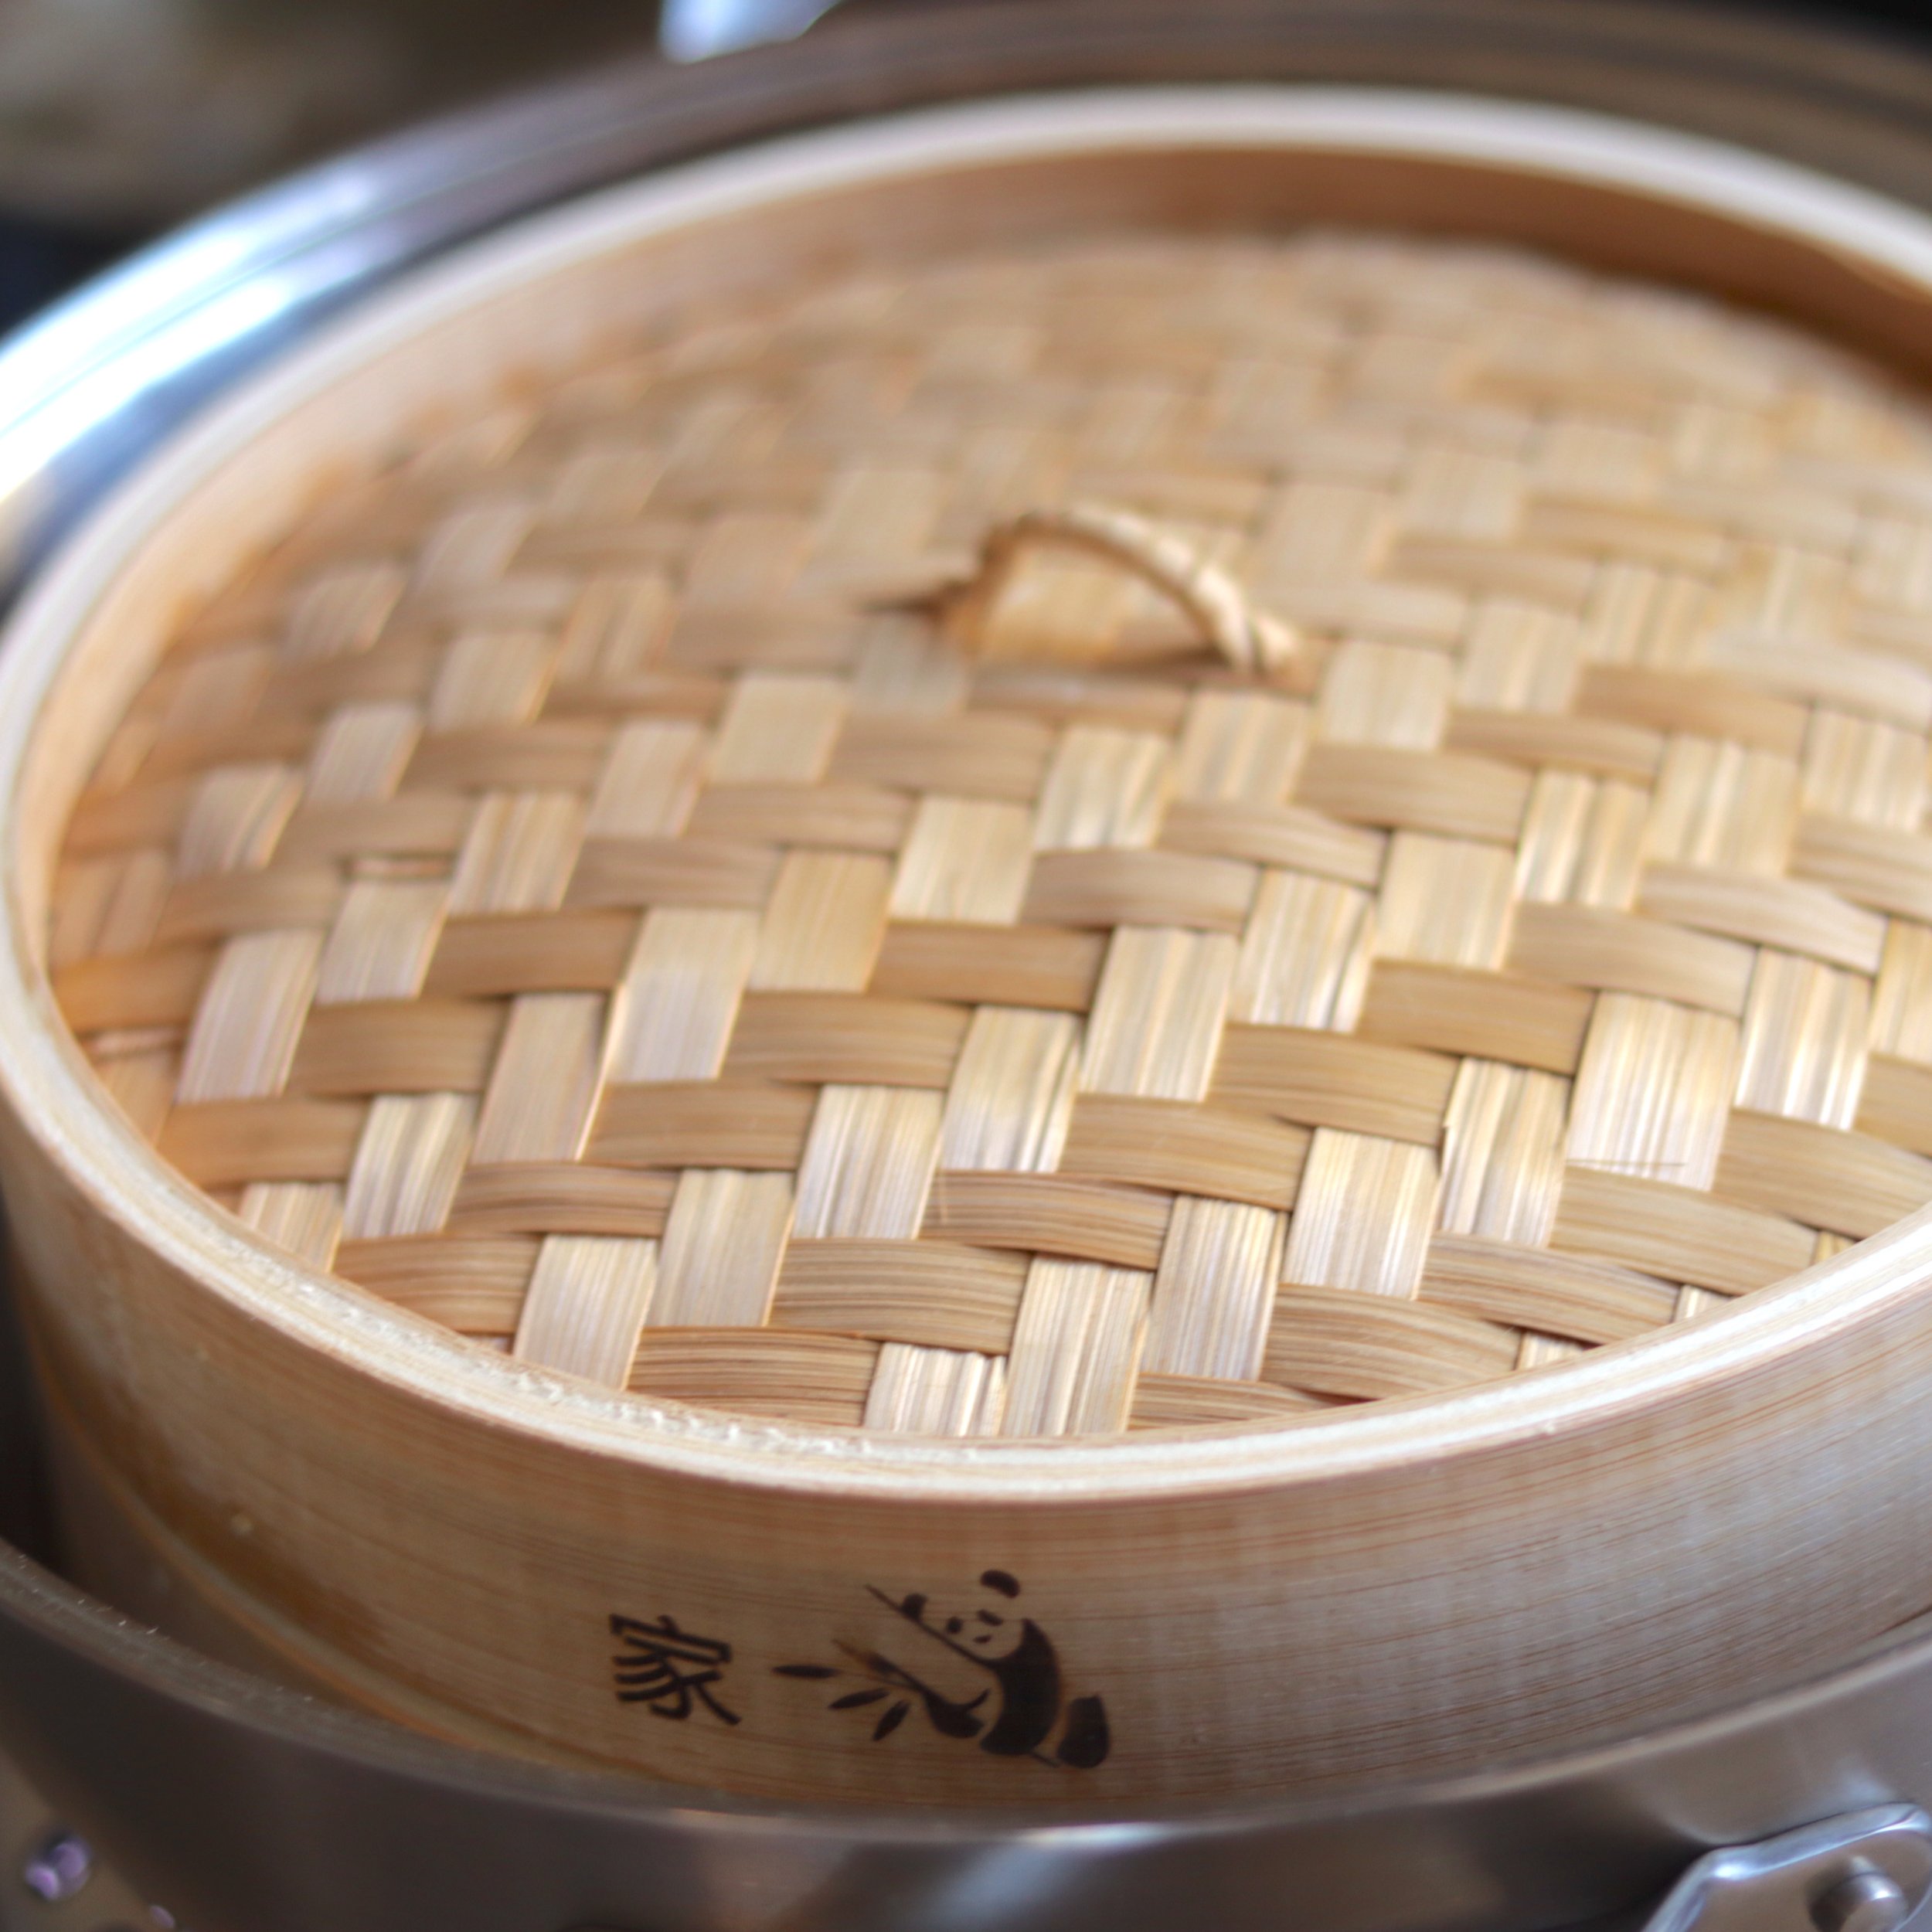
- Nestle the bamboo steamer into a large wide pot.
- Fill the pot halfway with water.
- Bring the pot to a boil on medium heat. And refill as needed.
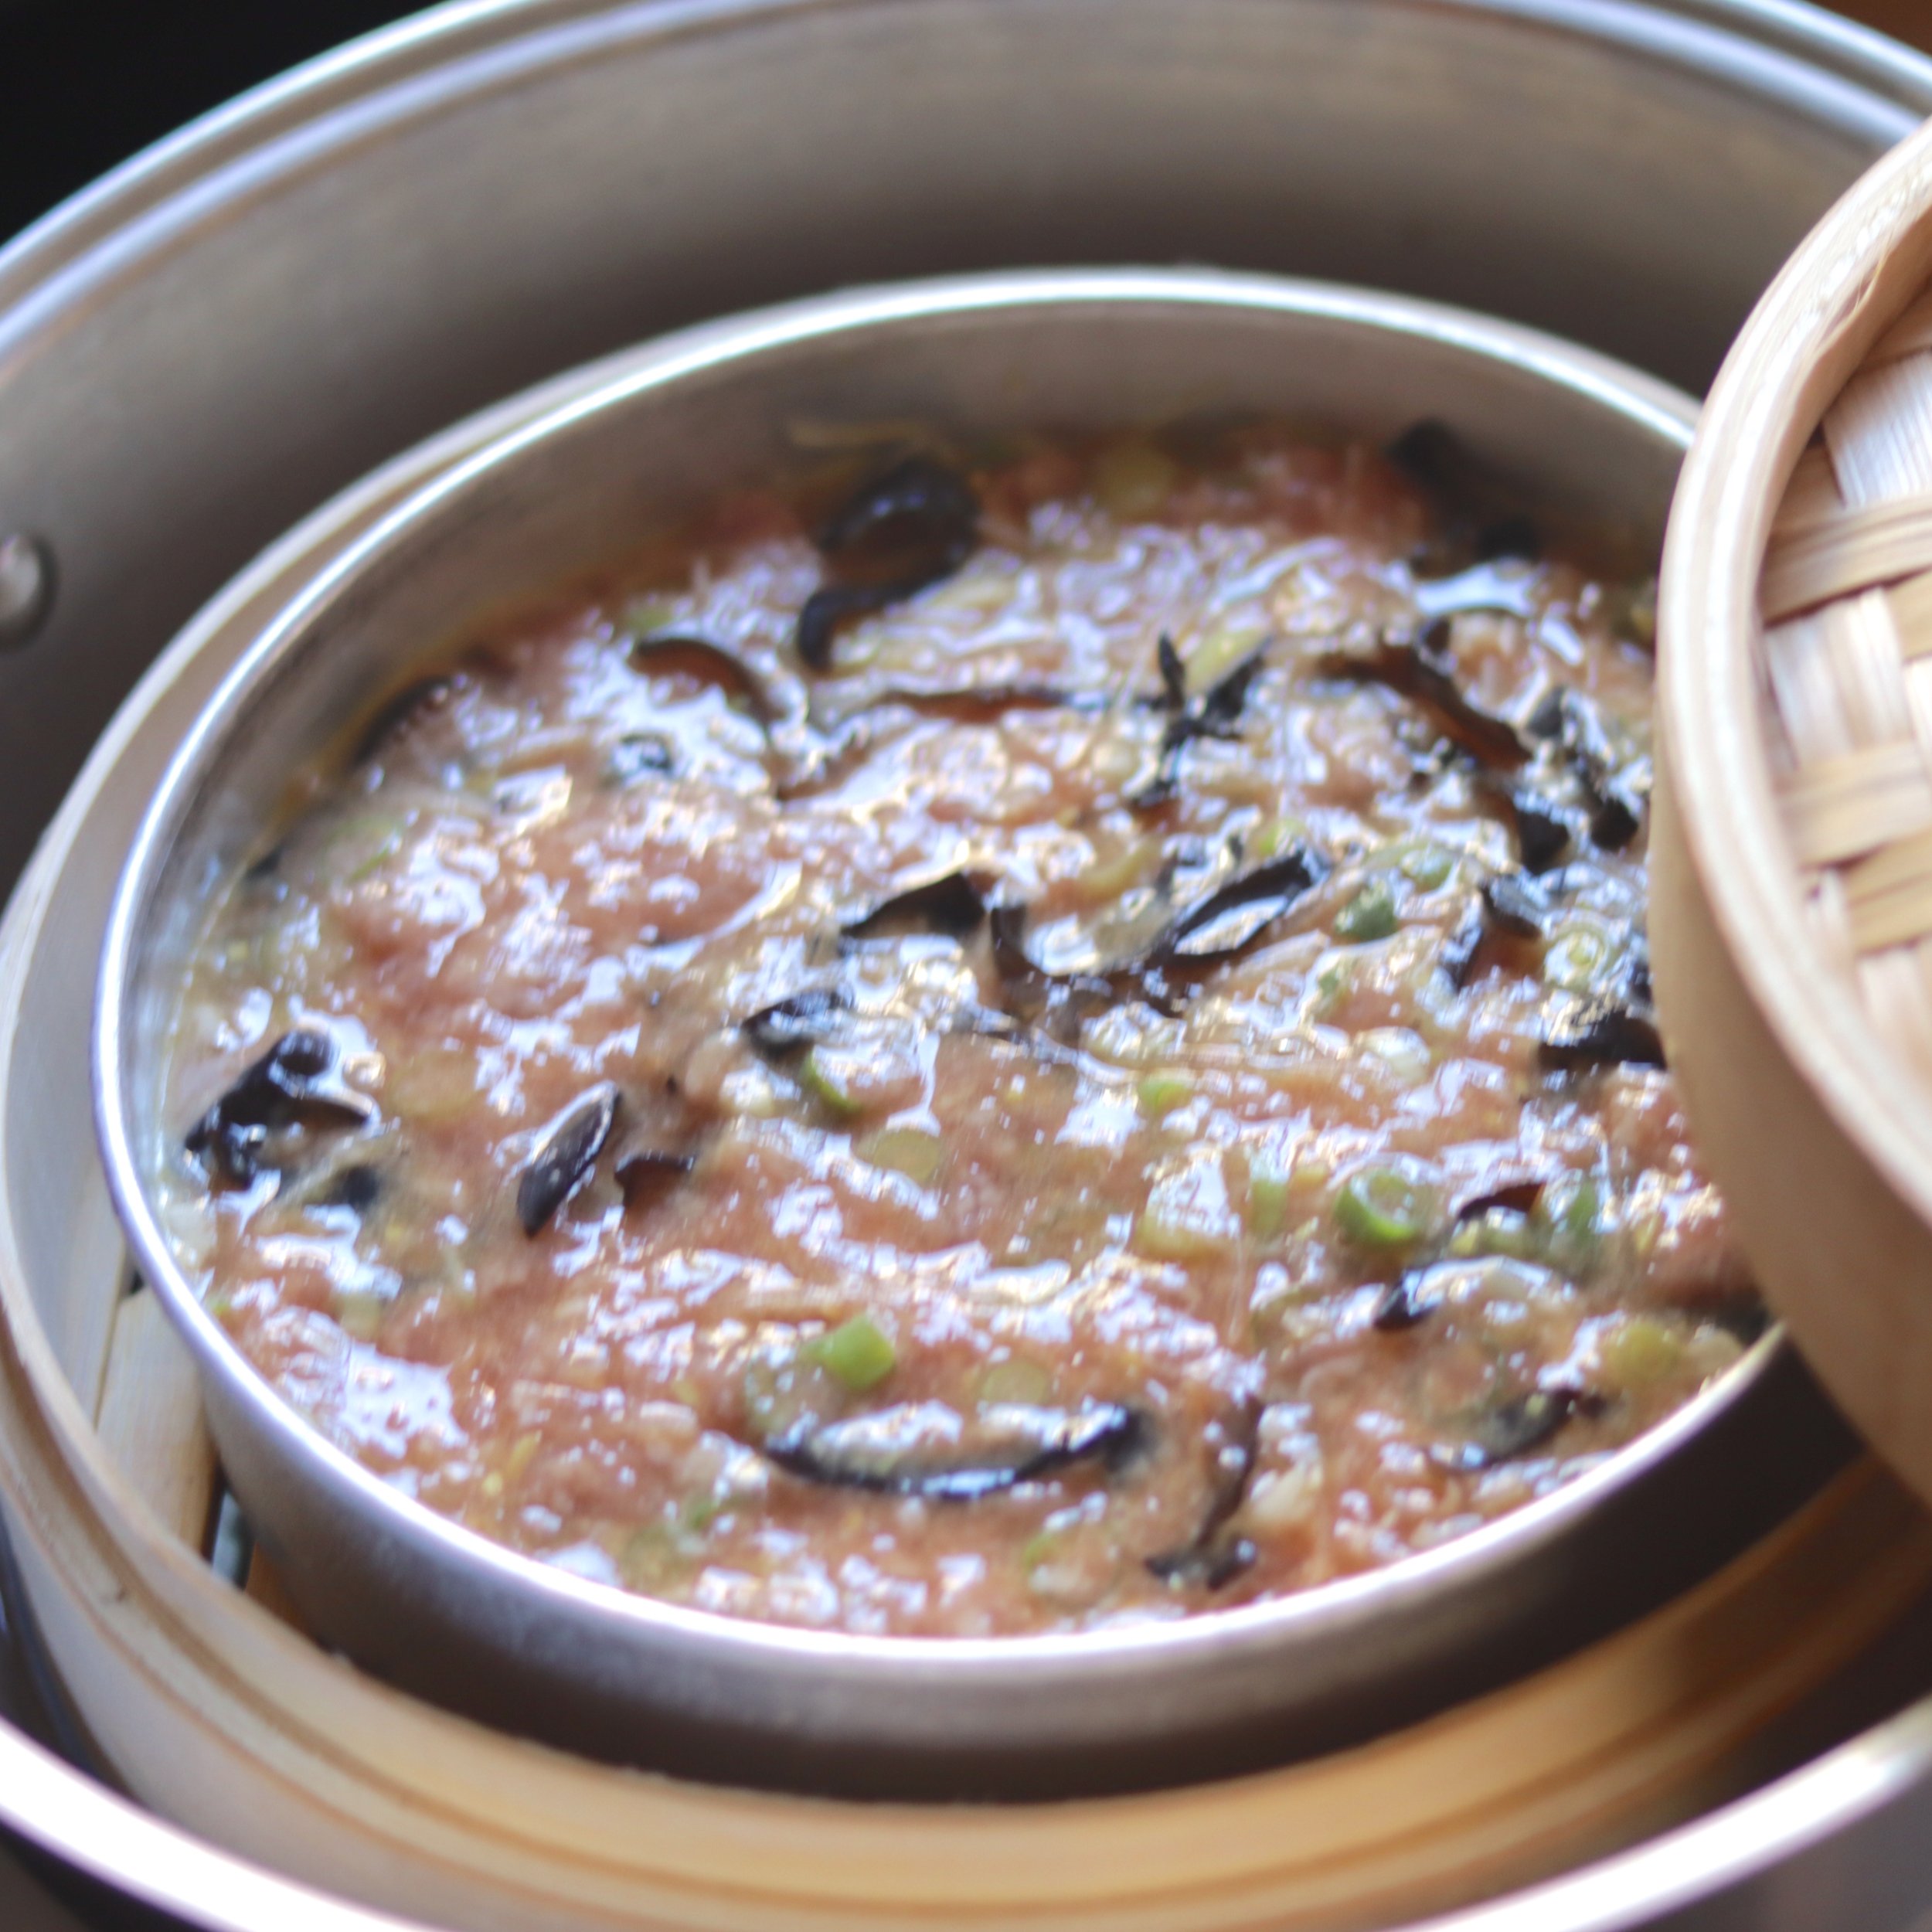
- Place the egg terrine tin into the steamer.
- Steam for 40 minutes. Or when the internal temperature of the egg terrine reaches 160 ℉.
- Whisk the egg yolks that were reserved earlier.
- Use a pastry brush to glaze the egg terrine with the egg yolks
- Steam the egg terrine for another 5 minutes.
- Remove the egg terrine from the steamer and let it sit for 20 minutes before cutting into it.
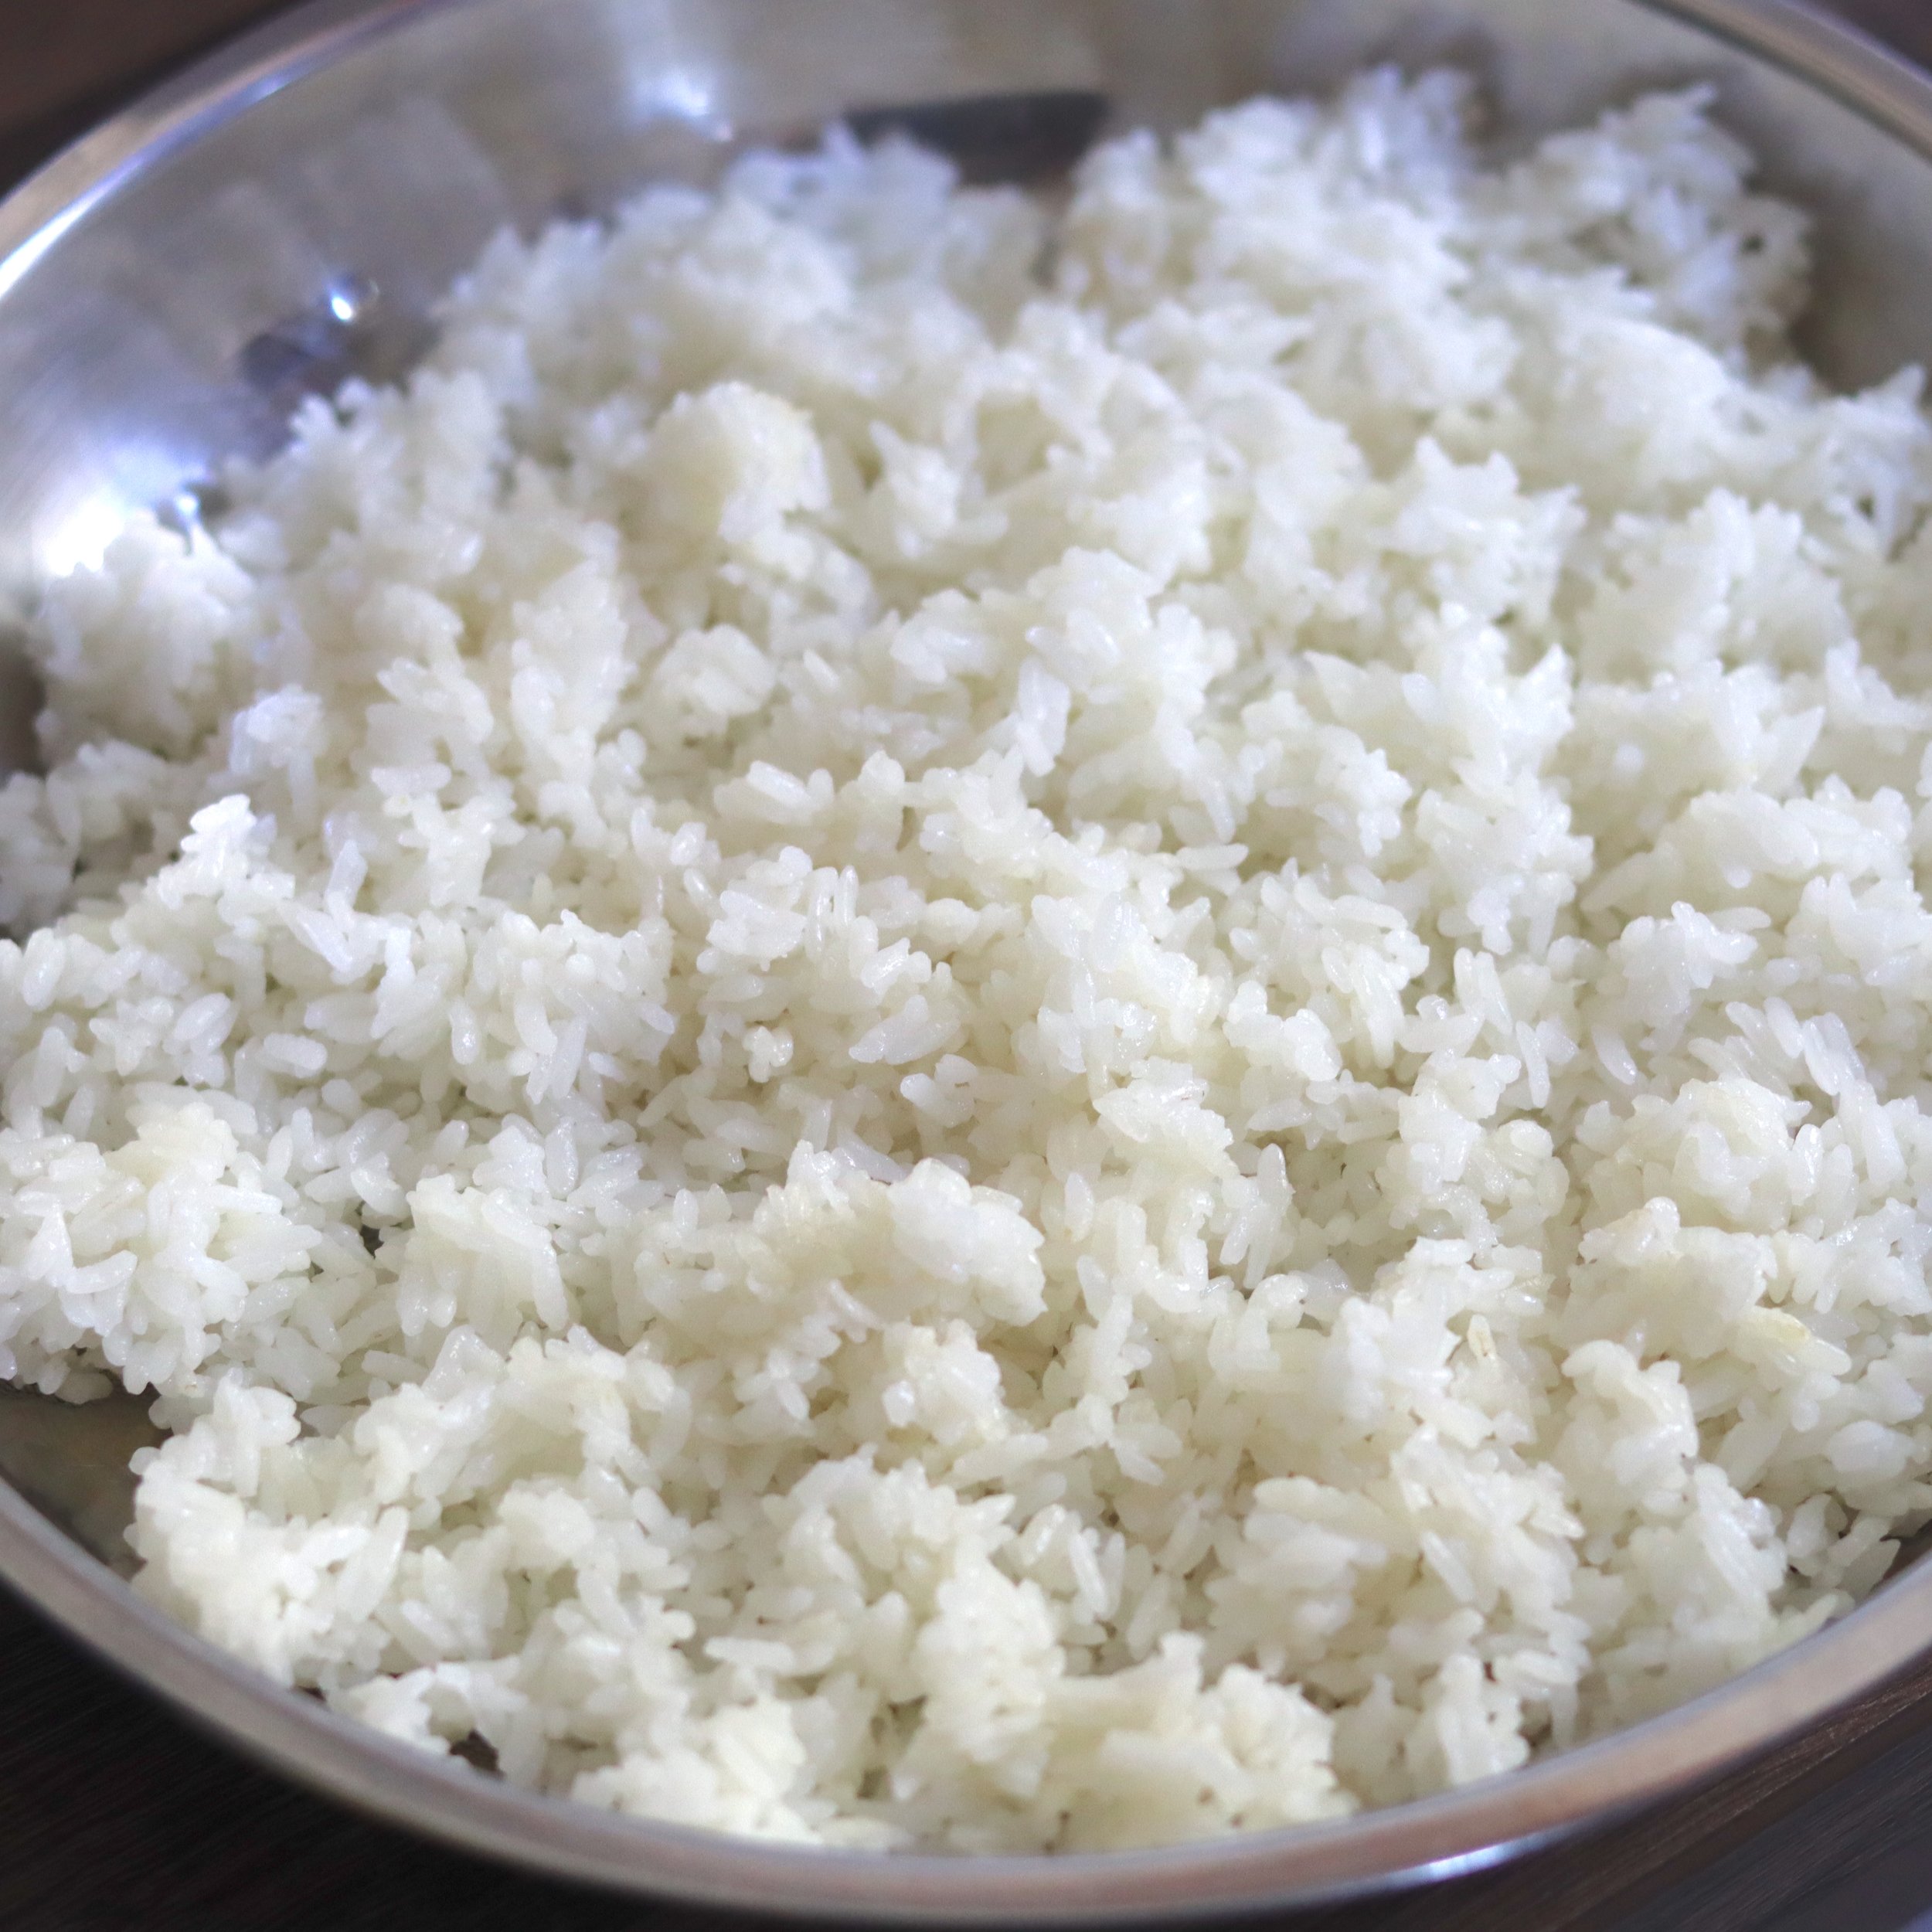
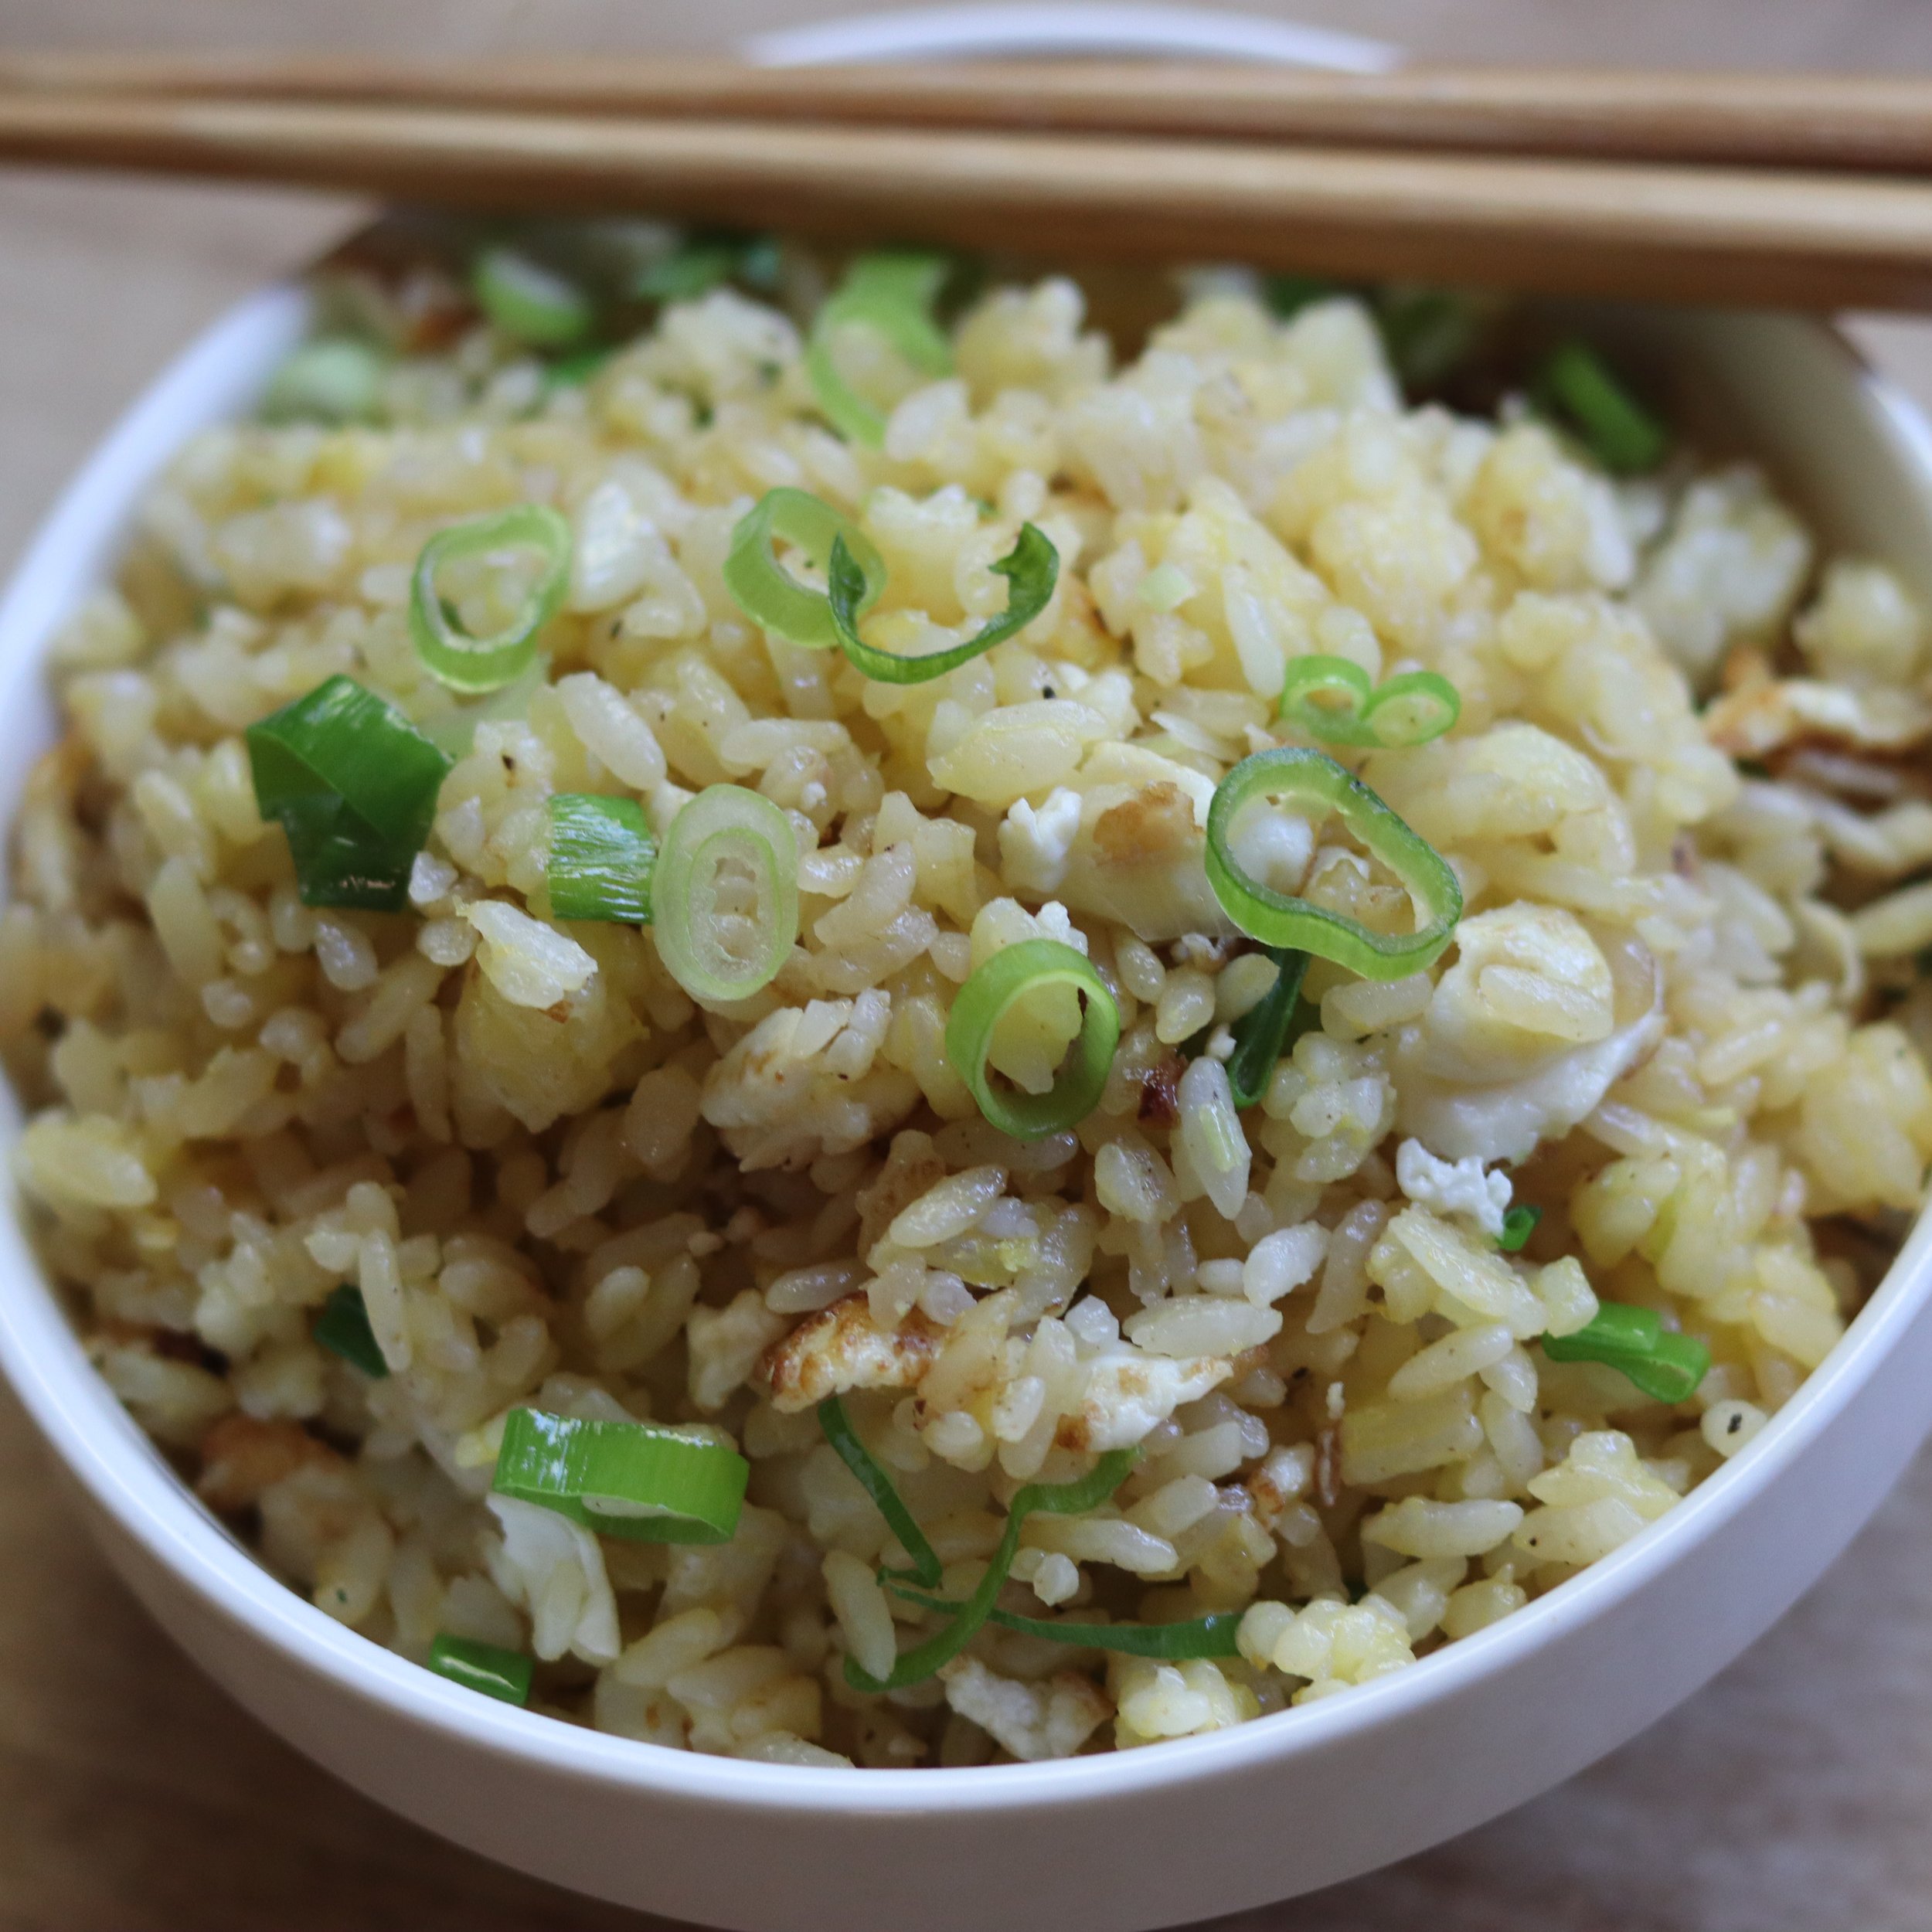
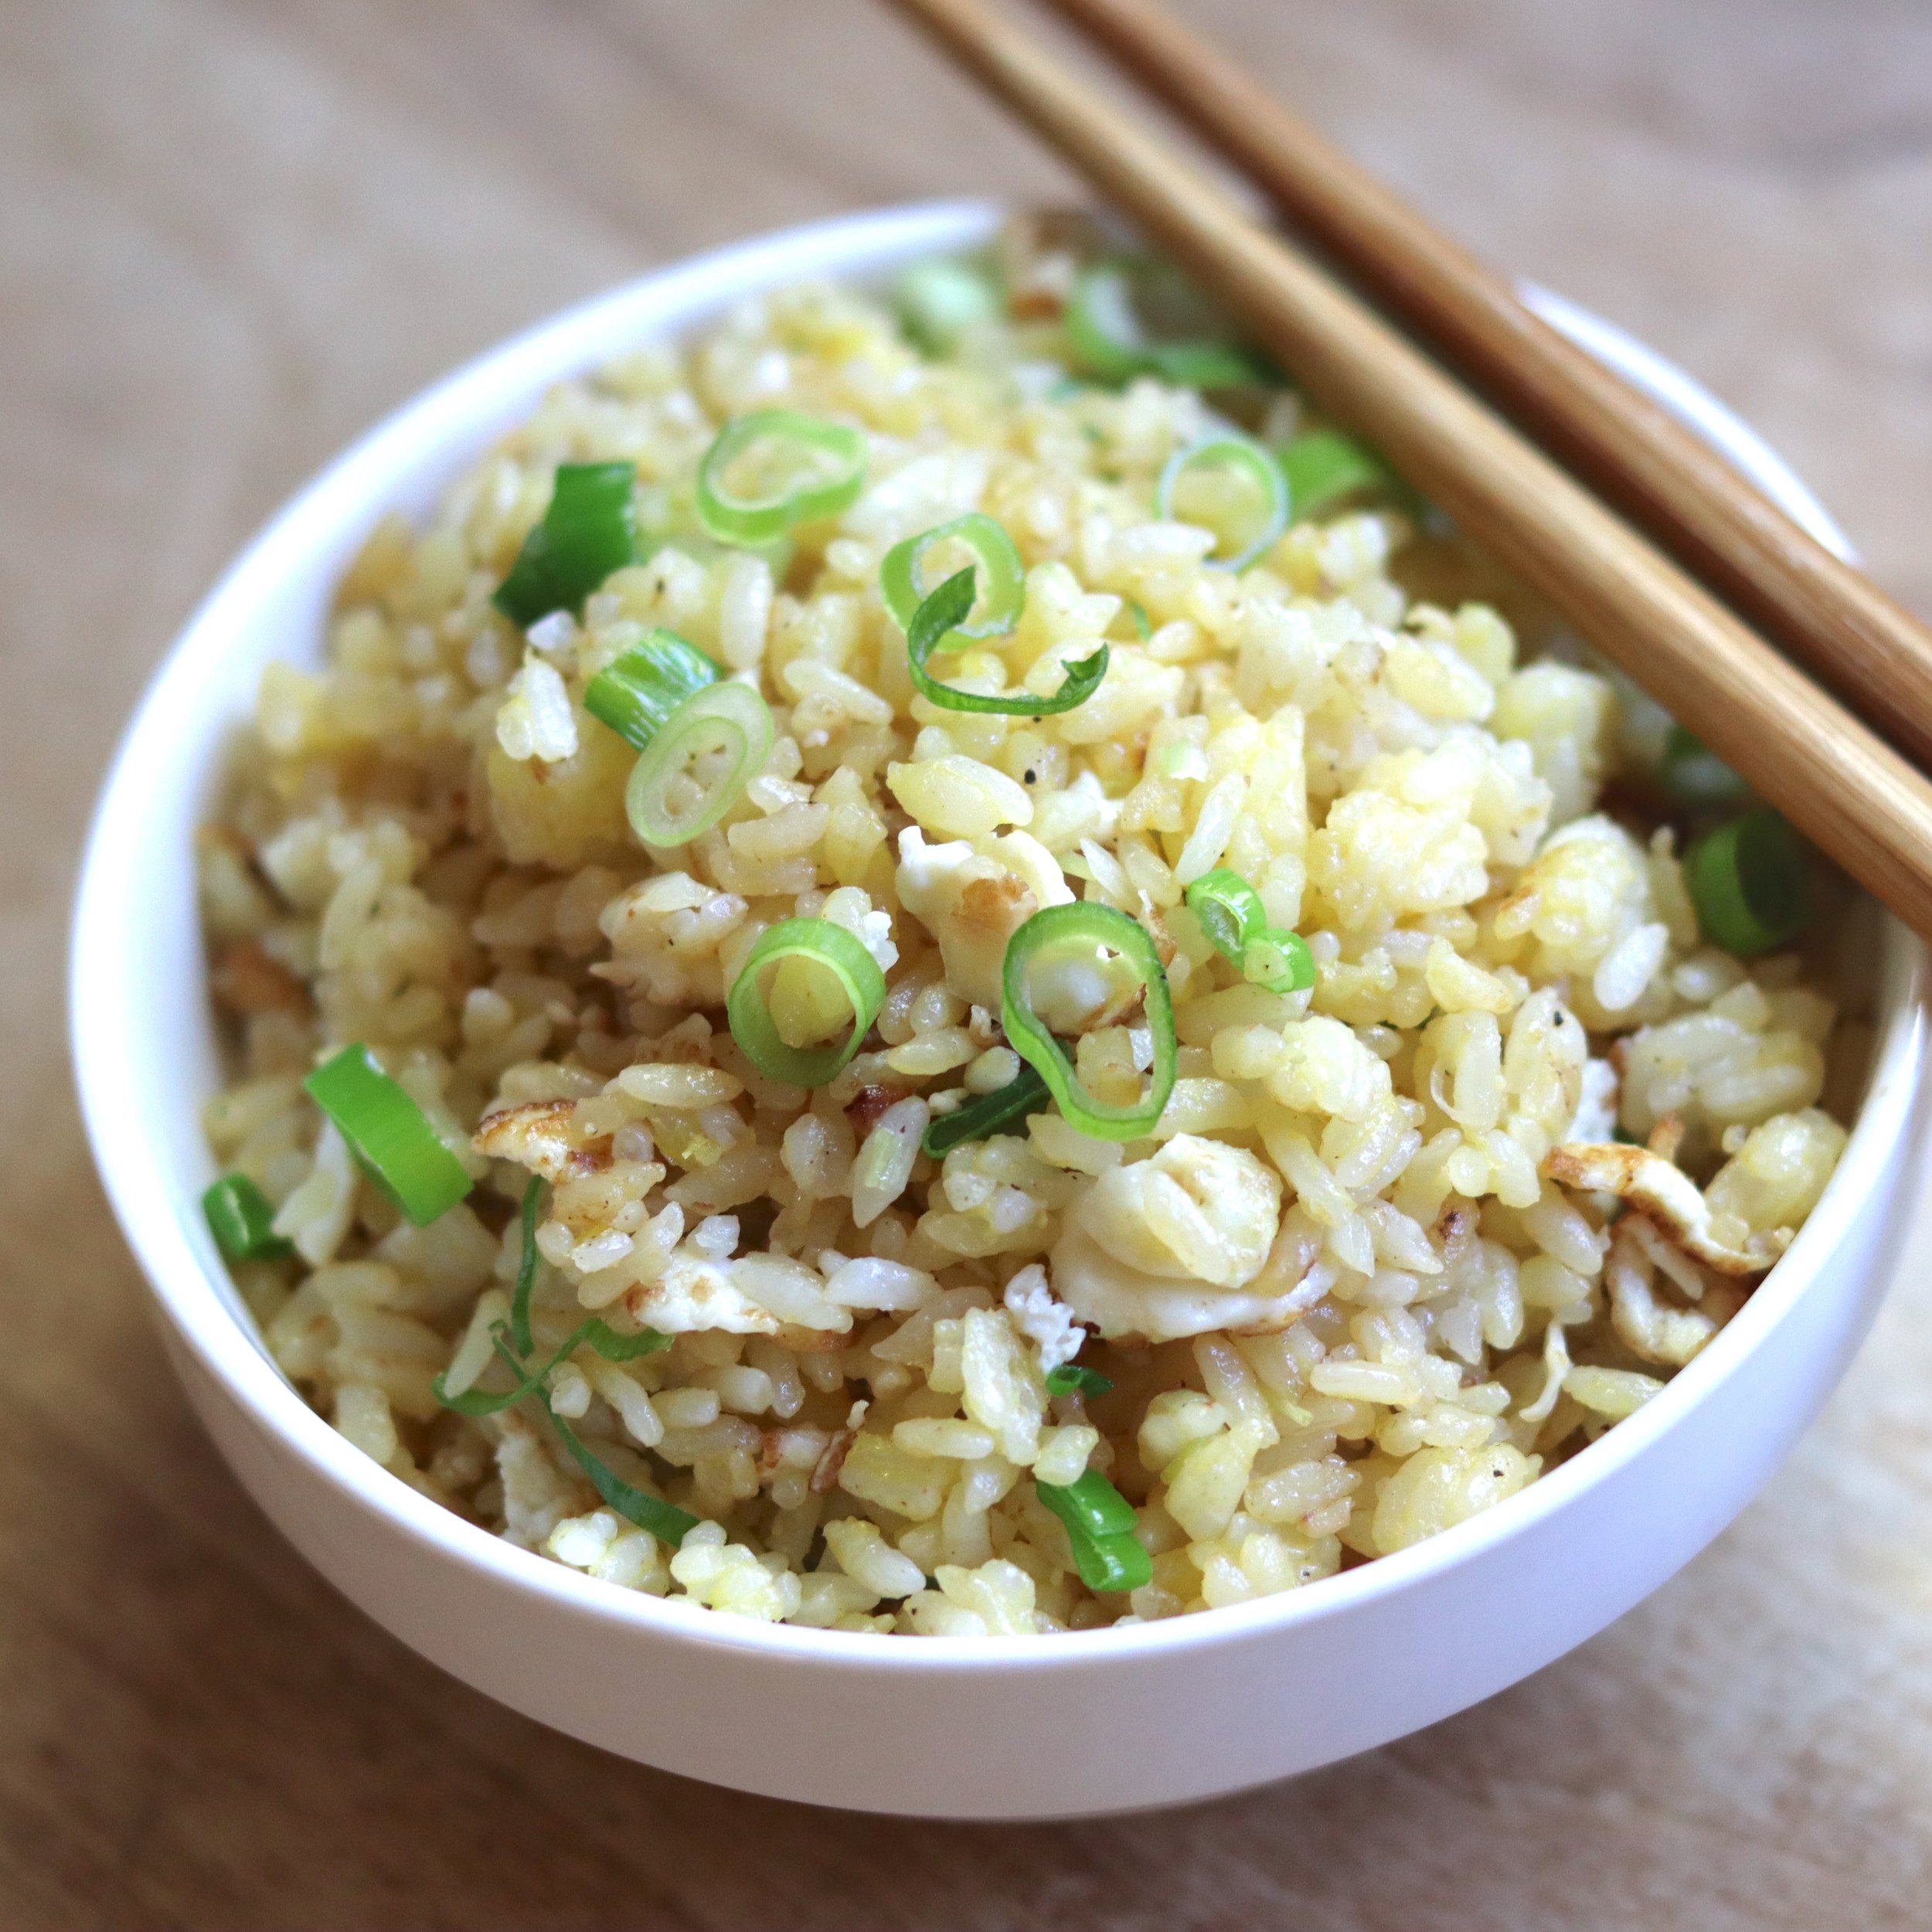
- Serve with a side of rice, banh mi pickles and sriracha.


")


![Khổ Qua Xào [Stir Fried Bitter Melon]](https://i.imgur.com/AYewY5Q.jpg "Khổ Qua Xào [Stir Fried Bitter Melon]")


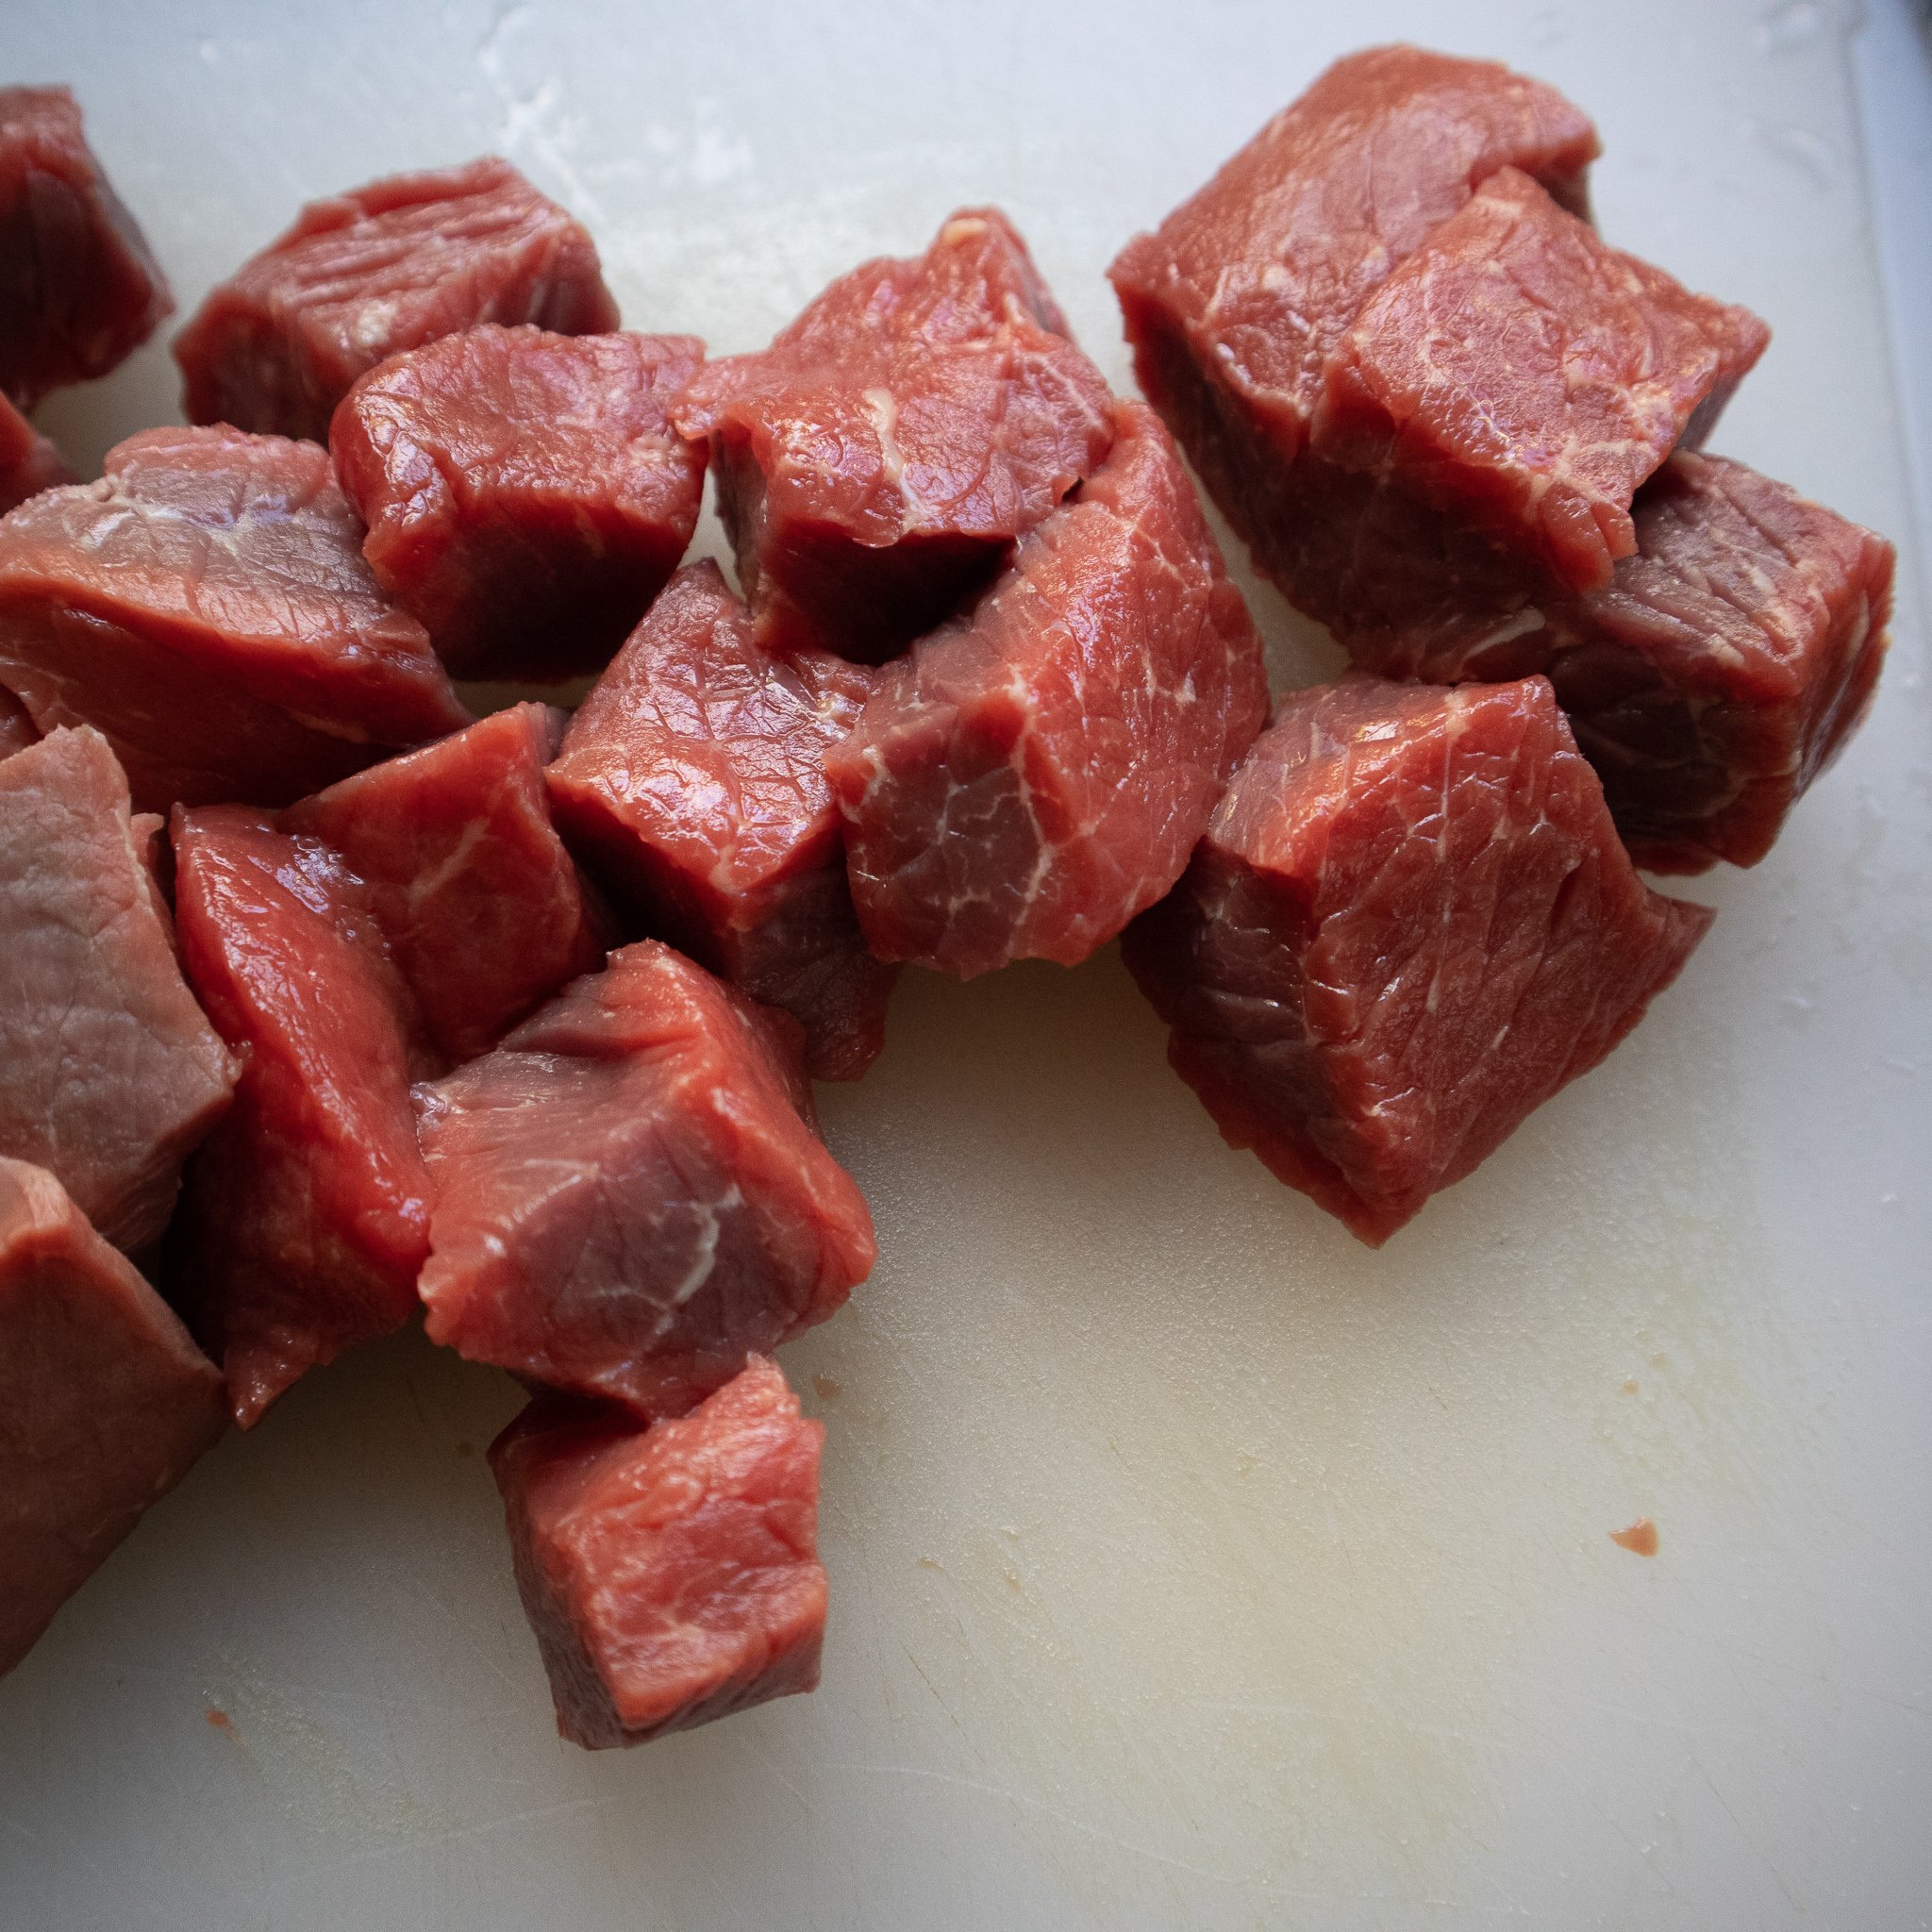

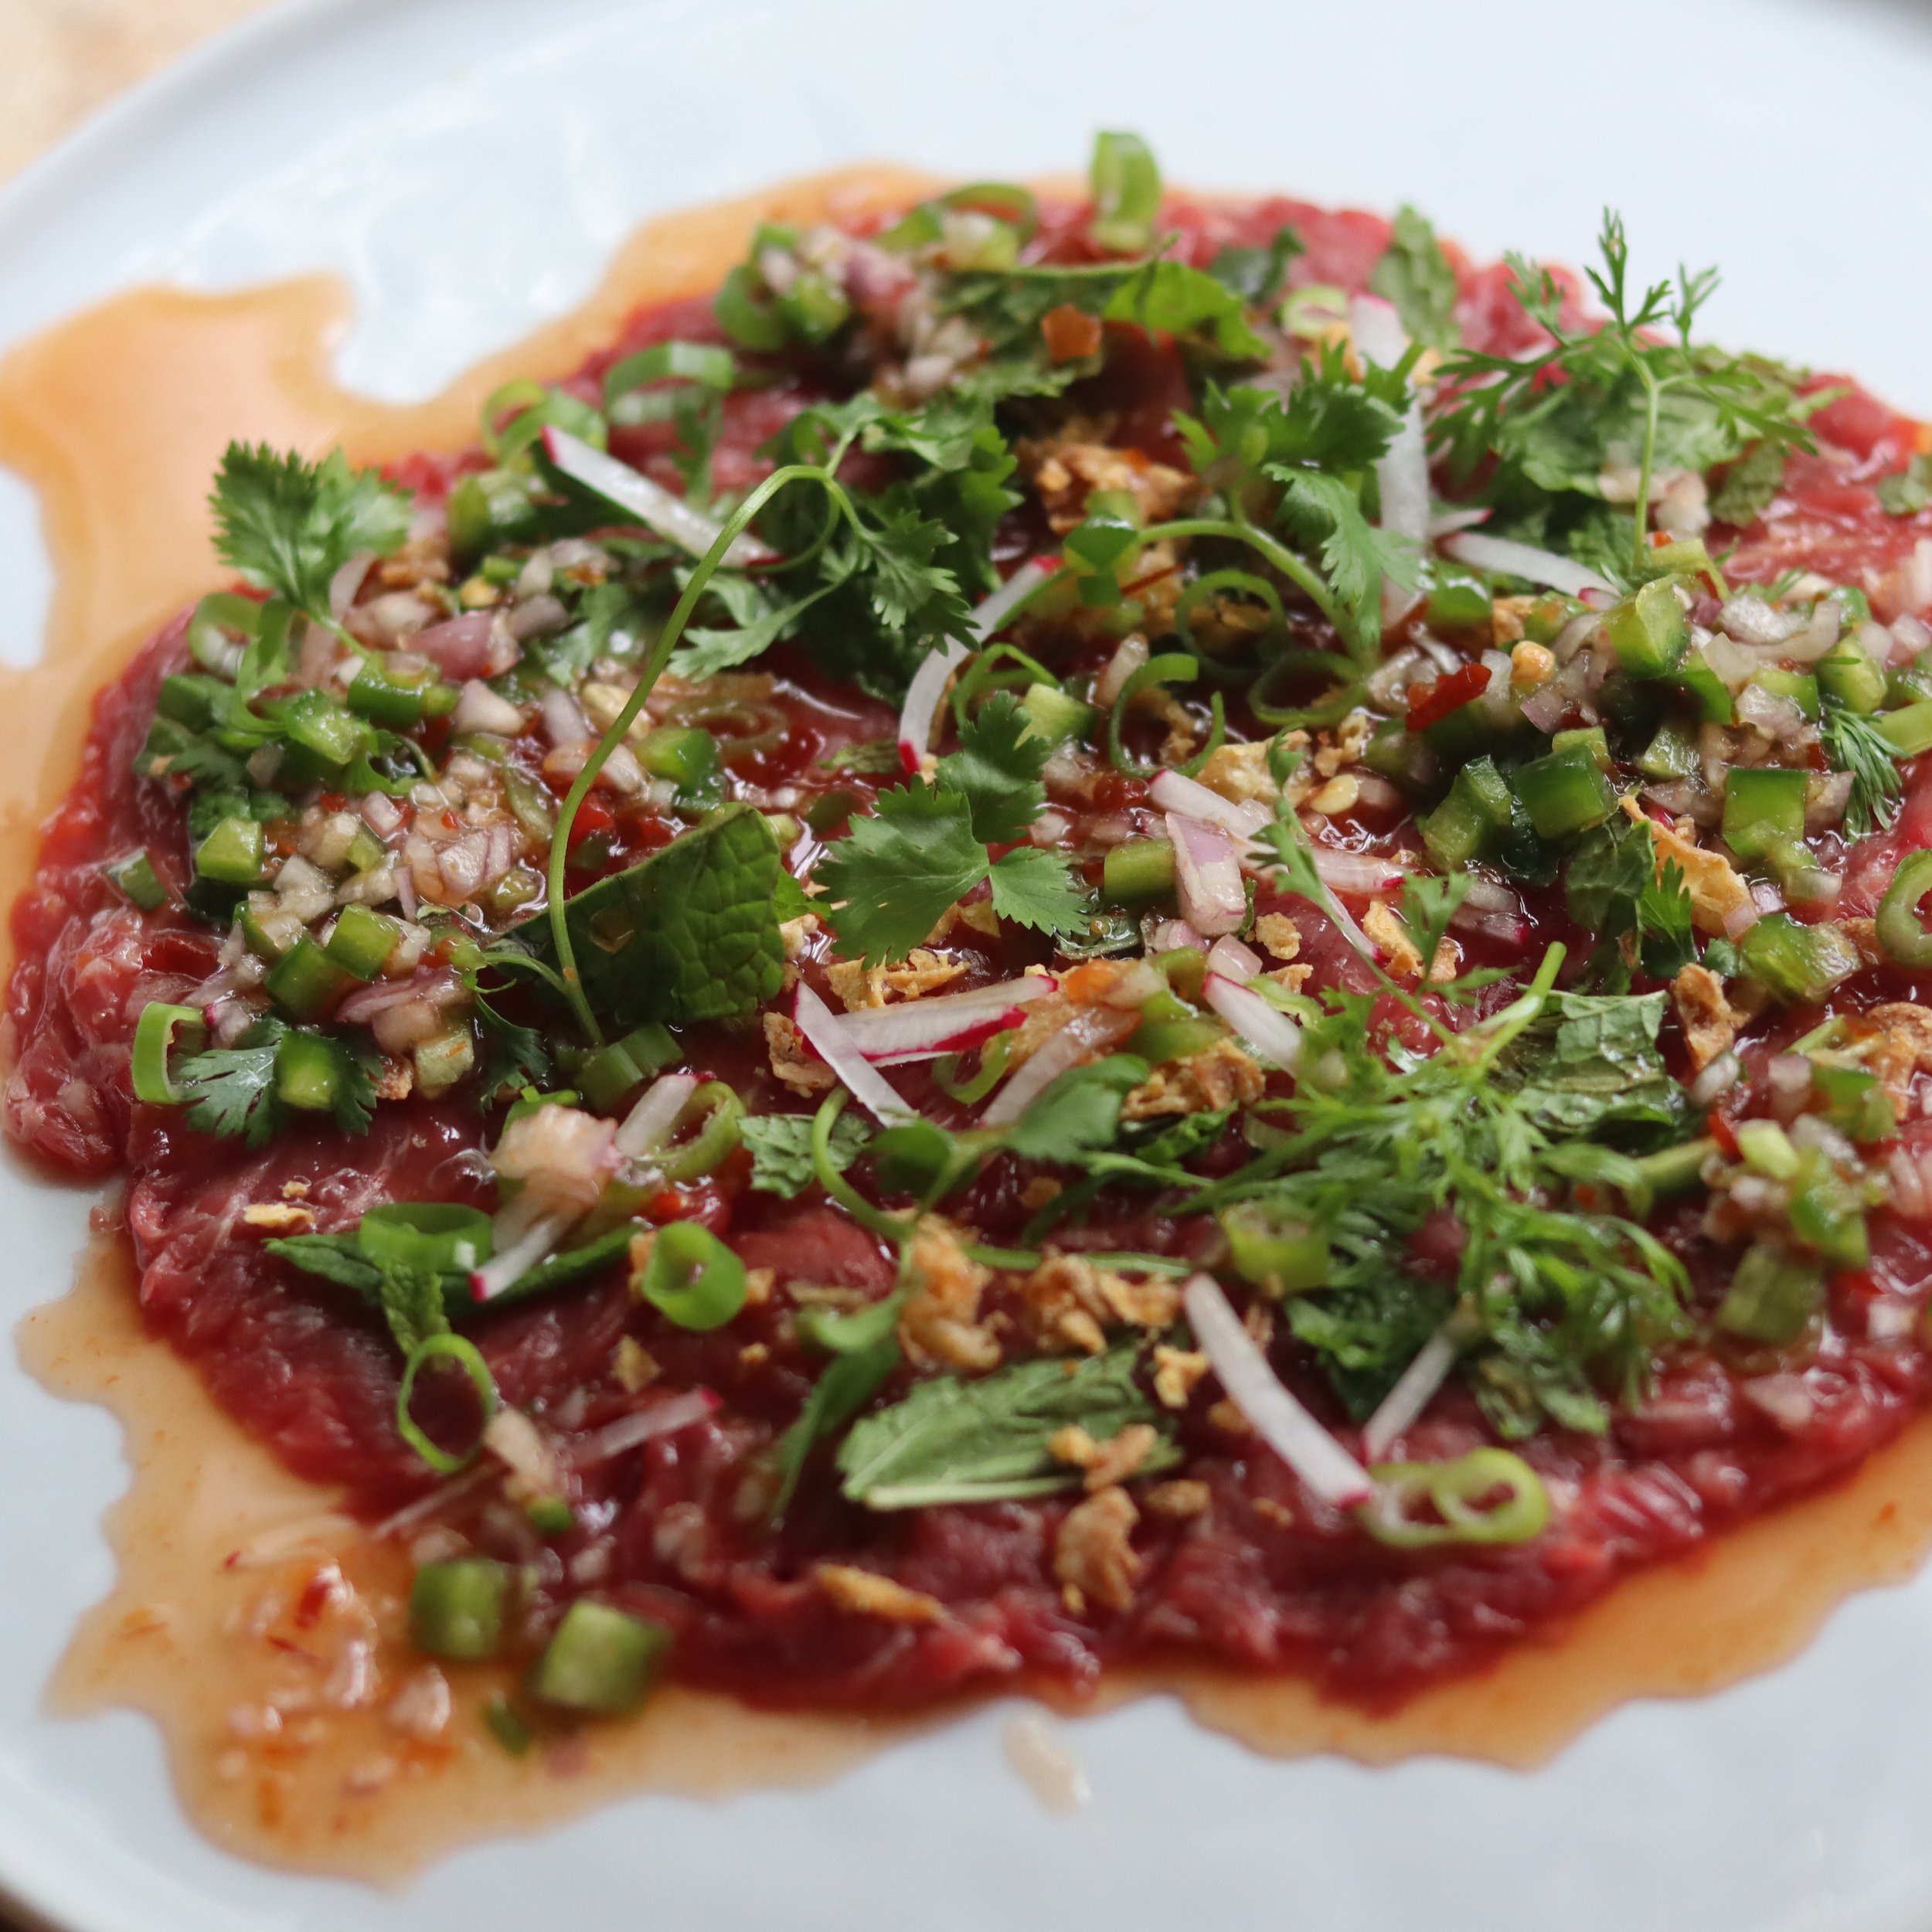
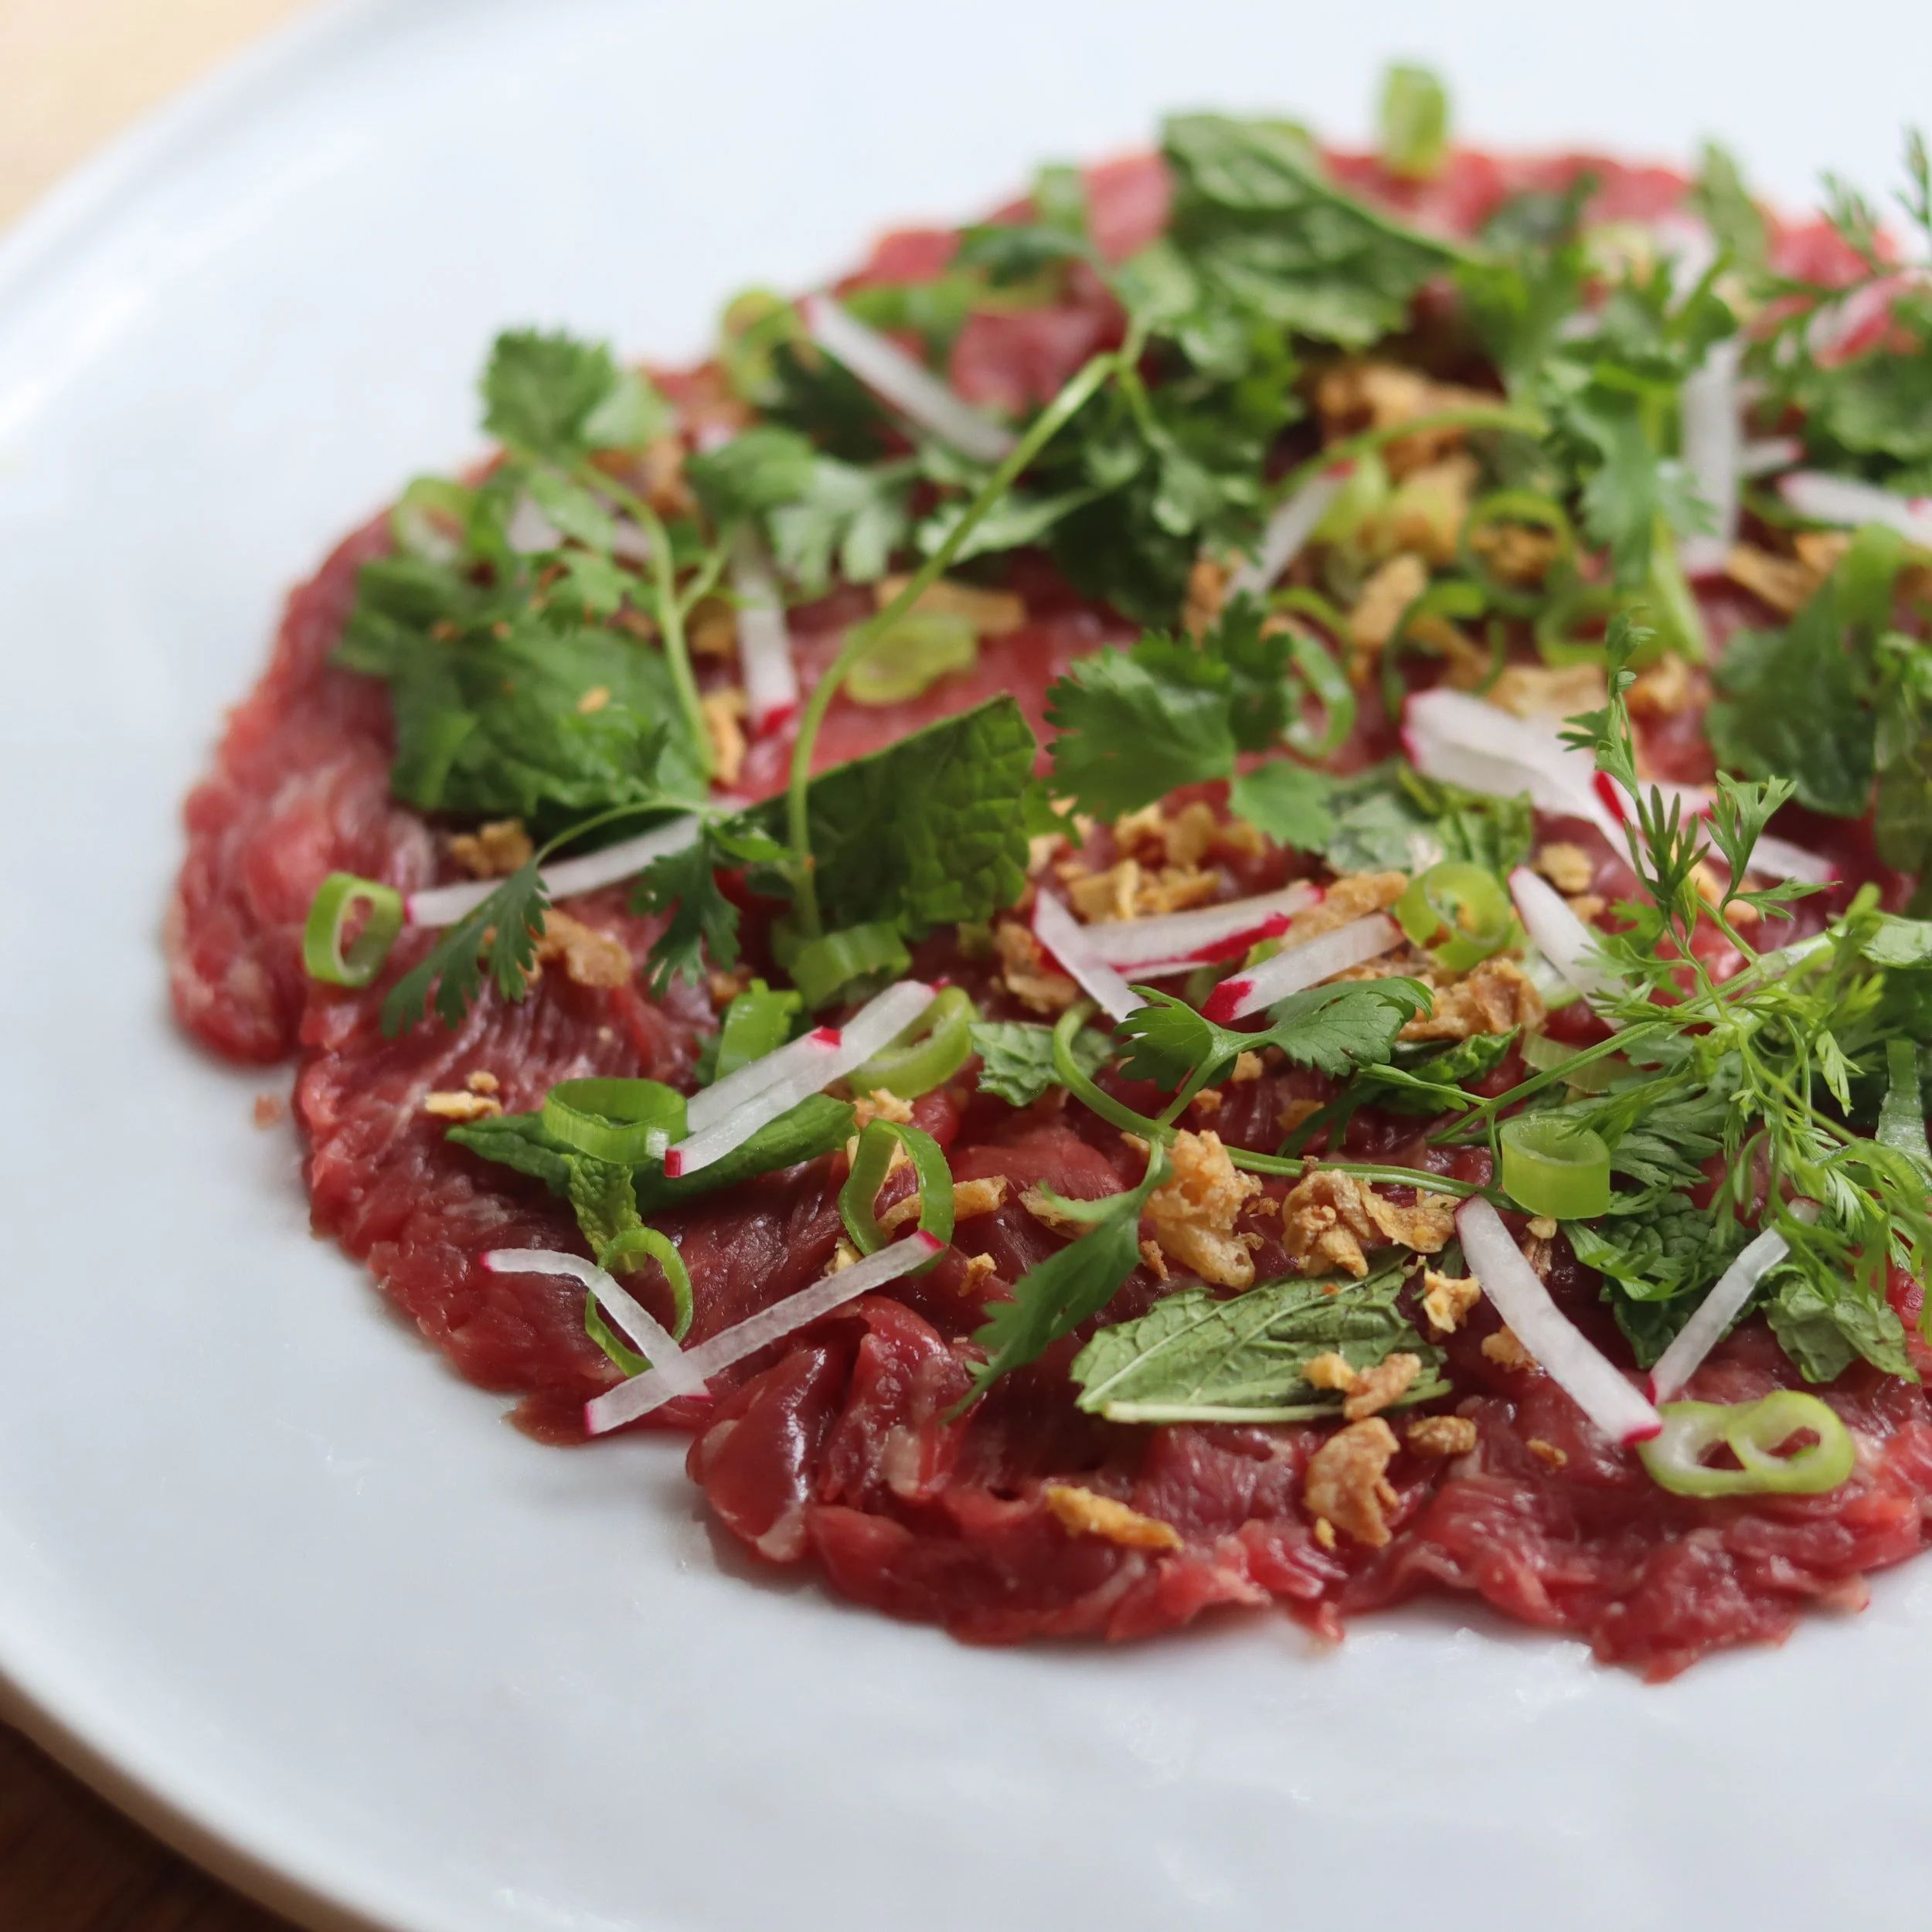
![Shaking Beef [Bò Lúc Lắc]](https://i.imgur.com/6TObp8O.jpg "Shaking Beef [Bò Lúc Lắc]")


