NAVIGATION


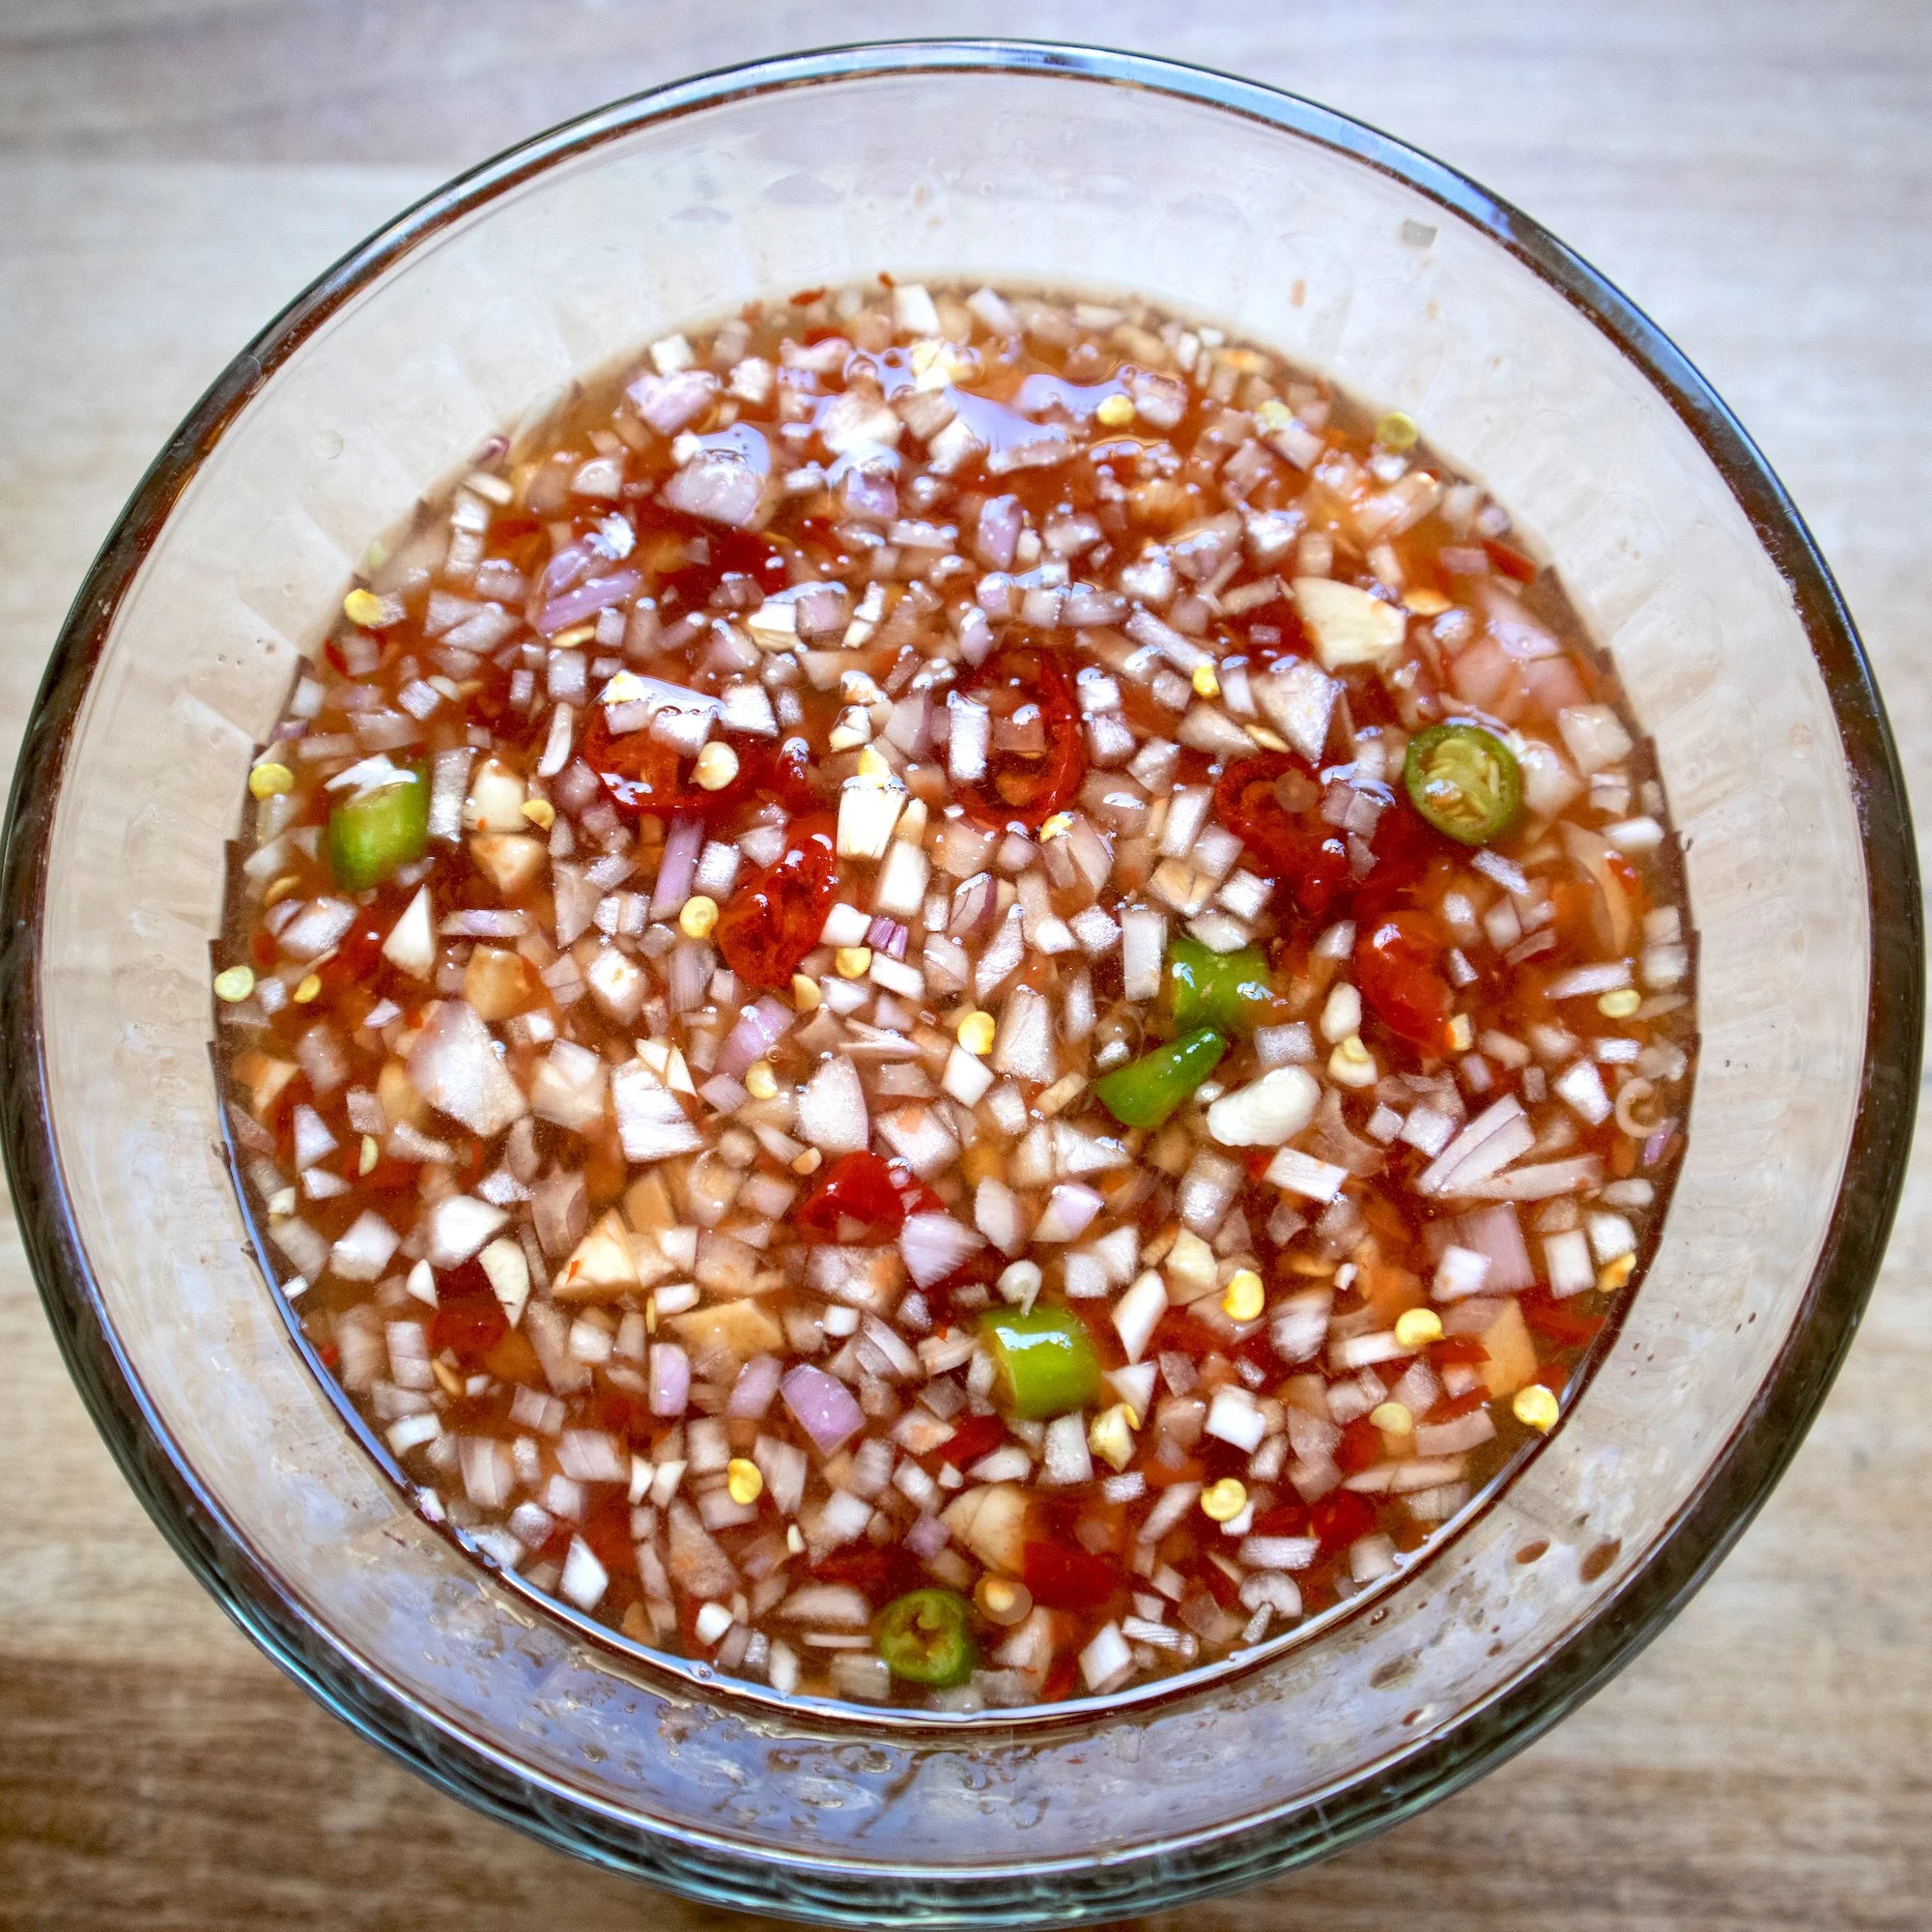
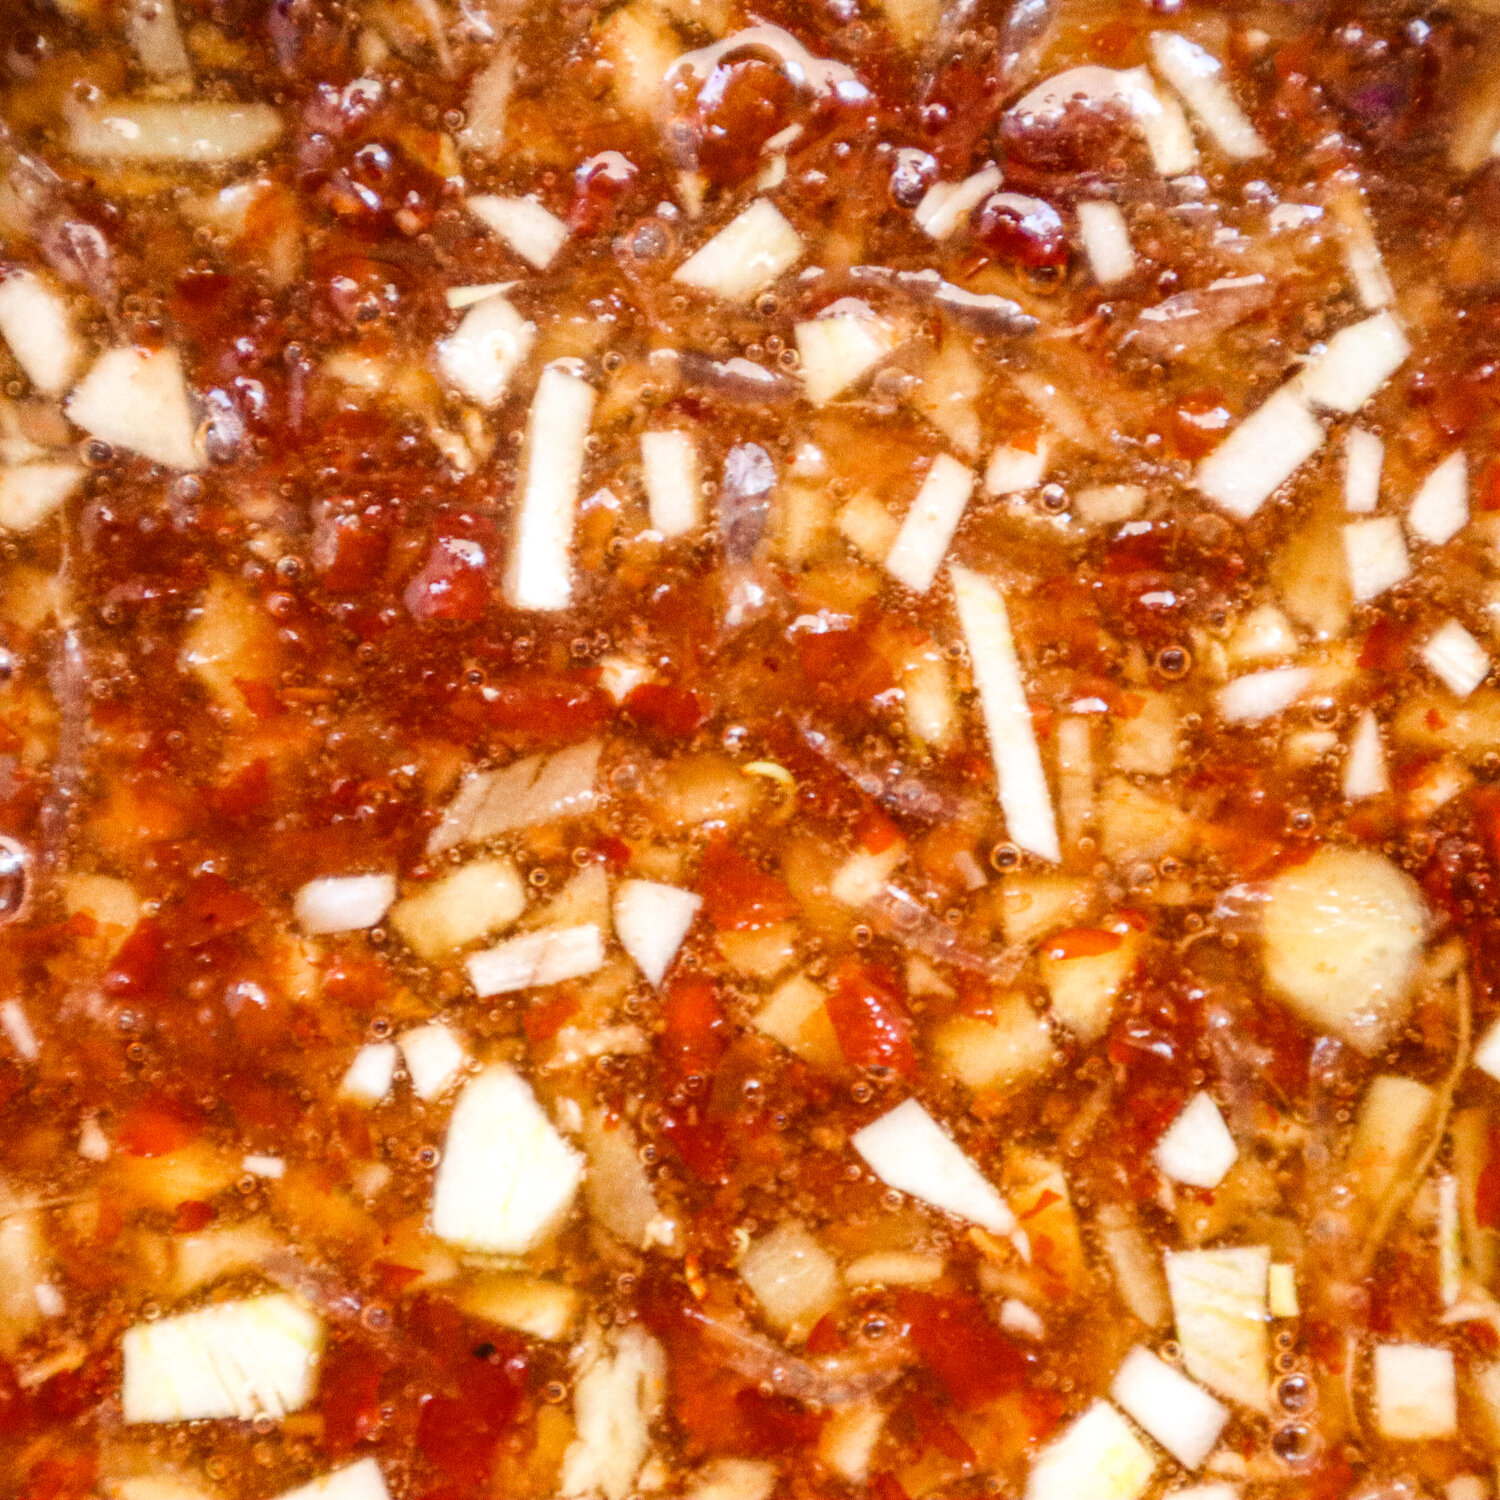
![Củ Cải Chua Ngọt [Pickled Daikon and Carrots]](https://i.imgur.com/bTULtfq.jpg "Củ Cải Chua Ngọt [Pickled Daikon and Carrots]")
Yield
4Author
Chef Tu David PhuPrep time
15 MinCook time
4 MinTotal time
19 MinCủ Cải Chua Ngọt [Pickled Daikon and Carrots]
Whether you like to add this Vietnamese staple condiment to a (banh-mi sandwich, rice noodle salad, or summer roll) it's quick and easy to make. Personally, I keep my fridge stocked with this.
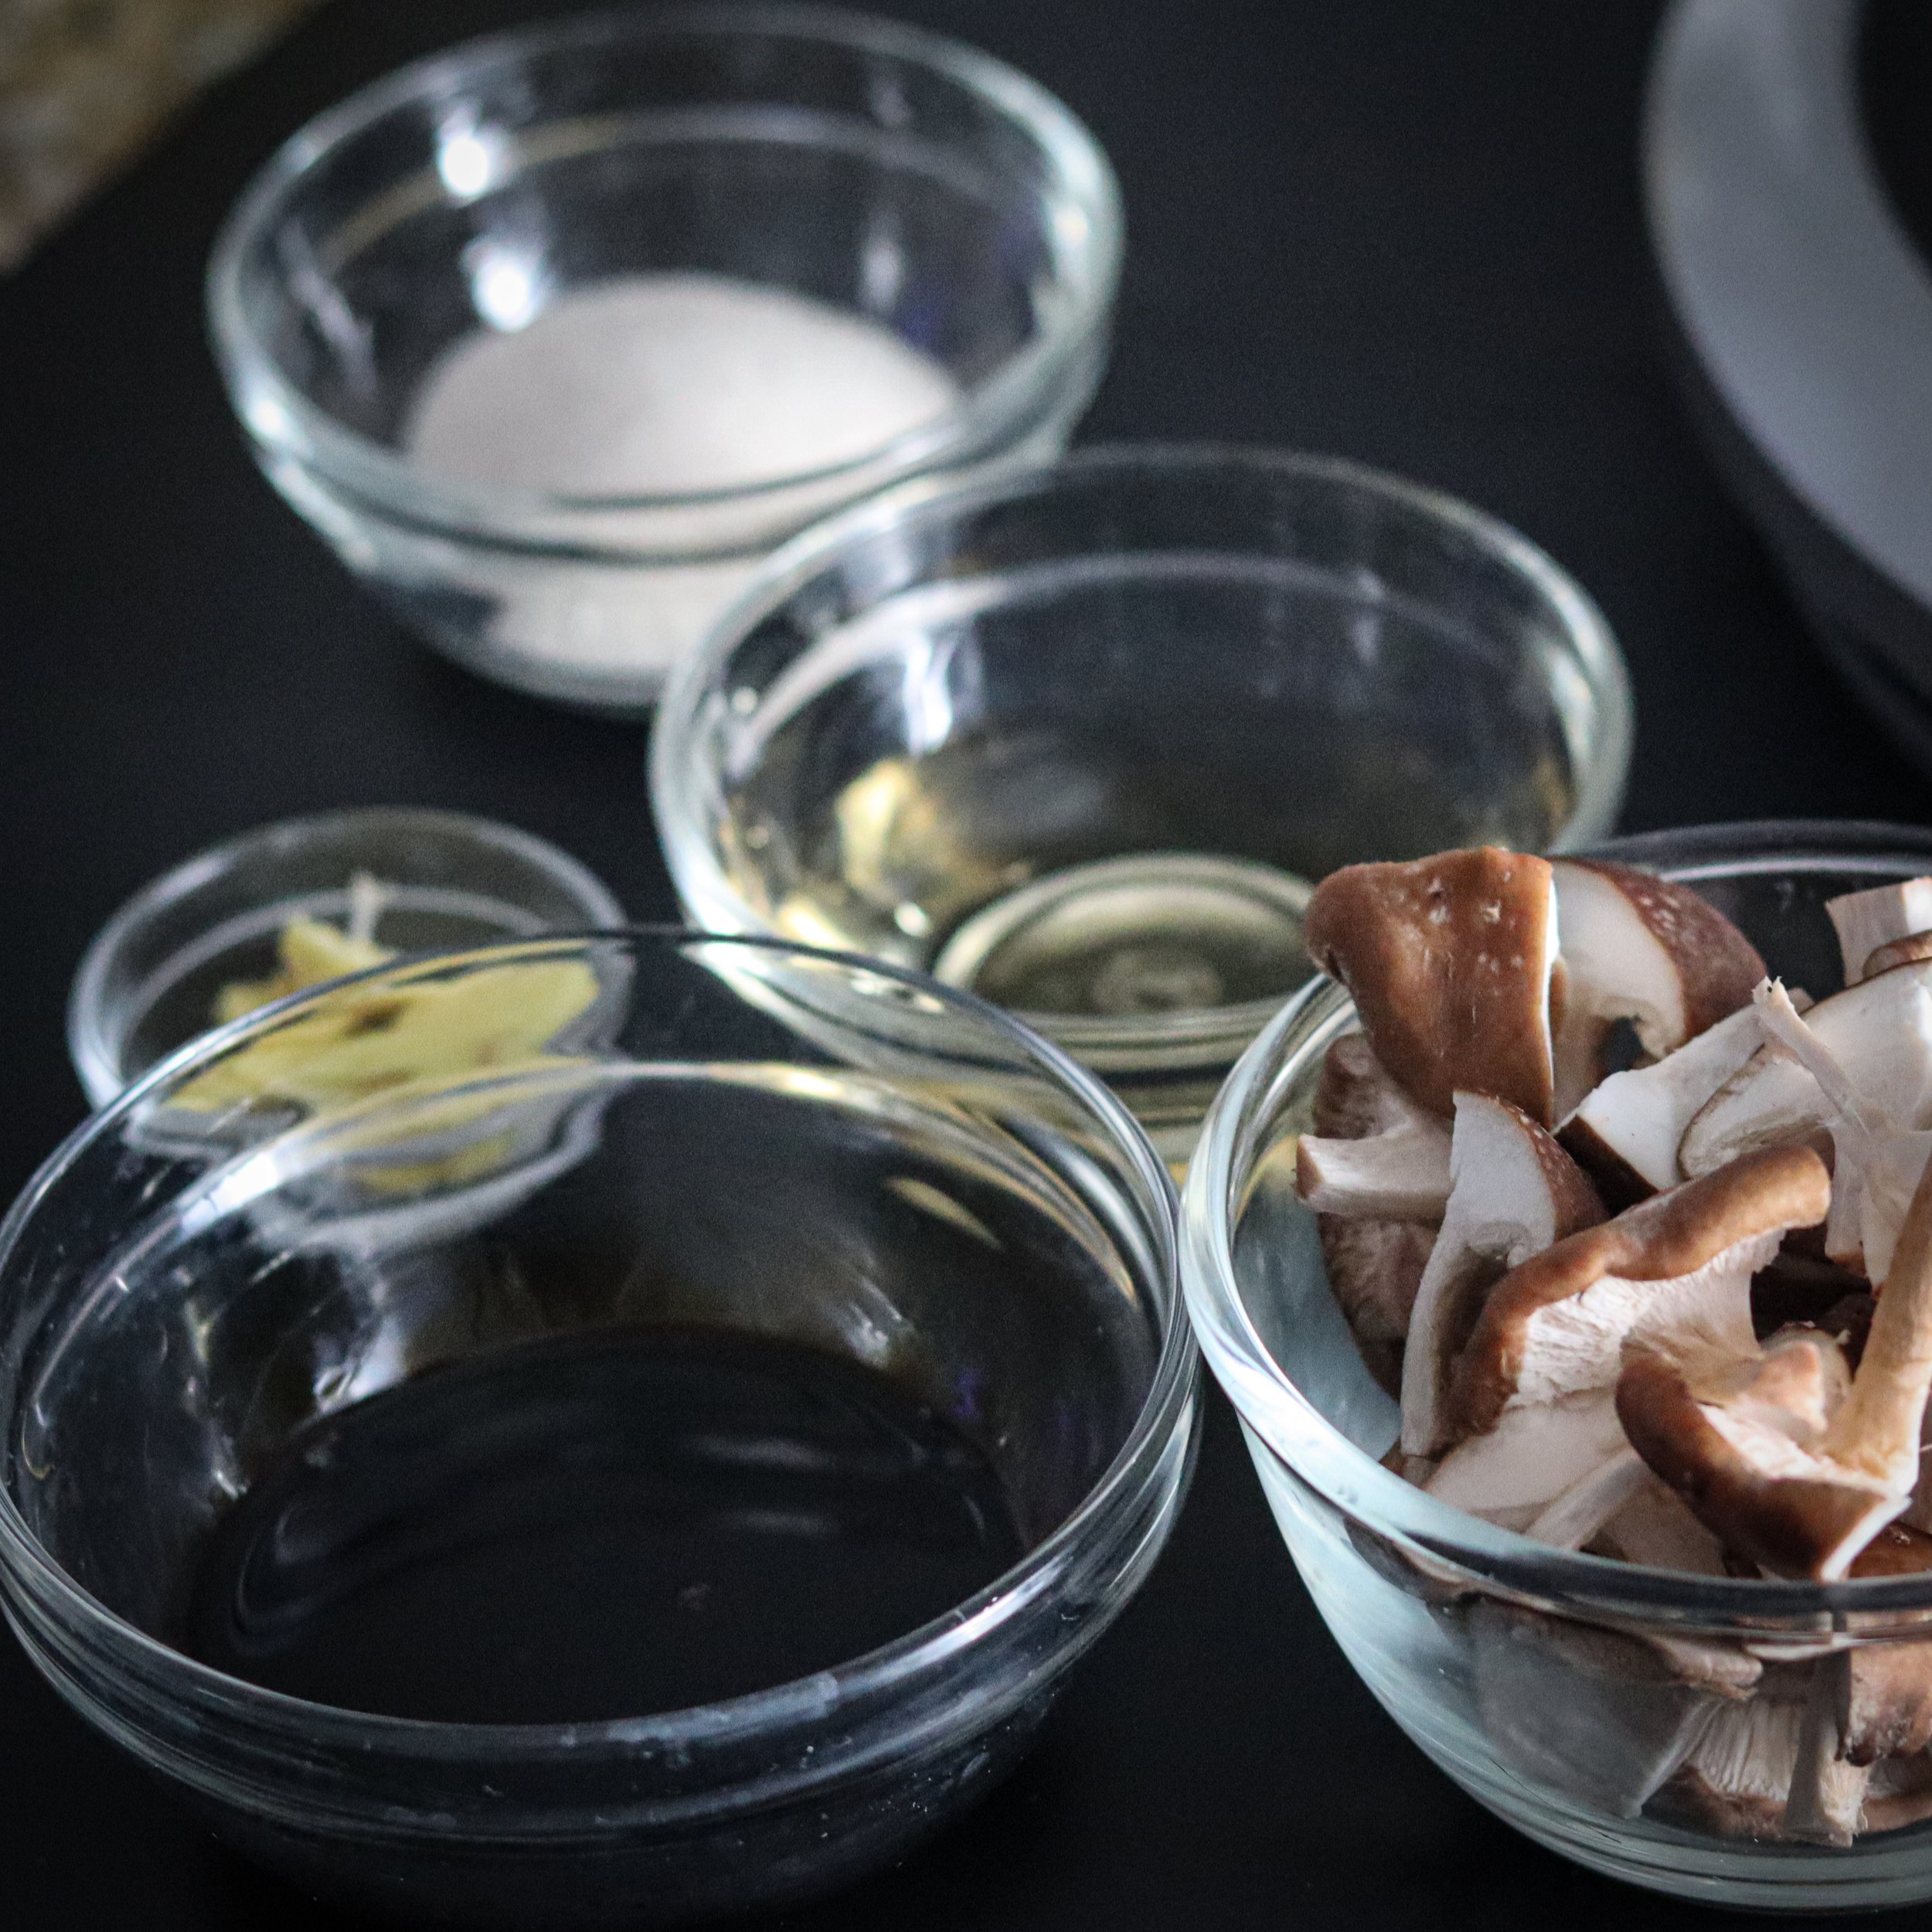
Ingredients
- 2 cups, carrots (Cut into match sticks)
- 1 cup, daikon (Cut into match sticks)
- 1/4 teaspoon, kosher salt
- 1 teaspoon, organic sugar
- 1 cup, rice vinegar (Unseasoned)
- 2 cups, filtered water
- 2 clove, peeled garlic
- 1/4 ounce, peeled ginger (Sliced)
- 1 each, jalapeno
Instructions
- Cut carrots and daikon into 1/8" thick x 2-3" long
- In a medium-size pot, add kosher salt, organic sugar, rice vinegar, water, garlic, ginger, and jalapeno.
- Bring the pot to a simmer.
- Take the pot off the heat.
- Add cut carrots and daikon.
- Submerge carrots and daikon (under pickling liquid) with a small plate
- Allow carrots and daikon to steep for at least 15 minutes at room temperature.
Notes:
Store carrots and daikon in a mason jar with the pickling liquid. Keep refrigerated.


")


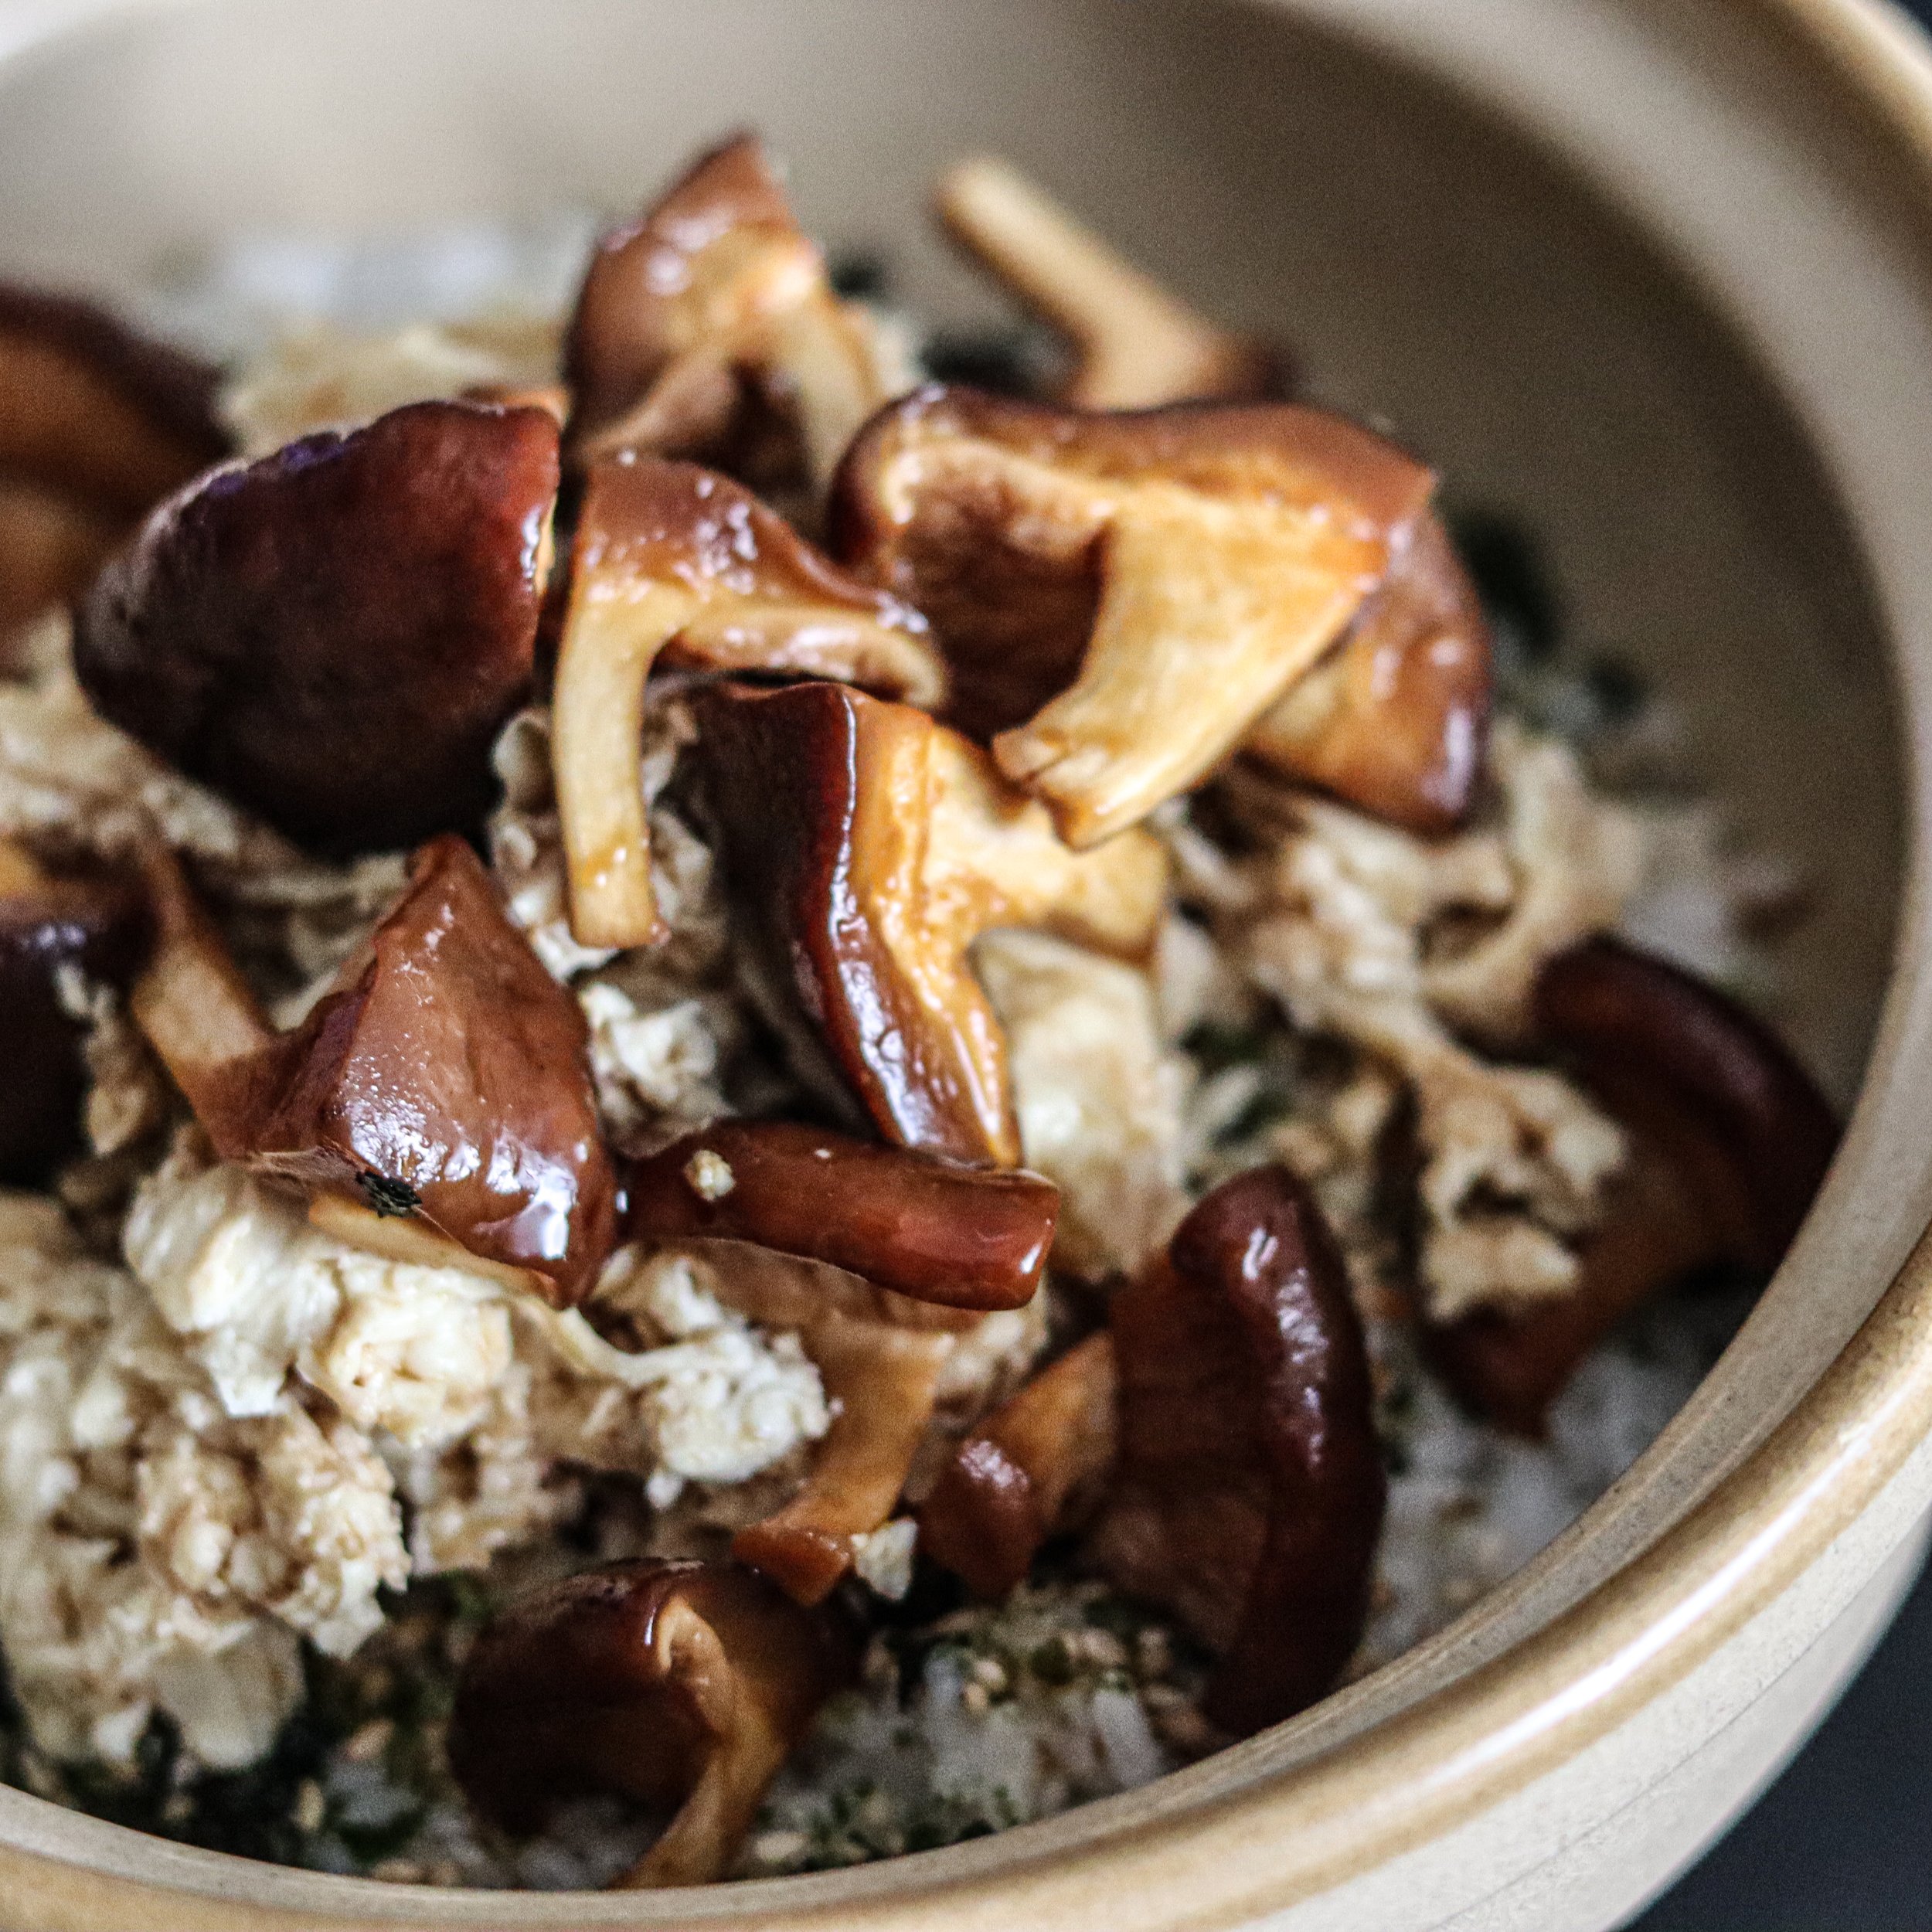
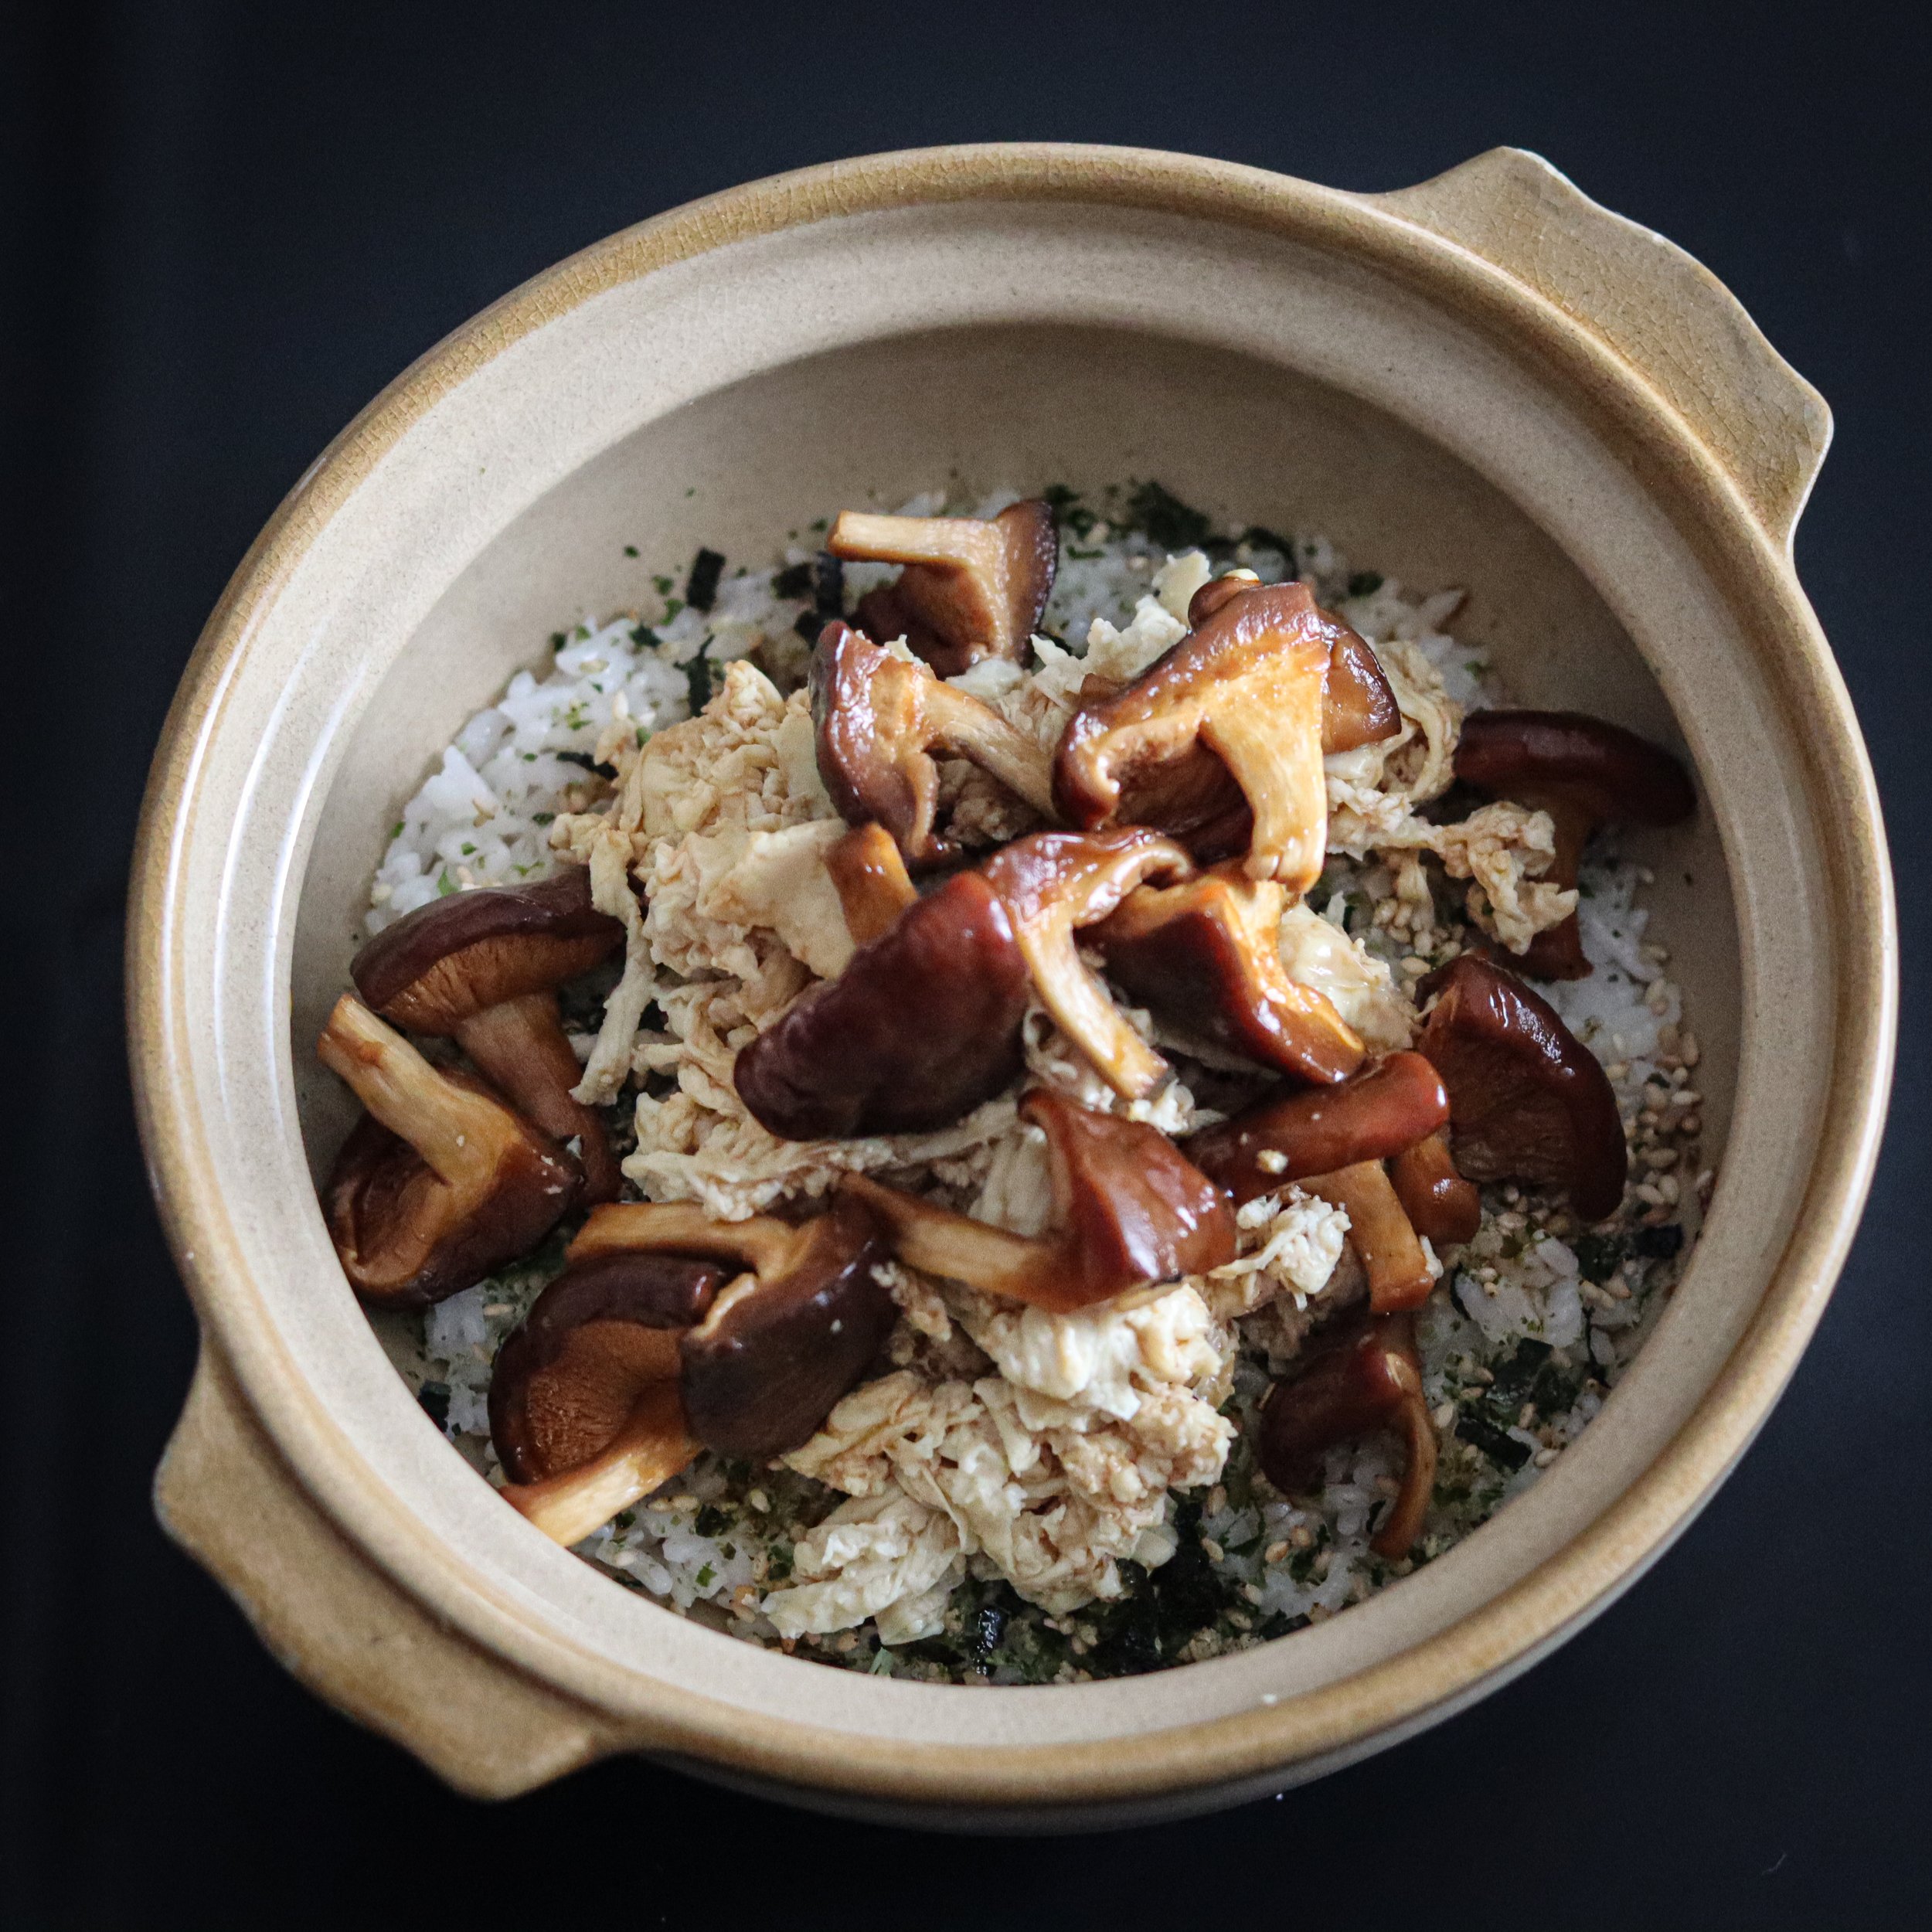
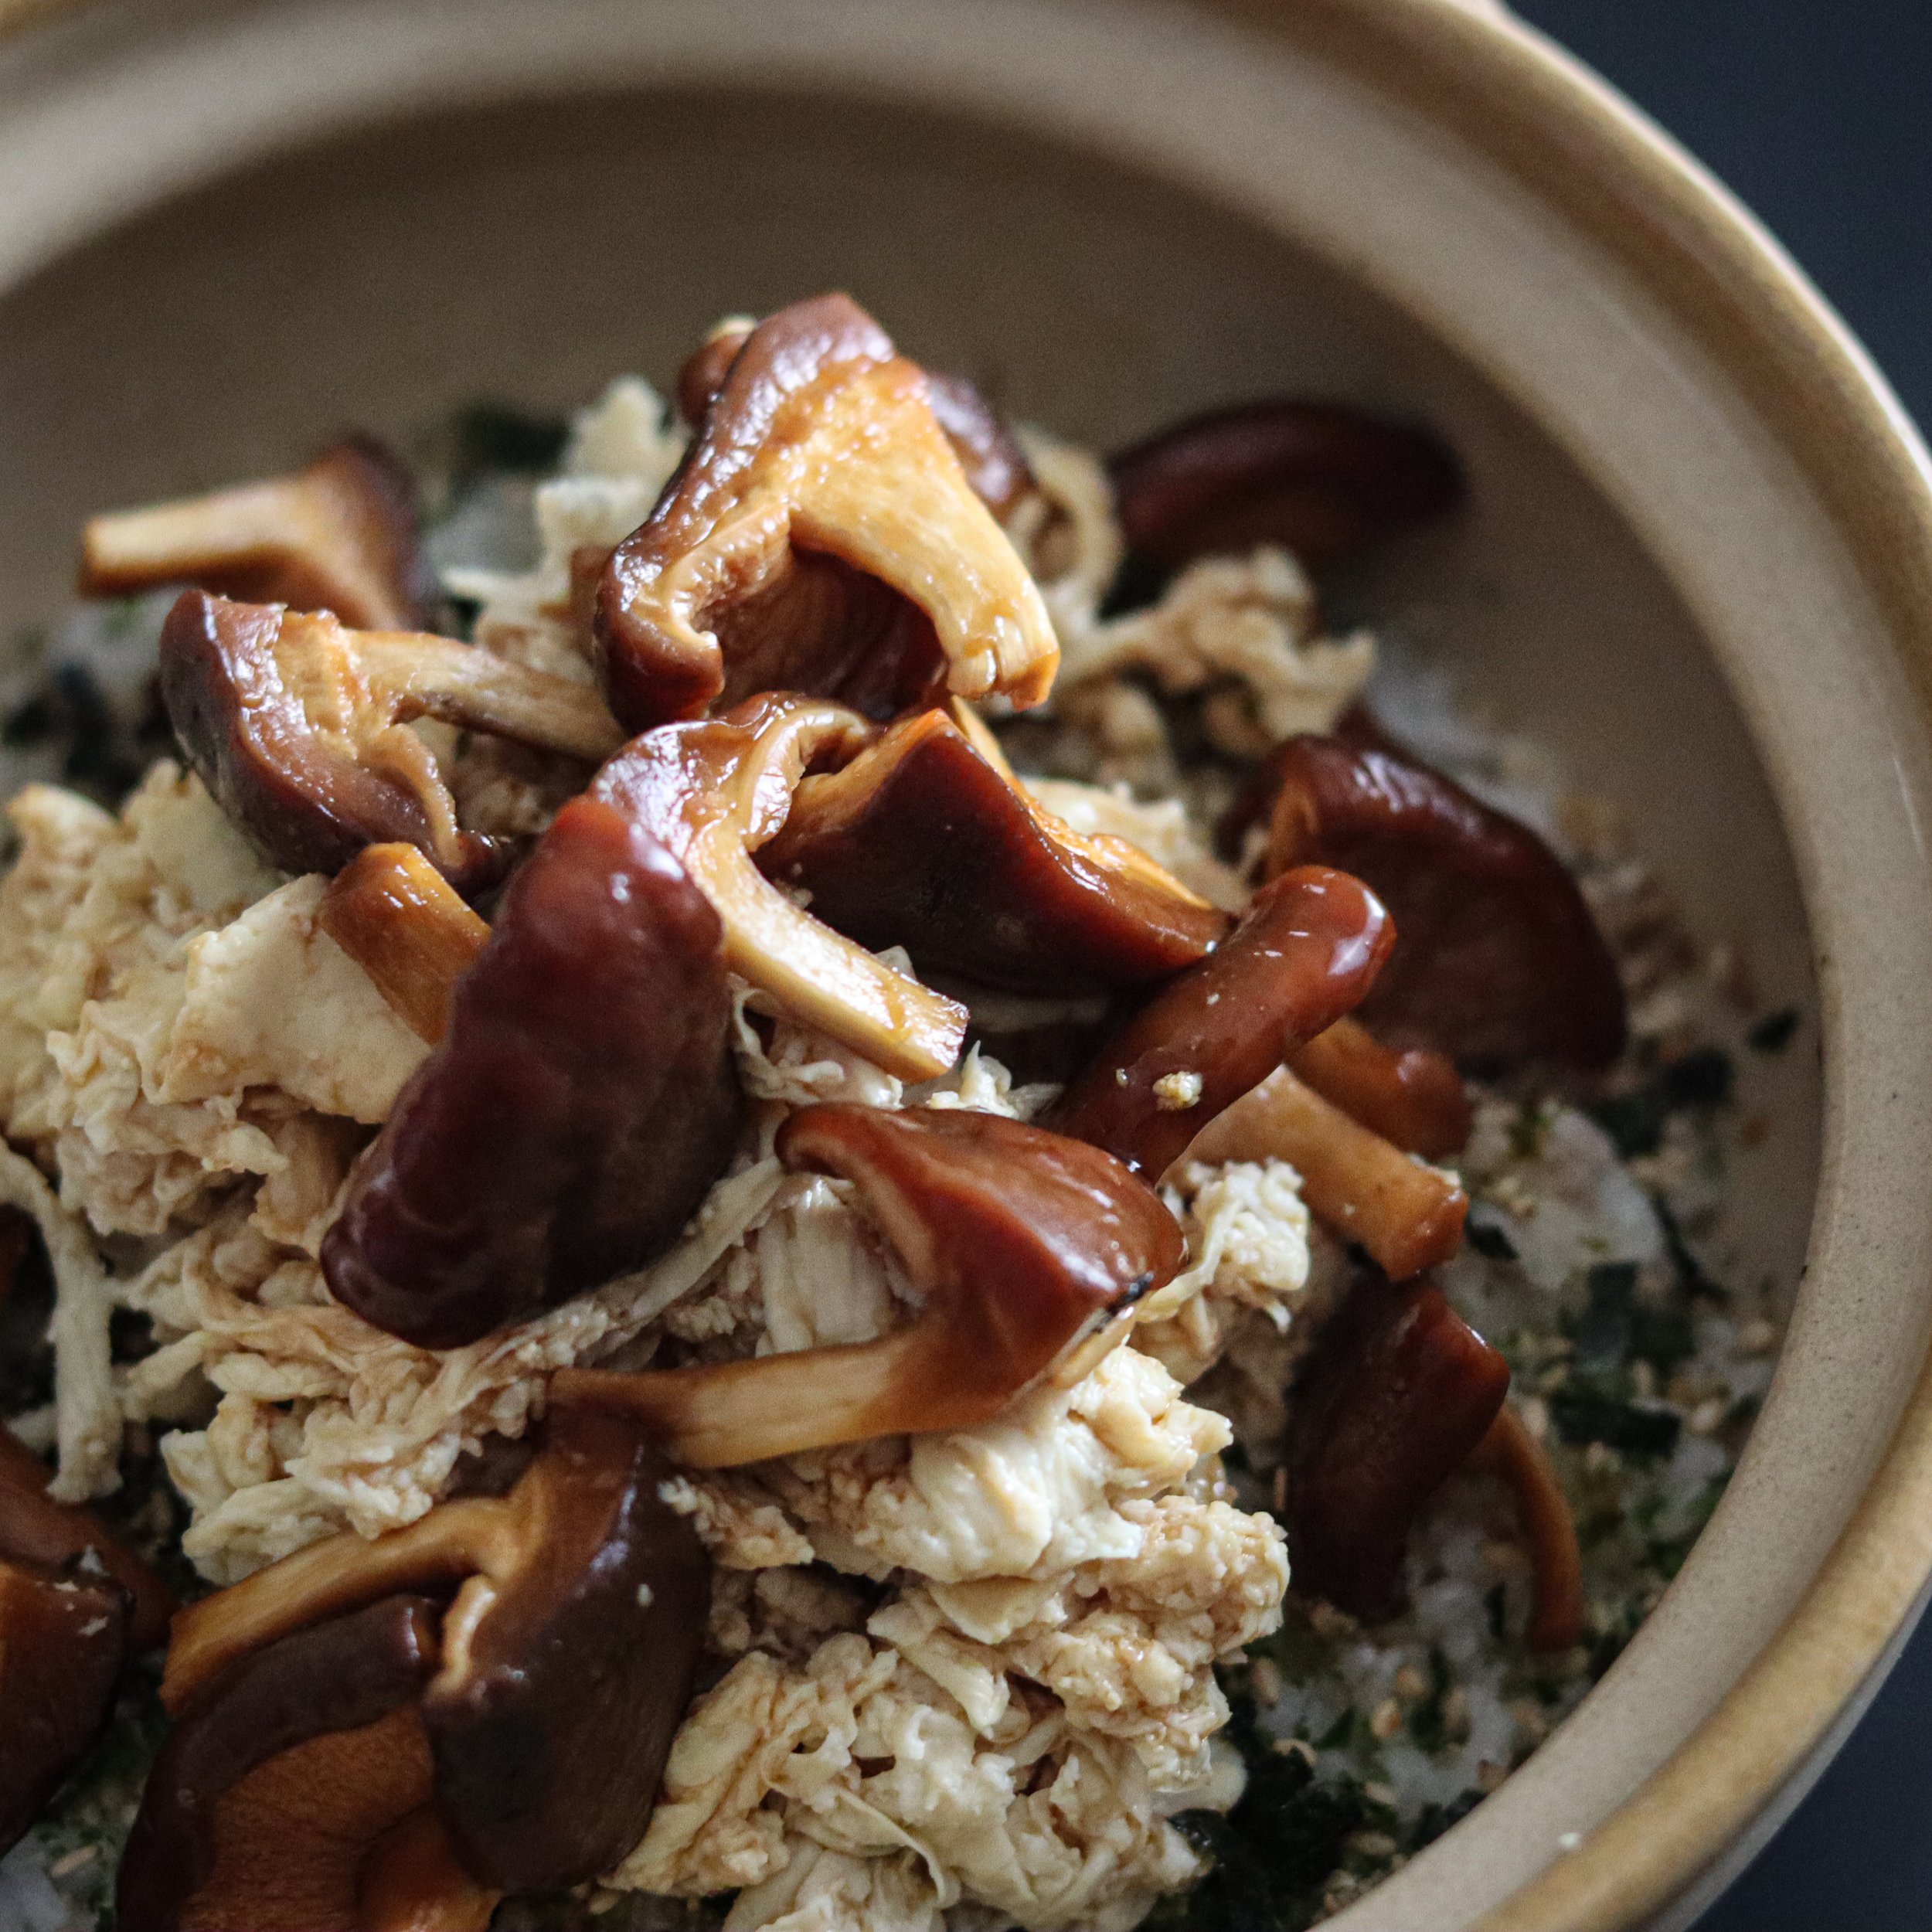
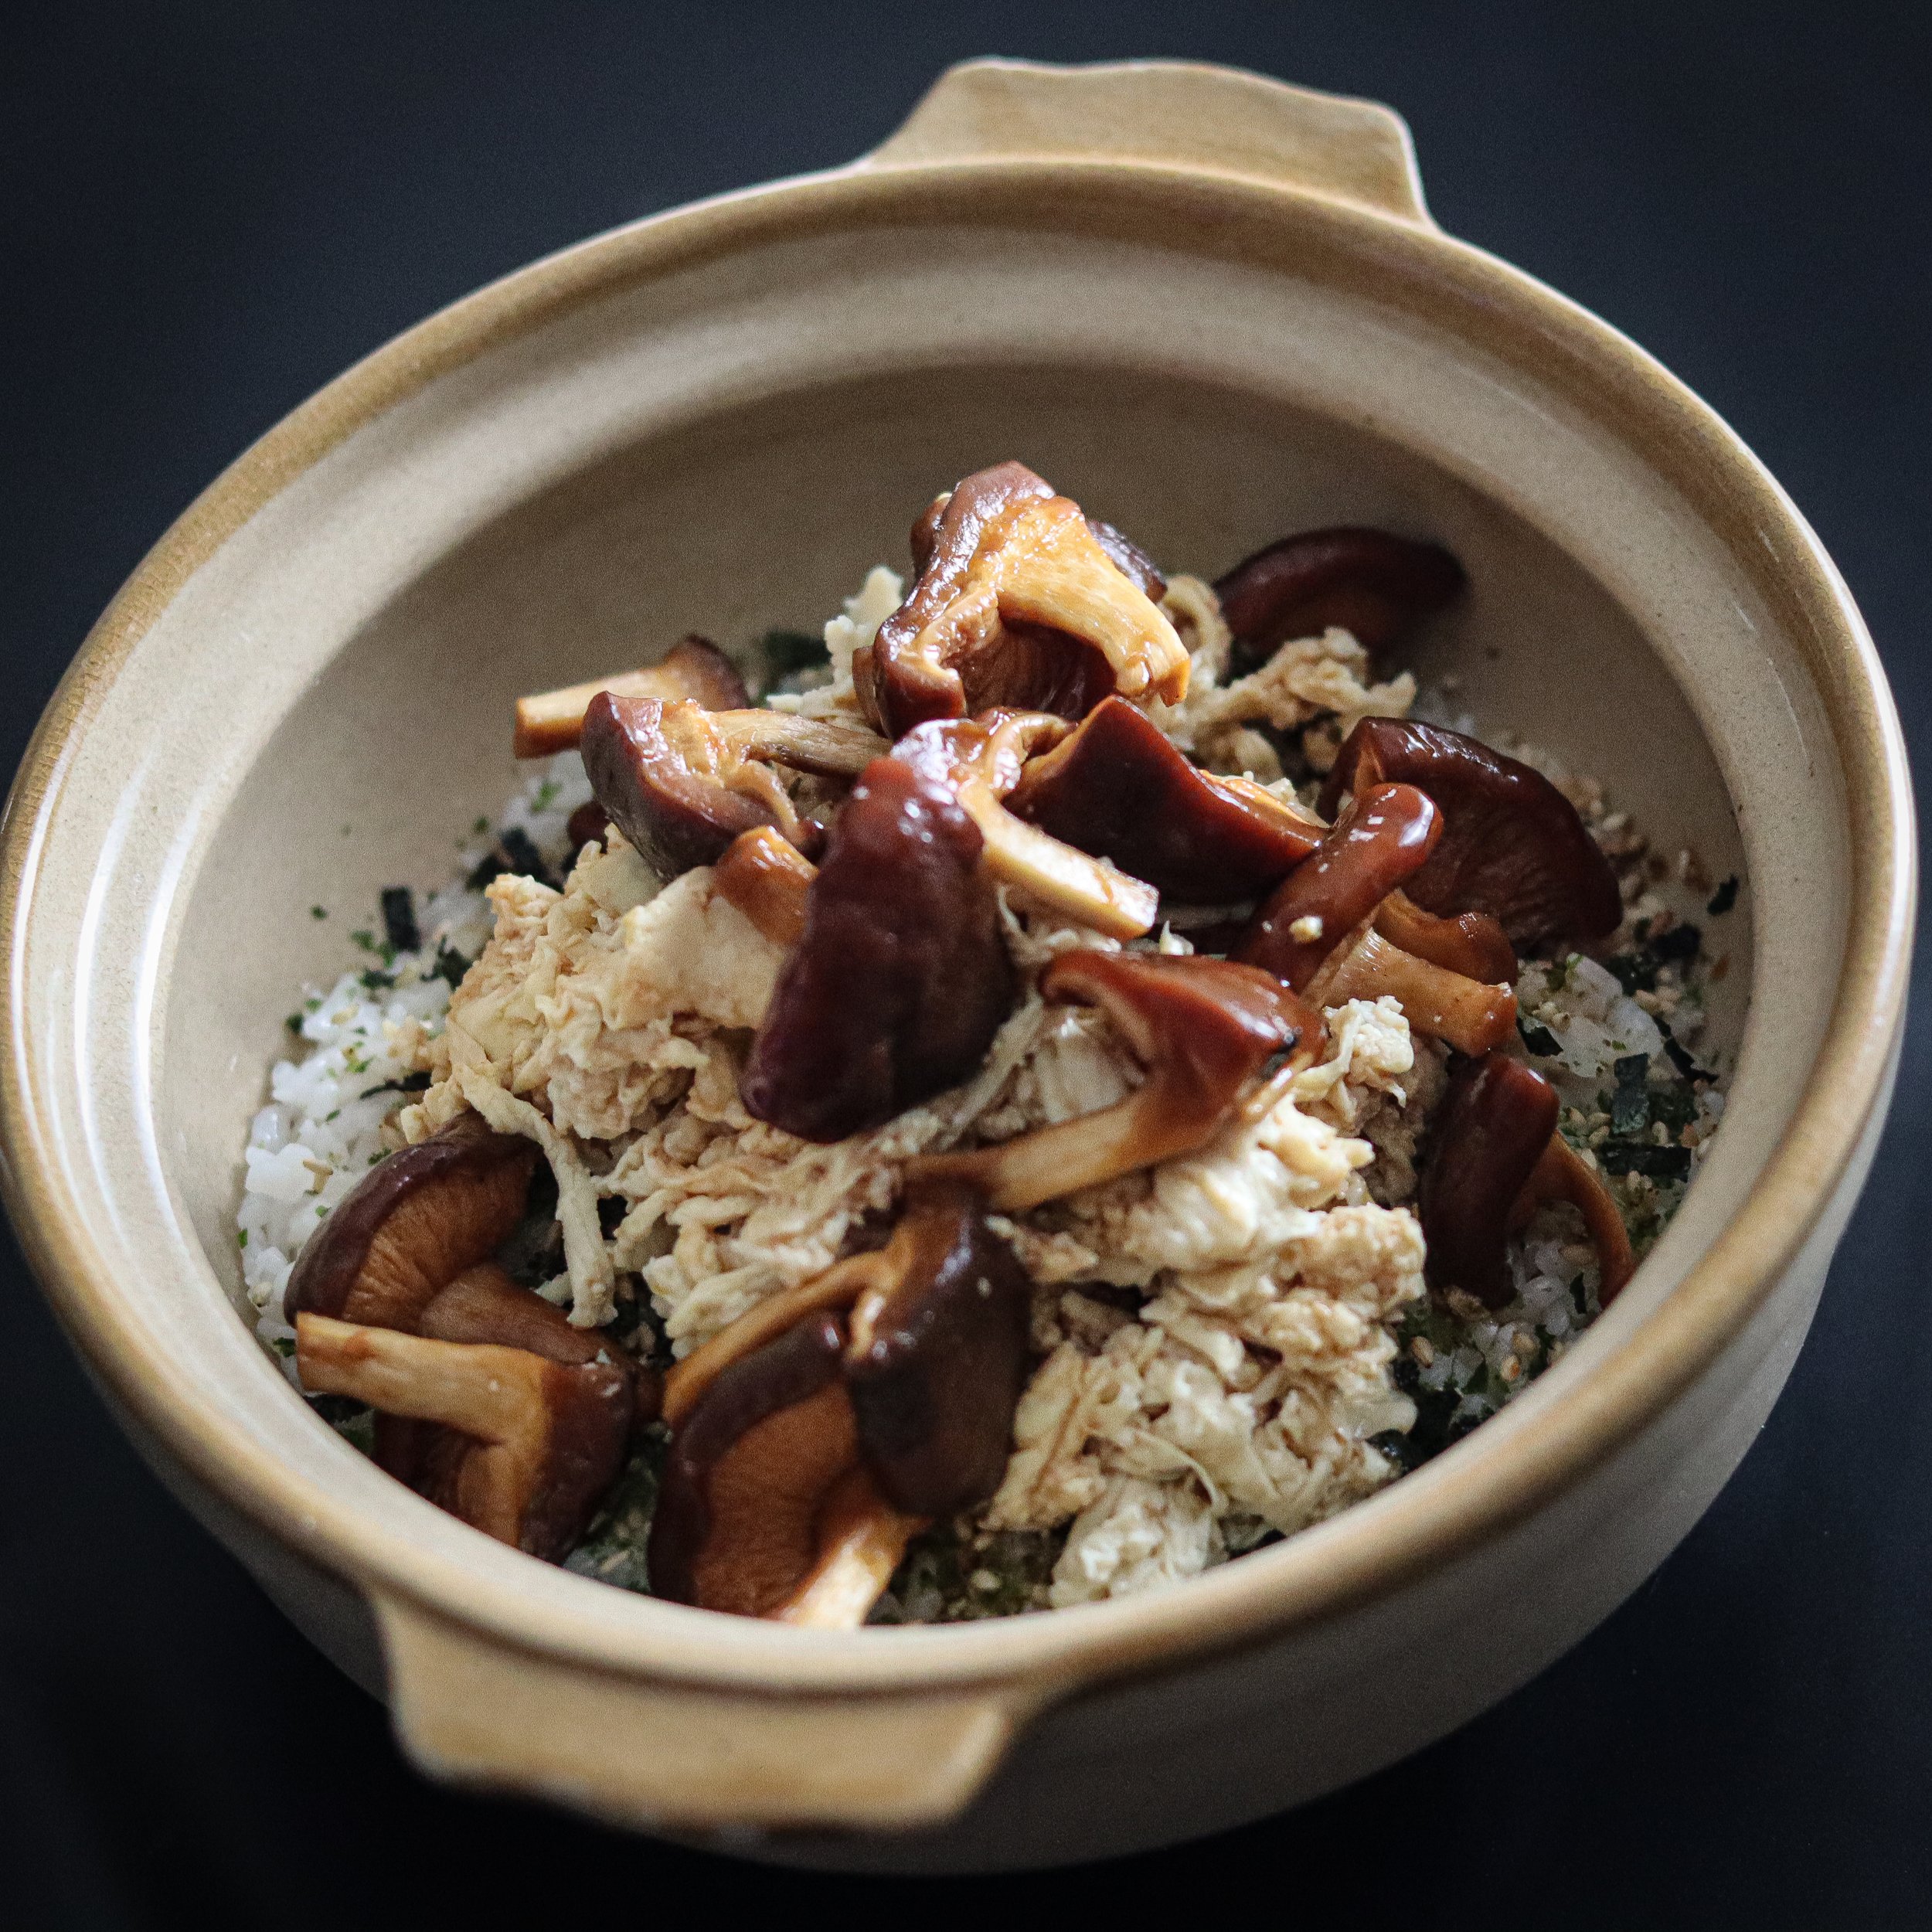
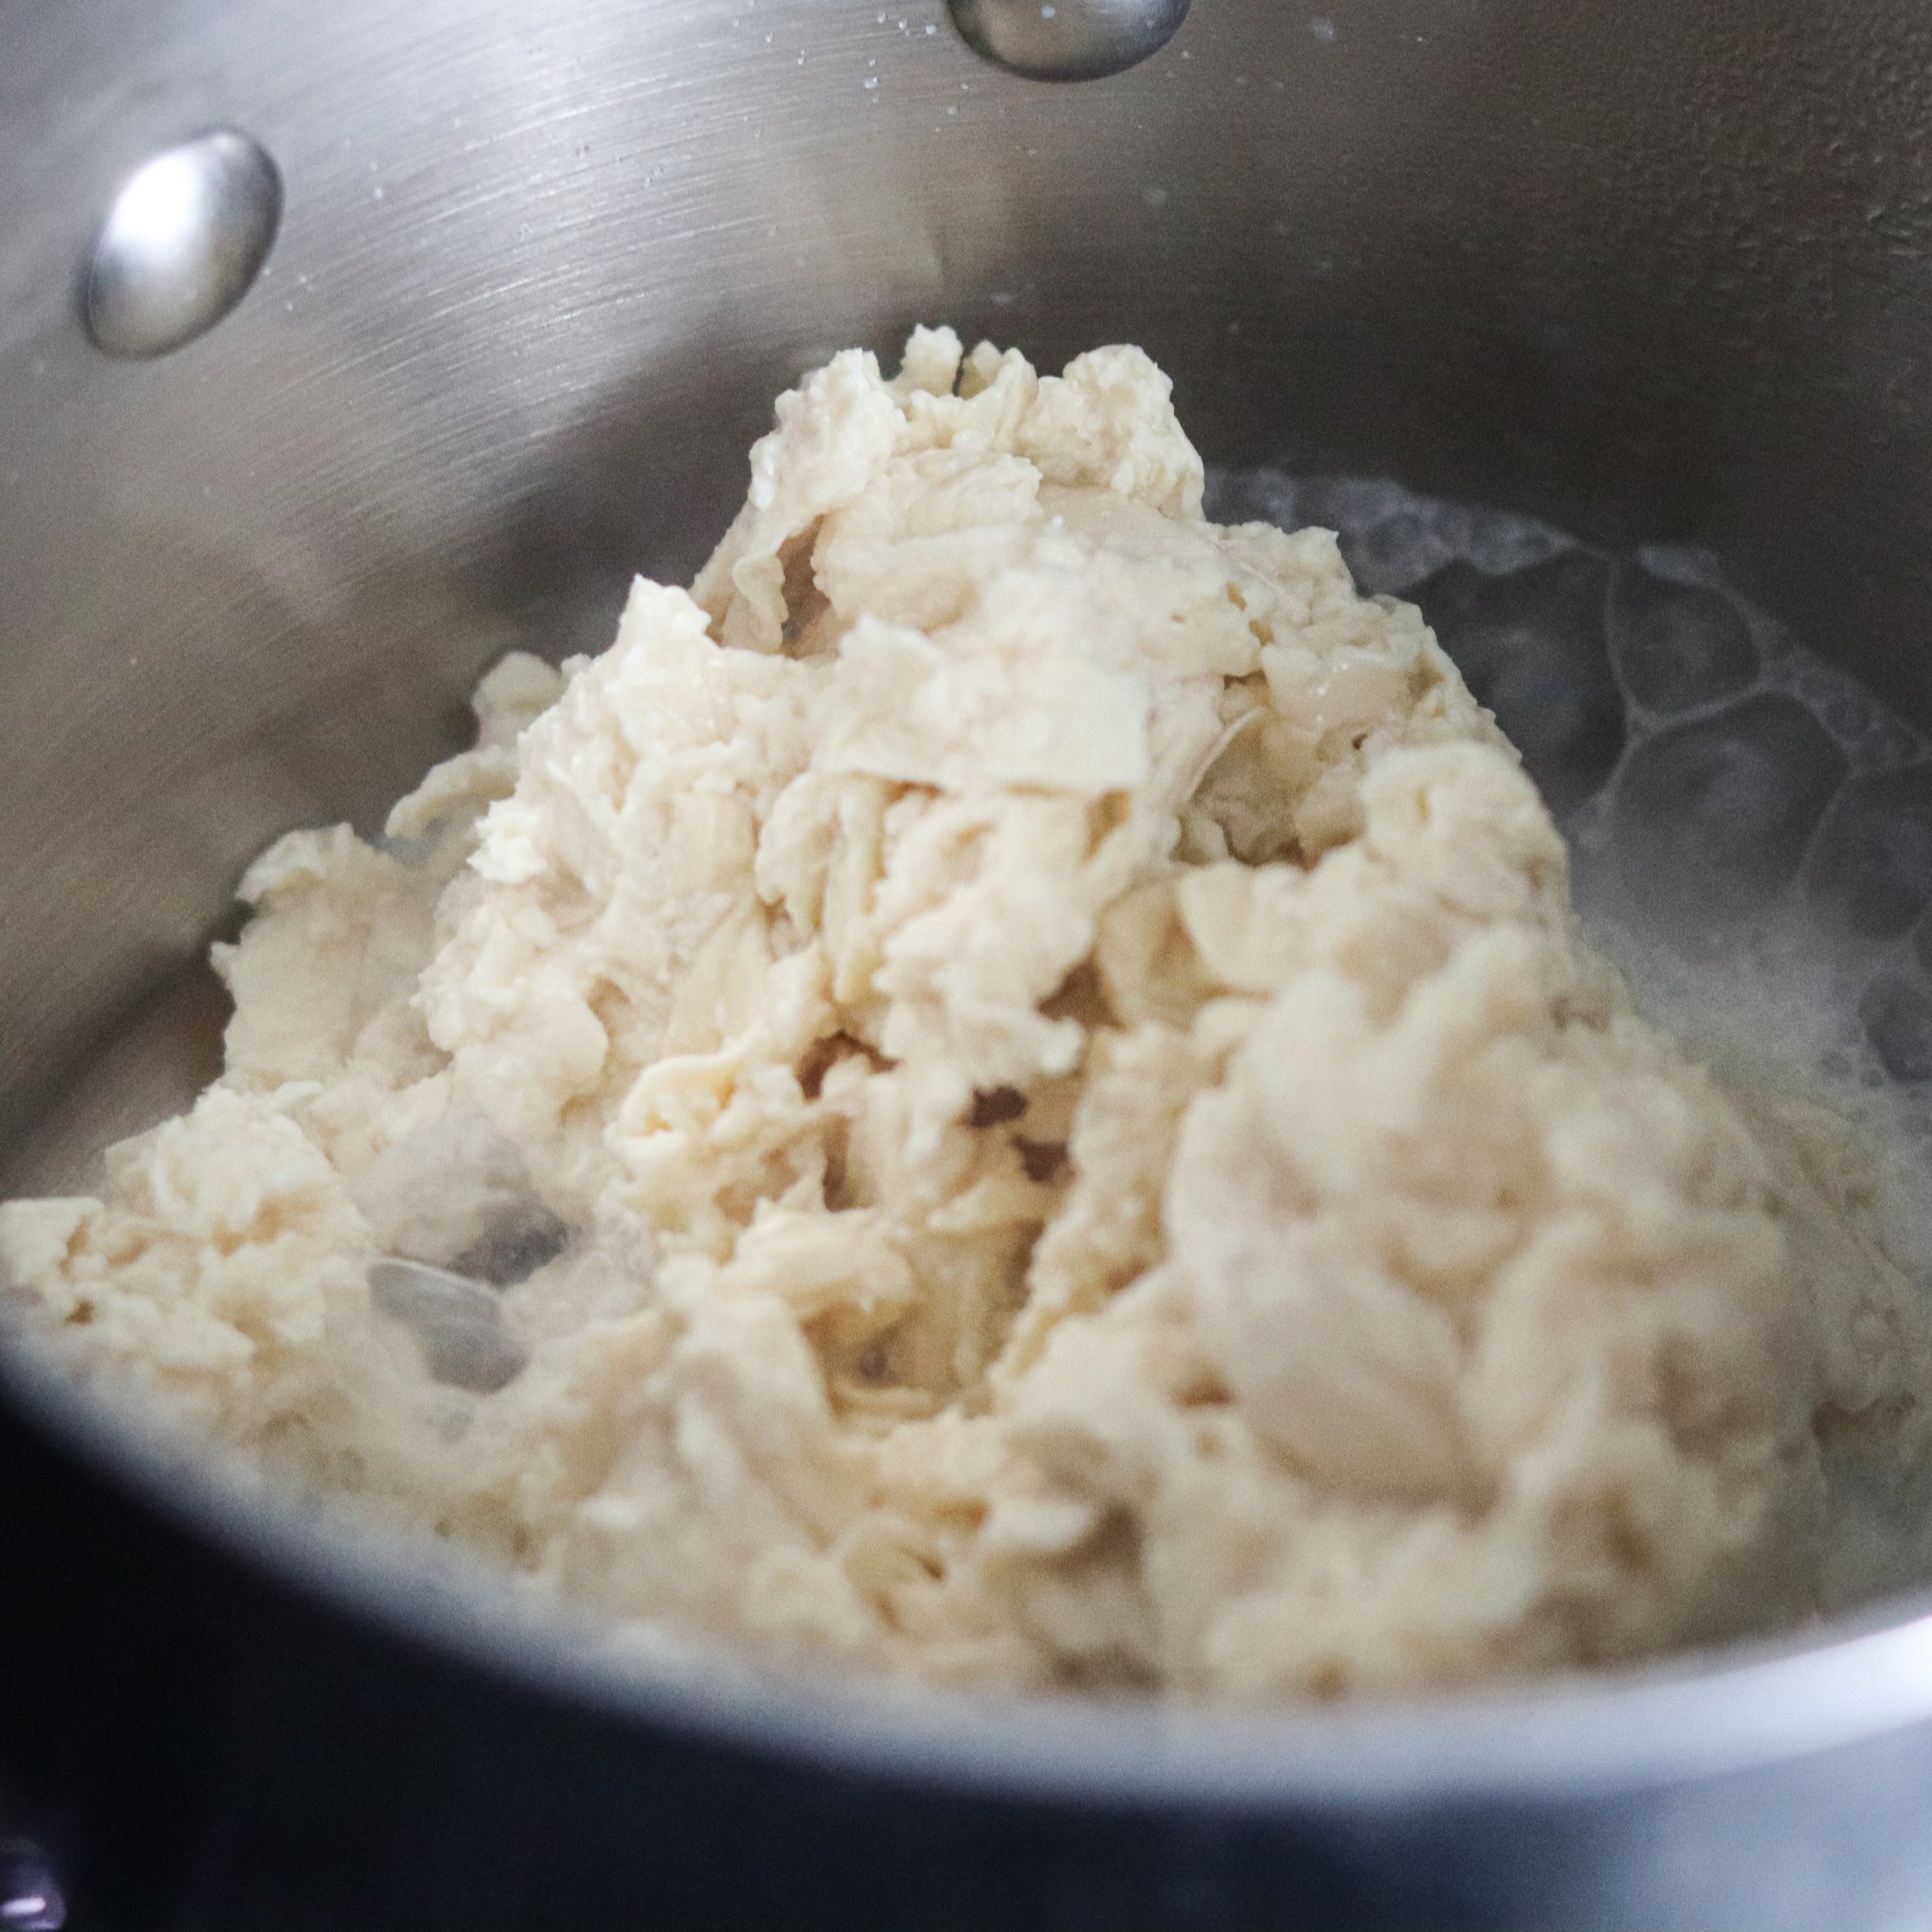
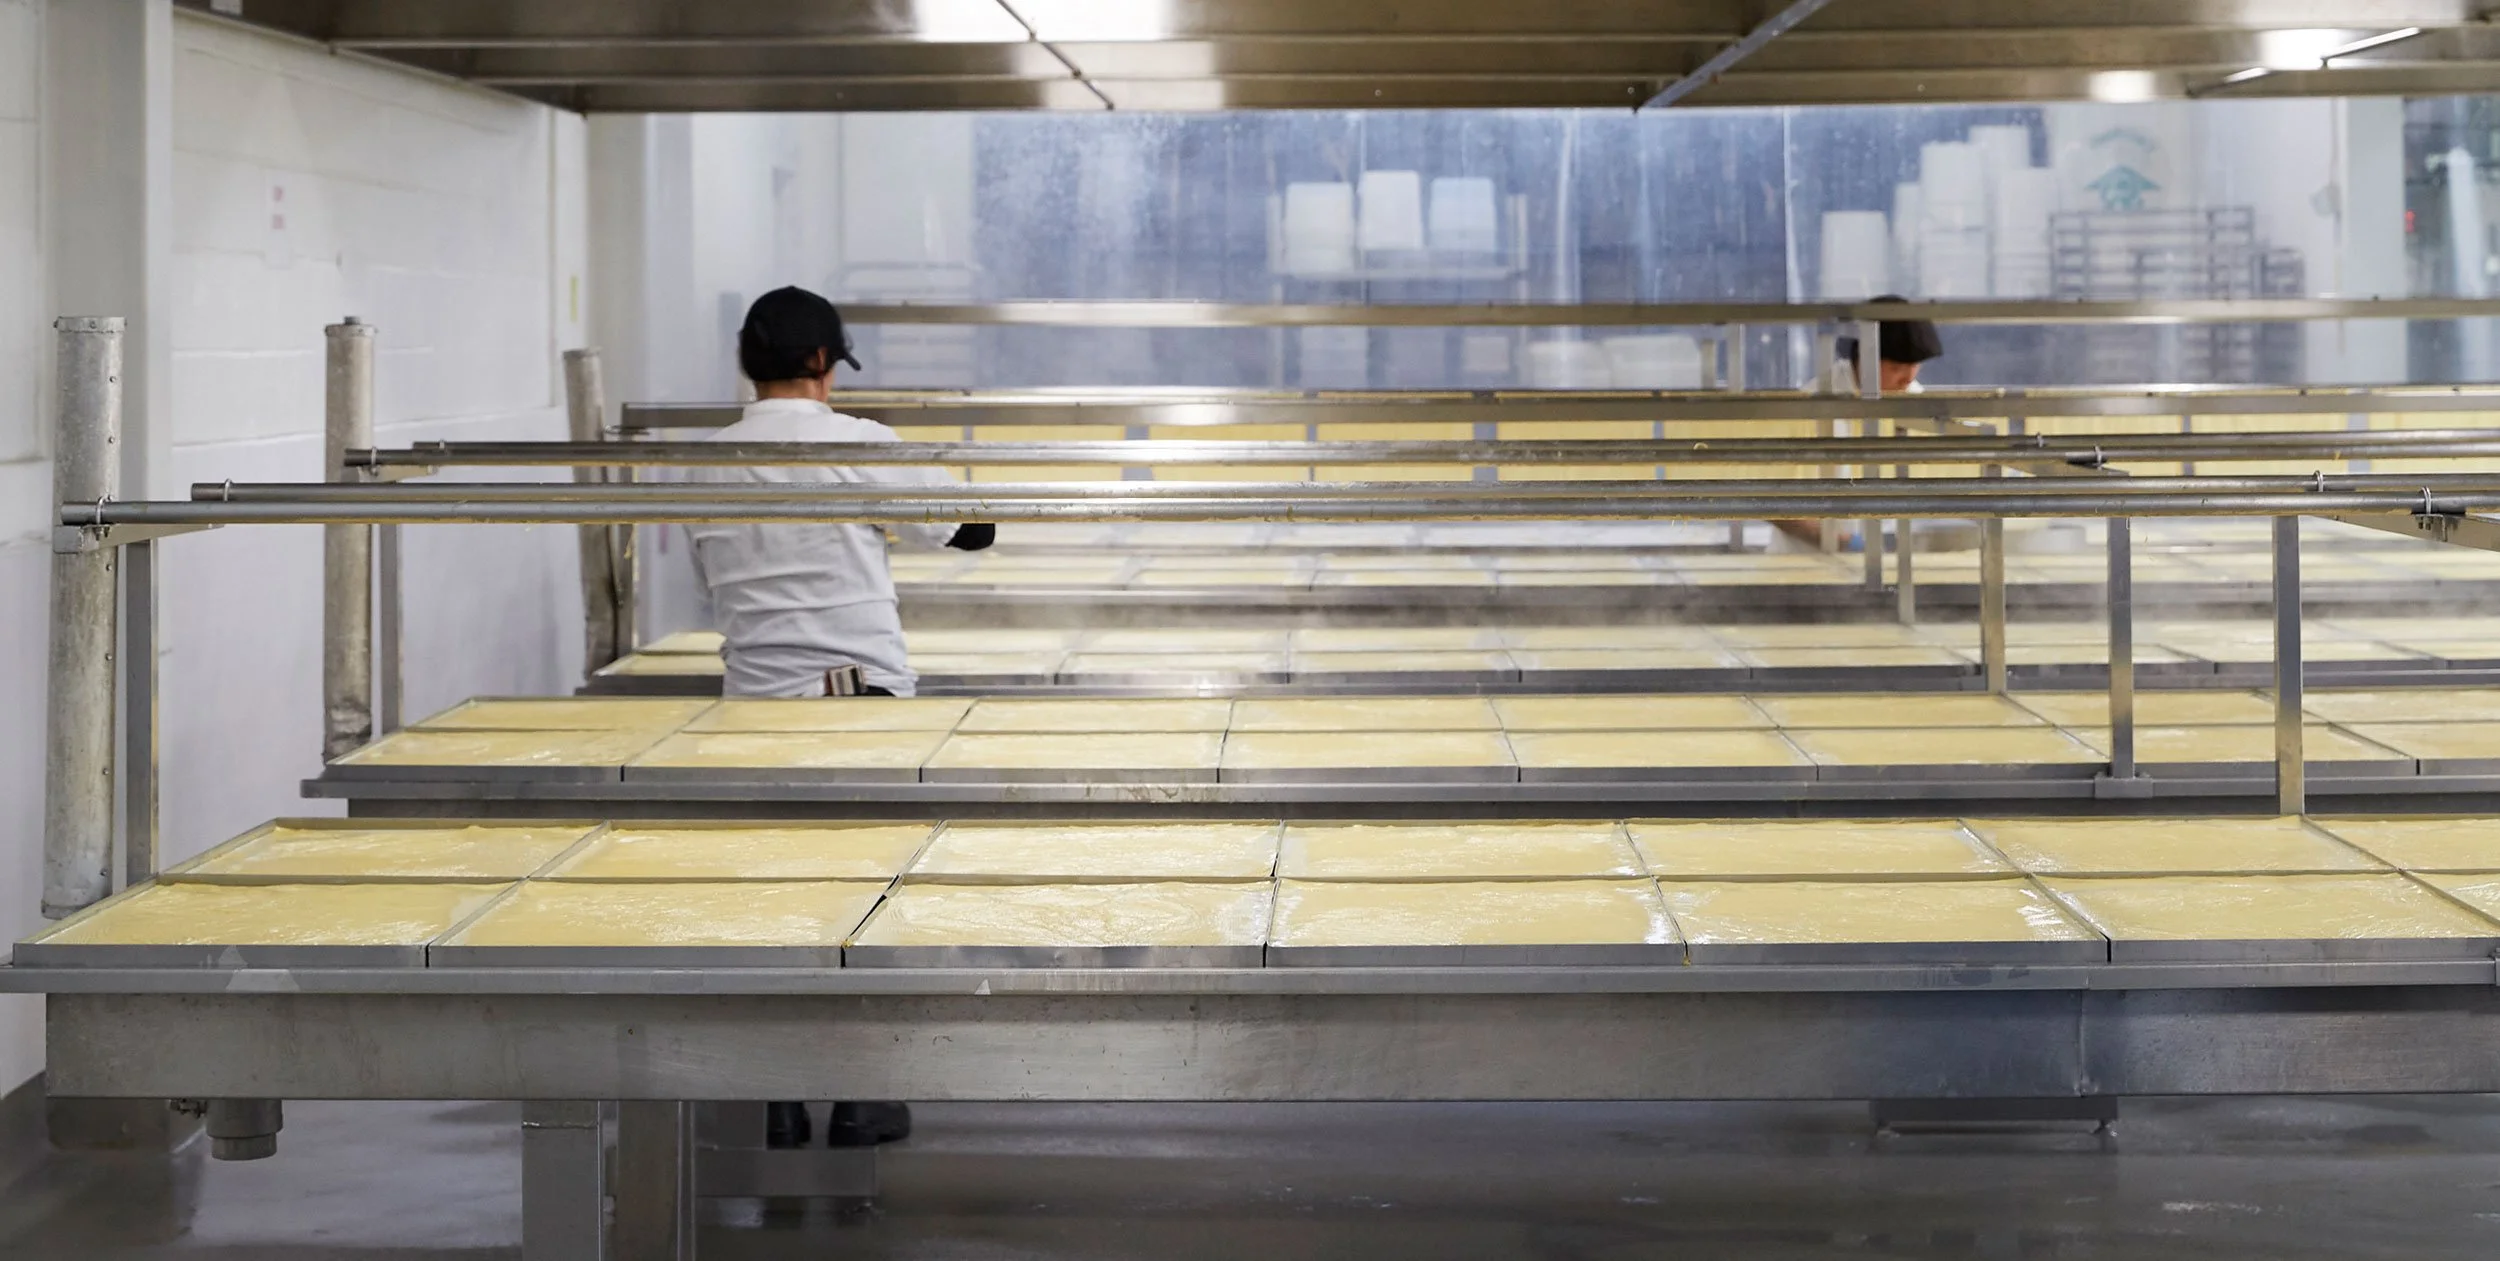
![Yuba [Tàu Hũ Ky]](https://i.imgur.com/39iIL7f.jpg "Yuba [Tàu Hũ Ky]")